.webp)


Table of contents:
Why should you record video calls?
How to record video calls step-by-step
How to record video calls on Zoom
How to record video calls on Skype
How to record video calls on Google Meet
How to record video calls directly on your PC
How to record video calls on your phone
Should you use video call software for recording?
Recording video calls in top-quality with Riverside
Wondering how to record a video call?
Whether you’re capturing a call to keep track of a meeting or want to record a high-quality interview, there are a few things to consider. This includes your choice of software, equipment and your general setup.
If you need help to get started, you’ve come to the right place! Here is your step-by-step guide to recording video calls.
Why should you record video calls?
Around 58% of companies use video calls in their day-to-day and this number is likely to only rise in the coming years. As video calls get more popular, you may want to learn how to make the most of them. One way of doing so is recording.
We suggest recording your video calls because they can help you:
Keep track of important meetings:
Recording video calls allows you to capture valuable content that you can refer to long after your meeting is over. In an important business call, you can record footage to revisit a complex idea or explain a detailed concept to a new team member.
Repurpose content for marketing:
You can also repurpose a recorded video call for other channels or purposes. For example, you might have a customer interview that’s ideal for a video testimonial. You can easily edit these video call recordings and turn them into sharable content for your favorite social media platforms. This can help you ensure you never run out of great content that interests people in your brand.
How to record video calls step-by-step
No matter which software solution you choose, recording video calls can be simple! Search for your chosen platform, and follow these basic steps to get started.
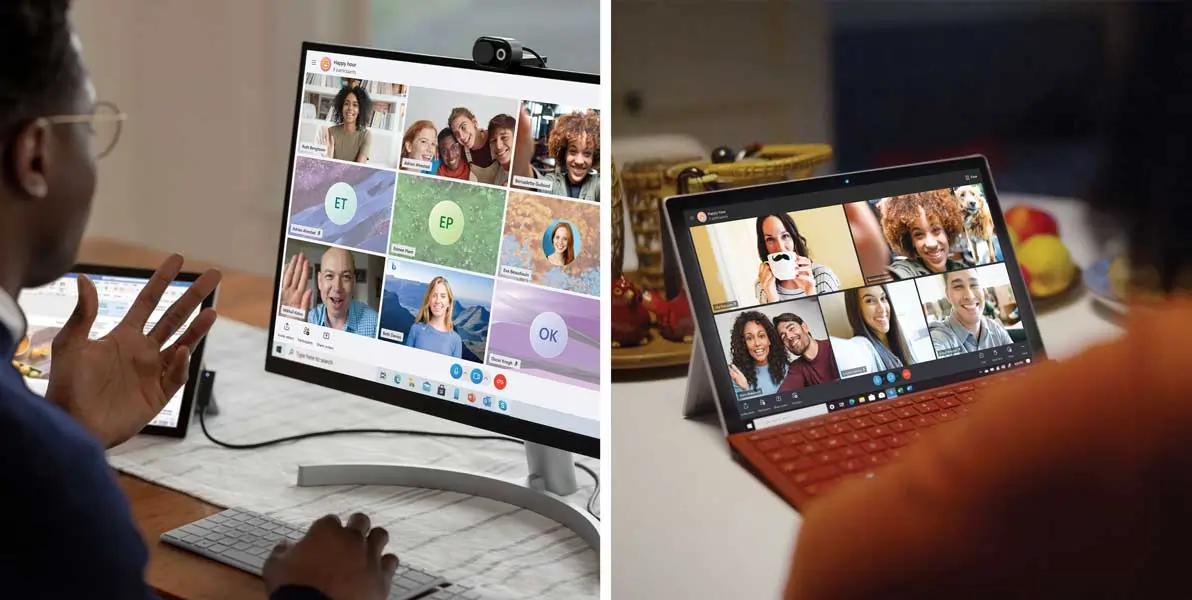
How to record video calls on Zoom
.webp)
Are you using Zoom to host and record your video calls? Here’s how to capture content with ease.
Step 1: Log in to your Zoom account and ensure you meet the requirements for either local or Cloud recording.
Step 2: Go to “settings” and navigate to the “Recordings” tab to set up a recording destination.
Step 2: Set up and start your Zoom meeting. Ensure that all elements, including video and audio, are working correctly.
Step 3: Press the Record button at the bottom of your screen. If you’re using Cloud recording, a pop-up will appear to confirm whether you want to “Record on this computer or “Record to the Cloud”.
Step 4: Use the pause, resume, and stop icons to control your recording. When you finish, stop the recording to finalize it.
Step 5: After completing your recording, access “Local recordings” in your device’s documents folder. Access “Cloud recordings” in the “Zoom Cloud”, via the “recording” tab of the Zoom web portal.
Read more: How to Record Zoom Meetings With or Without Permission
How to record video calls on Skype
If you’re keeping it classic with a Skype call, you can use built-in recording software to record your virtual meeting. Here’s how!
Step 1: Log in to your Skype account, and ensure it is set up to allow recording.
Step 2: Start your call and add any relevant guests using the “Add people” button at the bottom of your screen.
Step 3: Use the “Start recording” button at the bottom center of your screen to start capturing content.
Step 4: When your recording is complete, use the Stop button to end video capture, and leave the call.
Step 5: Find your final recording in the call’s Skype chat. From here, you can download and save your recording to your device any time during the next 30 days.
Read more: How to Record Skype Calls (For Podcasts & Video Content)
How to record video calls on Google Meet
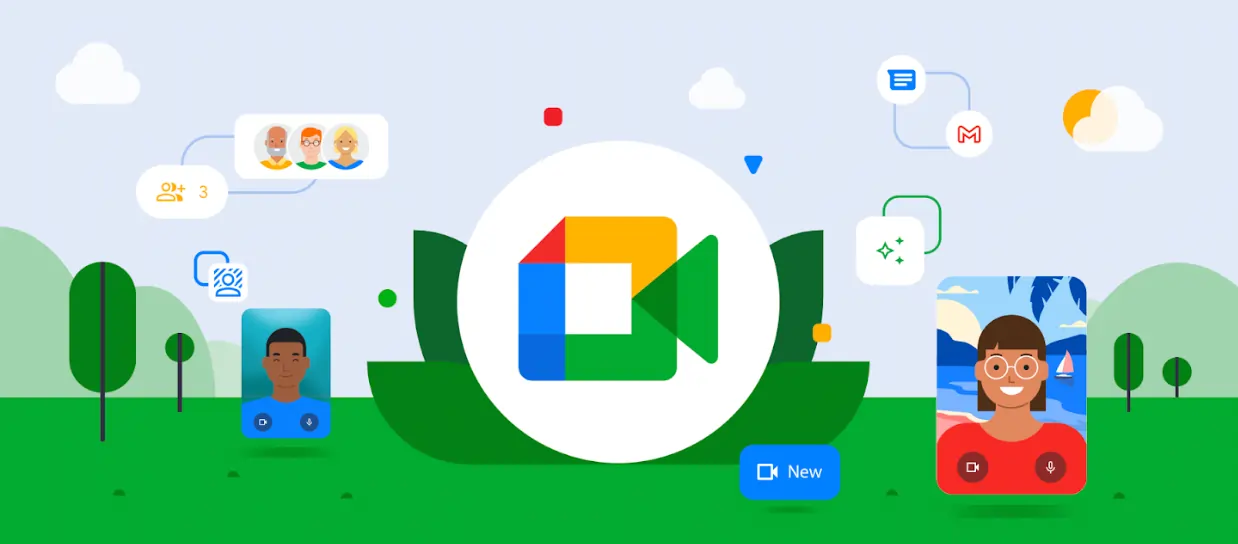
Google Meet offers great tools for video call recording! Follow these simple steps to capture your call.
Step 1: Using a PC device, log in to your Google account and launch the Google Meet feature.
Step 2: Start your video call, and ensure that all relevant participants are present before you begin.
Step 3: Tap the Record button at the bottom of your screen to start recording video and audio content.
Step 4: When your meeting ends, use the Stop button to end the recording before leaving the call.
Step 5: Access your final recording files by searching for them in your Google Drive.
Read more: How to Record a Google Meet On Any Device (Quick & Easy)
How to record video calls directly on your PC
Need to record a video call using your PC device?
For Mac devices, get started with QuickTime Player.
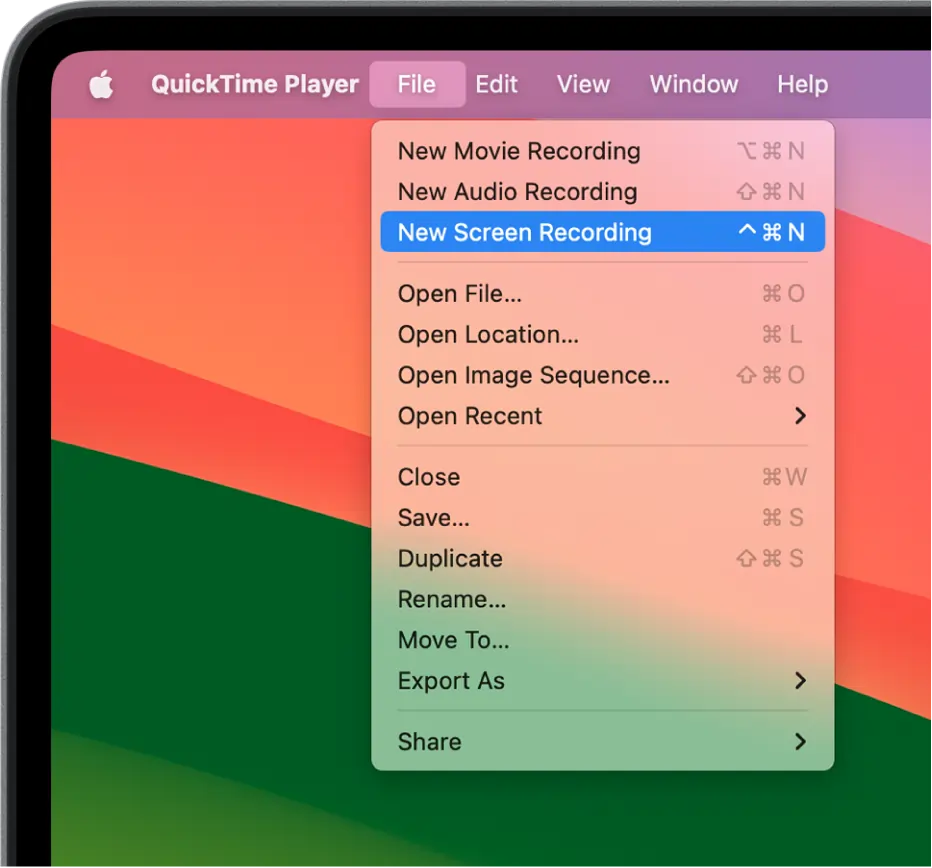
Step 1: Launch the QuickTime Player app on your device.
Step 2: At the top of your screen, select “File,” then “New Screen Recording.”
Step 3: From the screenshot toolbar, select “Options” and set a recording location, along with other settings controls.
Step 4: Press “Record” to start a new screen recording. When you’re done, press “Stop Recording” to end screen capture.
For Windows devices, follow these steps to use Windows Game Box.

Step 1: Launch the Windows Game Box app on your device, and make sure that you have enabled screen recording functionality.
Step 2: Enable the “Xbox Game Bar,” then go to the screen you want to record.
Step 3: Press the “Windows logo key+Alt+R” to start a new screen recording.
Step 4: Press the “Windows logo key+Alt+M” to toggle microphone while recording.
Step 5: When your recording is complete, press “Windows logo key+Alt+R” to end the recording.
How to record video calls on your phone
Recording calls on iphone
We’ve got a full guide on how to record a call on iPhone. You can either download a dedicated app for call recording, or you can use an external recorder to capture the call.
You can also use your built in screen recorder, but this won’t capture your audio. Check out our Facetime recording guide, where we suggest better software alternatives for video calls.
If you’re on Android, you can also use your built in recorder but won’t be guaranteed high-quality video. Instead you could also use a dedicated call recorder for Android.
Should you use video call software for recording?
While many video calling software offer built-in recording, they have limitations in producing high-quality recordings. Most programs rely on internet connection for recording stability and are unable to offer separate video and audio tracks. Many platforms also lack editing tools.
Often, the best way to enhance recording quality is by using a tailored recording system like Riverside. Riverside offers local recording so everything is recorded directly on your device instead of relying on your internet. You’ll also get separate tracks of each person’s audio and video, which give you more editing control.
By choosing quality software, you can get more out of your content and avoid missed details or clarity issues. This will help you produce better quality materials no mater your use case.
Recording video calls in top-quality with Riverside
Riverside is a studio-quality recording software suitable for beginners and experienced users alike. With Riverside, you can rely on up to 4K video and 48kHz audio resolution without worrying about your internet connection. The platform uses local recording so everything records directly on everyone’s device instead of relying on internet connection. You can capture every participant’s audio and video in separate tracks, and you can even edit everything in-house.
Our text-based video editor works with highly accurate AI transcriptions, so trimming video becomes as simple as deleting text in a transcript. Add and style captions, adjust your video layout, and customize your background. You can also check out our other AI features like our Magic Clips tool that cuts key moments in recordings and turns them into shareable videos.
.webp)
Key features:
- Premium video quality, achieving up to 4K video resolution
- Excellent sound quality of up to 48kHz with noise reduction tools available
- Highly accurate transcription available in just minutes for over 100 languages
- Separate recording tracks, offering more editing control
- Local recording for up to 10 participants, improving recording stability
- Text-based editor so users can adjust video and audio simply by editing your recording transcript
- Progressive uploading to the Cloud so that you can access your recording immediately after
- Magic Clips AI to automate content repurposing and turn your long-form recordings into short, shareable clips
- Caption generator, adding clear, cohesive captions to enhance video accessibility
- Teleprompter and script notes to keep your communication on track
- Mobile app, allowing you to create professional content while on the go

How to record a video call with Riverside
Recording a video call with Riverside is simple and easy! Follow these steps to make the most of the platform’s excellent recording functionalities.
Step 1: Log in to your Riverside account and create a new studio or go to an existing one. To create a new studio click on the “+” button on the top of the left-side menu in your dashboard.
Step 2: When you’re ready select “Go to Studio” which will take you to the lobby. Check your camera and microphone settings, along with your hosting permissions. Then “Join Studio”.
Step 3: Use the “Invite” button to add relevant guests to your call. You can also do this before when setting up your studio.
Step 4: Press the Record button at the bottom of your screen to start a new recording.
Step 5: If required, use the “Share” button to share your screen and capture this also.
Step 6: Once your call is complete, press the Stop button at the bottom of your screen to end the recording.
Step 7: Wait a few seconds for Riverside’s progressive uploading to finalize your recording.
Step 8: Select “View recordings” from the panel on the right side of your screen.
Step 9: Launch the Riverside editor to adjust your recording or alter any details.
Step 10: When you are happy with your final recording, select “Export” at the top right of your screen, and use the menu to save your recording to your device or share to social media.
Note: In the dashboard, you can use Riverside’s AI transcription tool to access an automatic transcription for your recording.
Here, you can also use Magic Clips AI to extract short-form videos from your long-form recording. All it takes is a click of a button and our AI tool will turn your recordings key moments into short shareable clips.
FAQs on how to record video calls
Still unsure about how to record video calls? Here are our answers to a few frequently asked questions!
Can you screen record a video call with sound?
Yes, you can screen record a video call with sound and mrecording tools offer this option. This is critical, as sound is what provides your video with most of its meaning. Simply follow the steps to start a recording using your chosen software solution. Check that your device and software settings are set up to capture both video and sound. Then record!
Can you record FaceTime calls?
Some app-based recording tools may be able to capture content from FaceTime calls. You can even grant recording permissions to the Mac Continuity Camera. However, these options can have their limitations. Generally, it is best to use a purpose-built recording solution instead of capturing content directly from a call. This will provide you with better quality results and more reliable video and audio. Many recording software systems also give you access to a range of additional features!
Final thoughts
Capturing high-quality content from your video calls can be incredibly valuable in providing you with the data you need for a variety of purposes, from professional development and staff onboarding to brand building and content creation. The options are limitless!
By understanding how to use a wide selection of recording software solutions, you can make an informed decision and choose a program that works well for your needs and recording goals. This can equip you with the skills to create great video content quickly and easily.
If you’re interested in getting started with video call recording and want a software tool that sets you up for success, try Riverside! This user-friendly tool is designed for easy recording and excellent quality results.


