


Table of contents:
Key takeaways:
- The benefits of editing with Macs are plentiful: These computers are known for their stability/reliability, high-resolution retina displays, better processing power, and more.
- iMovie is a great basic video editing tool: It comes standard with all Mac devices at no additional cost.
- Use dedicated software for more options: For more advanced effects and features, you’ll need a video editor such as Riverside, DaVinci Resolve, or Final Cut Pro to couple with your Mac.
If you’re considering buying an Apple computer for video editing or already have one and want to get started, you have come to the right place. This is your go-to step-by-step guide for how to edit a video on a Mac device.
What are we waiting for? Let’s dive in!
Why you should choose a Mac for video editing
- Exclusivity to Mac and Apple devices: Some of the more powerful and popular content creation and editing tools are MacOS exclusive.
- Stability and reliability: Apple devices are known for their stability. This is partly because Apple designs its software and hardware, resulting in fewer compatibility issues than Windows devices.
- Better processing power: Macs are known for their processing power. This means better user performance, with software and applications running quicker and more efficiently.
- High-resolution Retina displays: Apple’s trademarked Retina display uses high-resolution screen technology with high pixel density, resulting in crisp and sharp visuals on the screen. In video editing, this can mean increased detail and precision, better color accuracy, and more accurate scaling for higher-resolution footage.
- Excellent customer support and community: Apple is known for having good customer support, which you can access via telephone, chat, or in person at one of their many Apple stores. There is also a supportive online community; just type any question or concern into Google, and you’ll find various forums ready to provide answers.
Free video editing tools for Mac
The simplest way to edit your videos on Mac is using the Photos app or QuickTime. QuickTime is Apple's multimedia framework for playing, recording, editing, and sharing audio and video files on macOS.
However, your video editing options with QuickTime are minimal. If you’re looking for other free tools that give you many more video editing options on Mac, here’s where to start:
Riverside
If you want to record professional quality videos for things like podcasts, webinars, or tutorials, Riverside is the perfect free video recording platform for you. Riverside’s Mac App offers users seamless recording capabilities and features. It’s designed just for Macs to ensure optimal performance.
Record in up to 4K video and 48 kHz audio. Get separate audio and video tracks for you and even remote participants, like podcast guests.
Once you’ve recorded your video, you can head to Riverside’s online platform to edit your video. You can also upload videos you’ve recorded outside of Riverside and edit with Riverside’s incredibly intuitive editing tool, packed with excellent AI-powered features that make editing a breeze.
How to edit videos on Mac using Riverside
Step 1: Record or upload a video
You can record a video using the Riverside Mac App or the Riverside online platform within your browser. After recording the video, click on the video recording. Then, on the following page, click the purple “Edit” on the top right-hand side and click “Create new edit.” You should now be inside Riverside’s editor workspace.
You can also upload a prerecorded video to Riverside to edit it. Check out this guide on uploading files to Riverside.
Step 2: Edit your video
Riverside has text-based editing that makes editing your content incredibly easy.
Trimming and Cutting
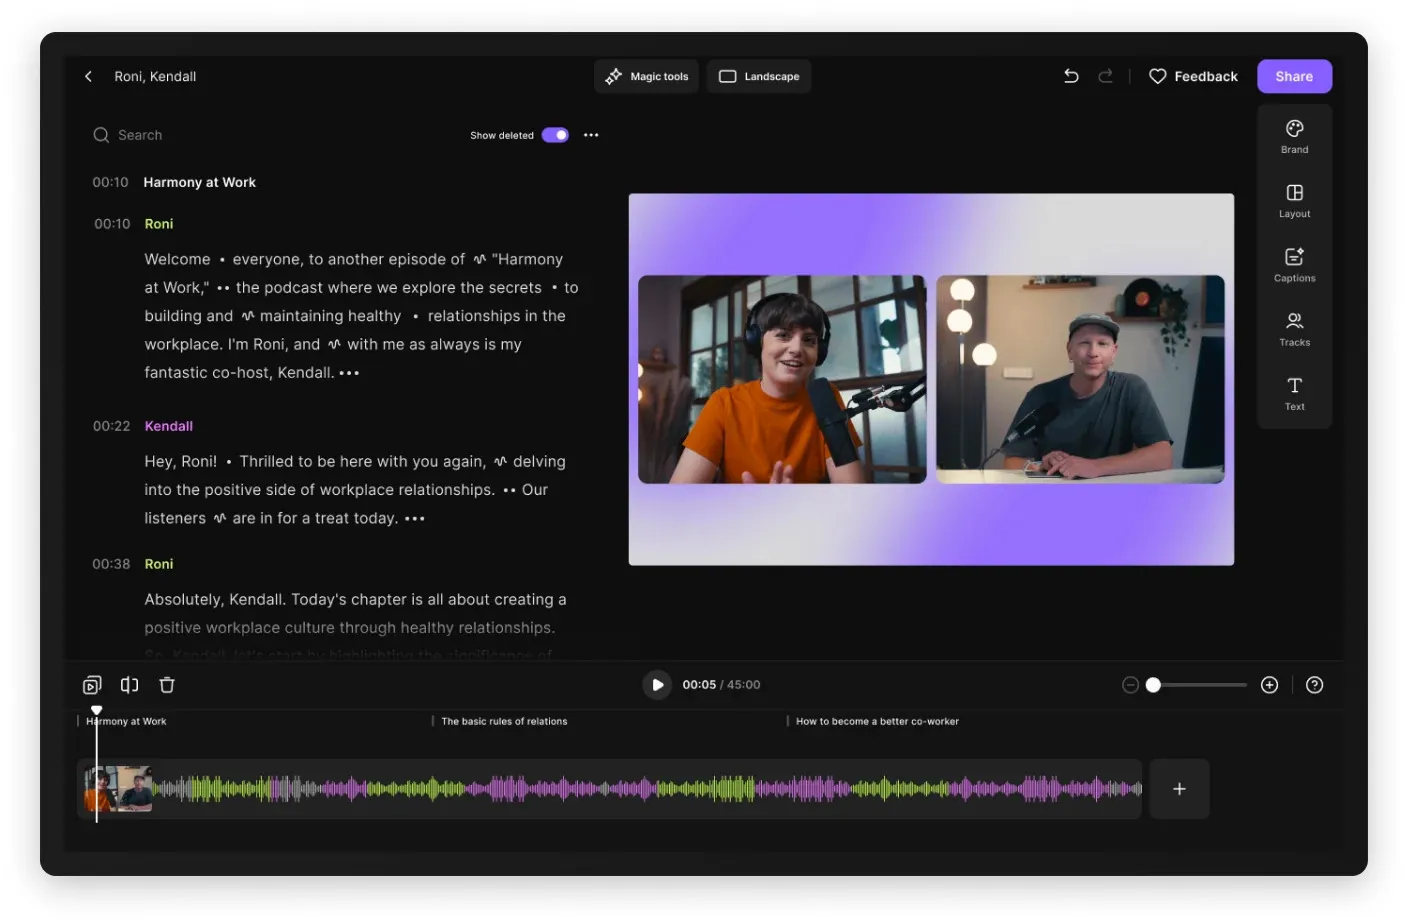
In the editor, you’ll see your transcript on the left and a preview of your video on the right. As you scroll through your transcript, you’ll see the playhead jump to the corresponding point in the video.
To delete a segment, highlight the text and hit the “Remove” button. If you want to undo this, you can click “Revert.”
If you want to search for a specific word or phrase, you can input this into the search box, and it’ll highlight every time that word is spoken in your video.
Another way to trim and cut videos in Riverside is using the timeline editor. To split the video, move the play head to the section where you want to split it, and then press the “Split” button on the left-hand side above the timeline.
After splitting, you can delete the unwanted portions of the video or move footage around to create a narrative.
To trim the video, move your mouse to the edges of the clip. Then, drag the edges to your desired start and end point.
Add text and images
On the right side of the workspace, there are options to add “Text” and “Images.” These are stock images, but you can upload your own media.
Add texts, images, and music to your content with the help of smart suggestions, a stock library, and a music catalog.
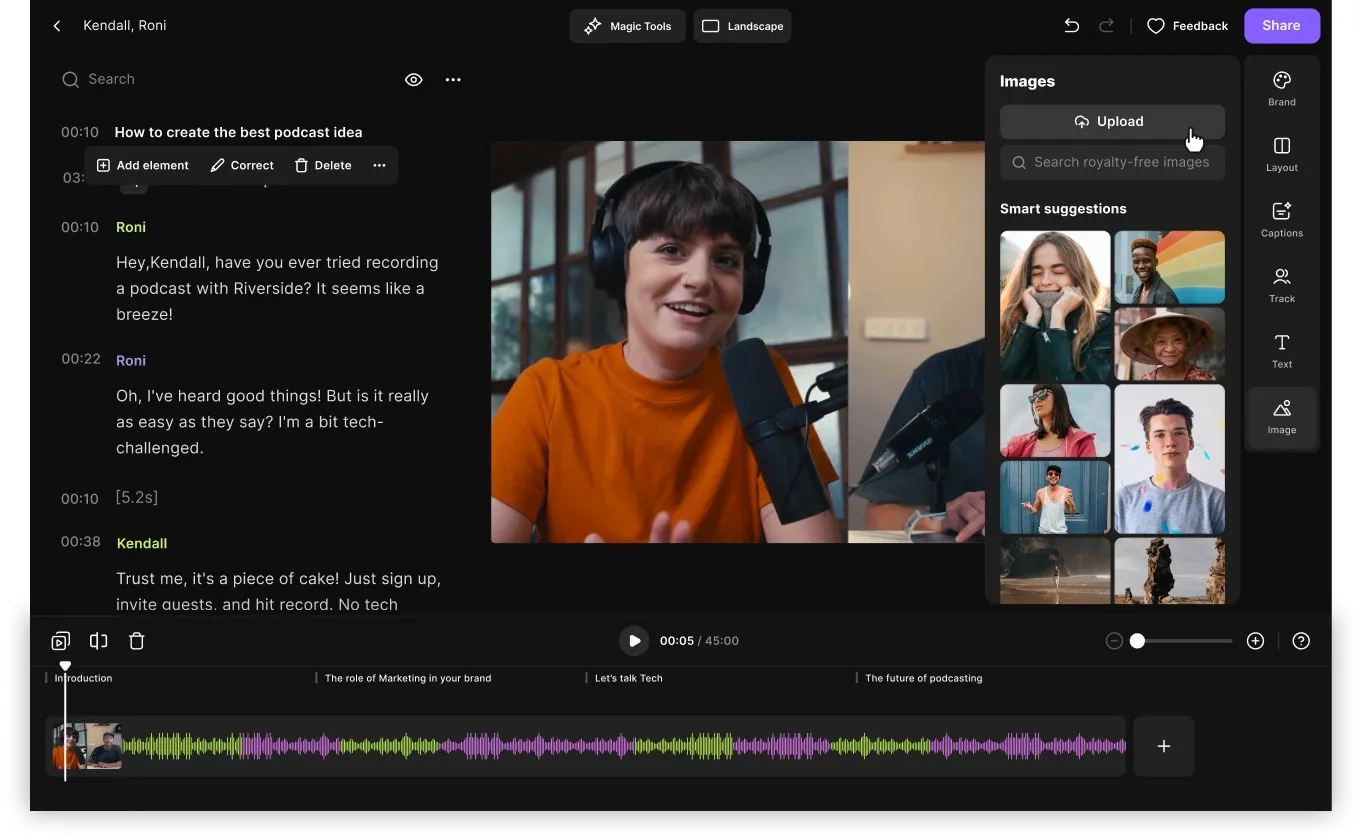
To add images, video, and audio from your desktop, click “Uploads,” choose the desired tab, and then click “Upload.”
You can also create captions from your transcript and stylize them. Try different fonts, colors, and sizes, choose your animation, and place the caption on your video.
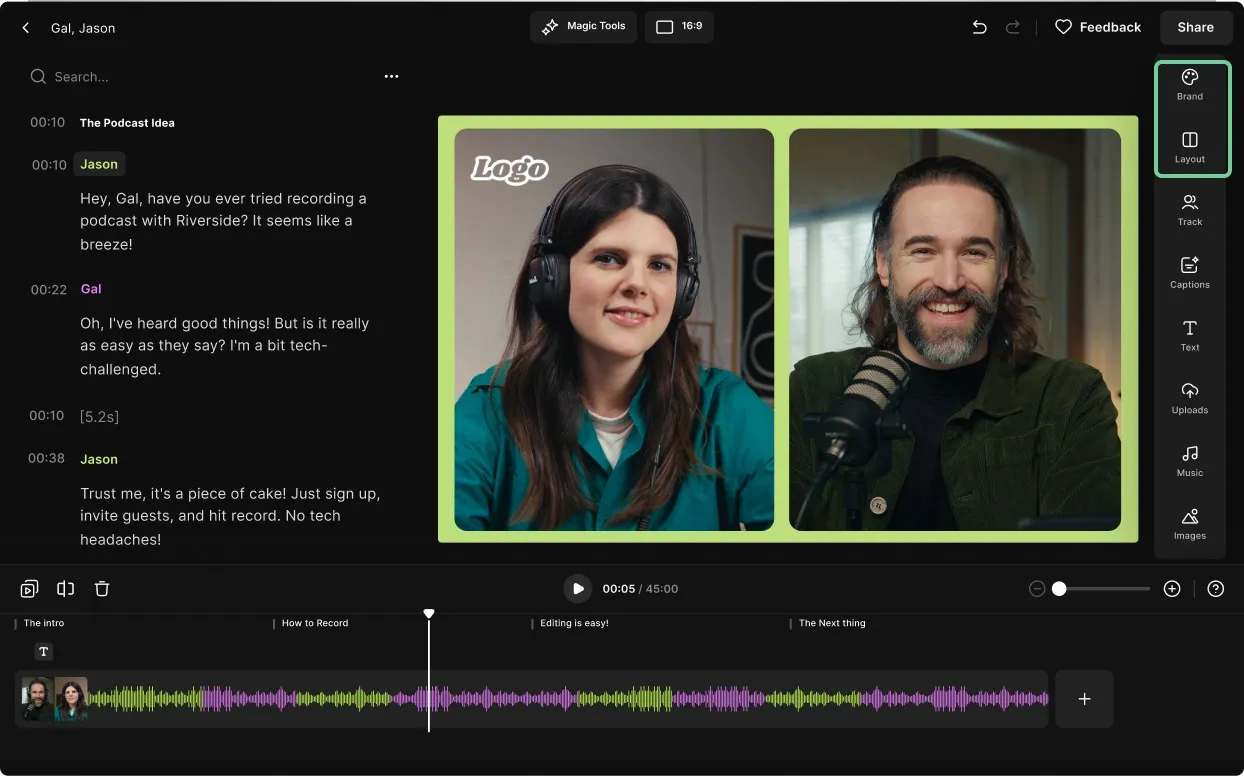
Select a layout
You can also choose between various layouts like full-screen, picture-in-picture, split-screen, and more.
Improve your audio
Use Magic Audio, Riverside's AI-powered audio enhancing tool, to remove background noises, fine-tune your audio, and make it sound like it was recorded in a professional studio.
You can also use it to take out all audio disfluencies, smooth out the conversation flow, and even set the pace of your video.
Create clips
Riverside also has an AI tool called Magic Clips that analyzes your video and cuts it into the most interesting short clips you can use for social media sharing.
Step 3: Export your video
After making all the changes, tap “Export” on the right-hand side.
Choose your desired settings, then click the purple “Export video” button.
iMovie
Is iMovie the best video editing software for Mac? No, but it’s a good choice if you want an app that’s native, free, and easy to use, especially if you’re familiar with Apple devices and tools.
It includes some advanced video editing options for more seasoned video editors and some automatic tools for more advanced effects or enhancements. Overall, it’s designed to make video editing relatively easy. However, it lacks higher-level features and can struggle with processing 4K video.
How to edit videos on Mac using iMovie
Step 1: Locate and open the iMovie app
Head on over to “Launchpad,” type “imovie” into the search bar at the top of the screen, and then select the iMovie icon (purple star with a camera in the middle).
Step 2: Upload the video you would like to edit
Head to “File,” “Import Media,” and select the video you want to upload.
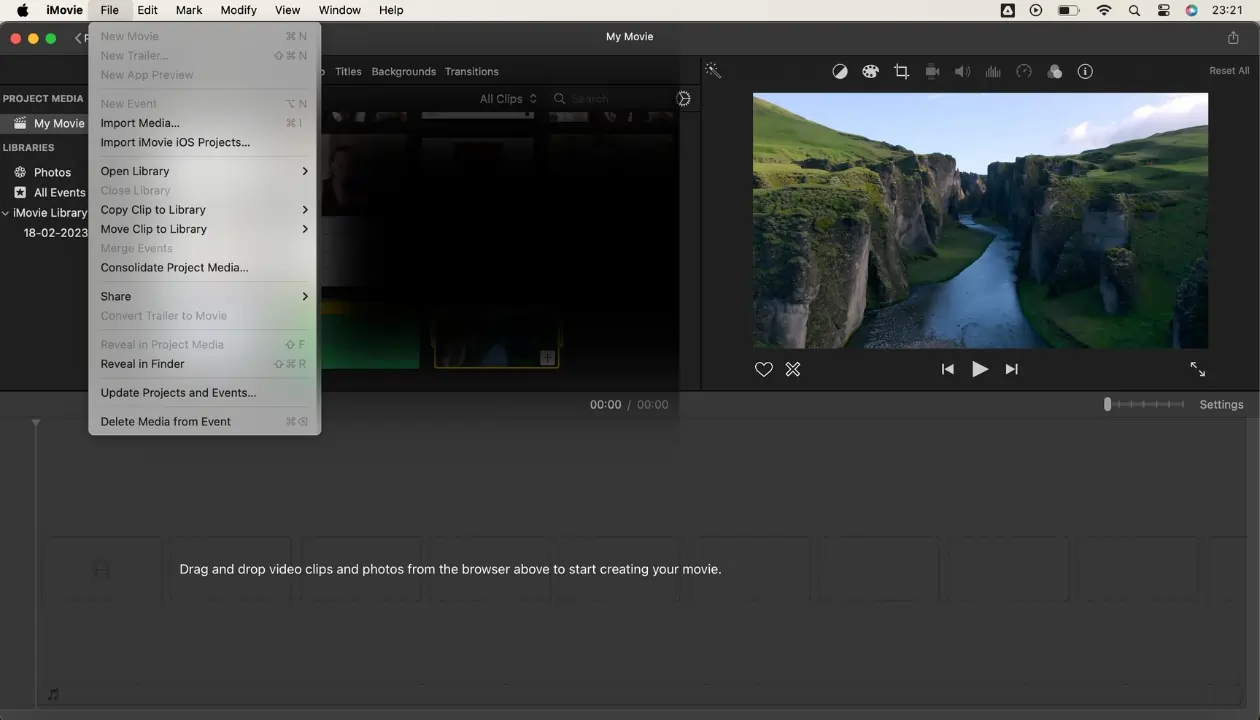
You can import several video files at once.
Hit “Import Selected” once you’re happy with the files selected.
If you’ve previously used the video editing software, you’ll most likely have files already saved in “My Media,” which is located in “PROJECT MEDIA” > “My Movie.”
You can also edit audio files and photos in iMovie; it’s not just for videos.
Step 3: Edit your video
Drag and drop your media files from “My Media” to the editing timeline at the bottom of the screen.
Hold down “Cmd ⌘” on your keypad to drag multiple files simultaneously to the timeline.
You have a couple of options for ordering your media files. They can be placed one after another or on top of each other.
Where you place them depends on what you’re creating.
If you have multiple video clips you want to play consecutively, you’ll place them one after the other. If you want to play music in the background when someone is talking, you put them on top of each other.
Trimming
Trimming your media files is easy with iMovie. Use the “Playhead” cursor to select sections you want to cut and delete on the timeline.
Place the “Playhead” cursor on the timeline, right-click, and select “Split Clip” (Cmd ⌘ + B). This will split the file into two separate files. Select the file you want to cut, right-click, and select “Cut” (Cmd ⌘ + X).
You also have the option to select “Trim to Playhead” (Alt ⌥ + /), which will delete everything up to your “Playhead” cursor.
iMovie lets you zoom in and out of the editing timeline to simplify the trimming process. This tool is located just above the editing timeline on the right-hand side. This is great if you want to get really precise with your editing.
Cropping
The cropping tool allows you to adjust your video's appearance within the frame.
- Fit: This ensures the entire video fits the iMovie frame without cropping.
- Crop to Fill: This will crop the video to fill the entire frame.
- Ken Burns: This effect creates a dynamic panning and zooming motion on still images, making them appear more visually engaging.
Stabilization
Is your video or media footage shaky? iMovie has you covered with its stabilization tool. Select the option to stabilize, and then use the percentage slider to choose how much you want to manipulate this feature within the video.
Adjusting volume
Adjust the overall volume of your video, making it louder or quieter.
Noise reduction and equalizer
Were your videos recorded in a noisy environment? Select “Reduce background noise,” and iMovie will handle this for you.
You also have other advanced effects in the dropdown options for “Equalizer.” For example, you can reduce any humming sounds or boost the treble.
Speed
You decide what speed you would like to play the video in. Keep things as you have recorded them by keeping “Normal” selected. Or, you can speed things up or slow things down.
iMovie is great for basic video editing, but you can also enhance your video with advanced effects. Here are the different effects you can do with iMovie:
Color balance
- Match Color: Achieve better consistency and make one clip's colors look like another.
- White balance: Adjust color tones to ensure white objects appear as they should.
- Skin tone balance: This tool ensures skin colors appear natural and consistent regardless of the light sources during recording.
Color correction
In iMovie, you have three sliders that you can move and adjust to change your video's overall color and hue.
For example, you can turn your video grayscale or add a blue or yellow hue.
Clip filter and audio effects
With iMovie, you can apply visual filters to the video or add various audio effects. Get creative, and see what effects work best for the video you’re creating.
Presenter mode with slides hack
Do you want to add a talking head to your presentation slides? This is possible with iMovie.
Drag the files that contain your slides and talking head to the editing timeline, making sure to place them on top of each other.
Select the file with your slides and then “Video overlay settings,” located in the top right of the screen. Select either “Picture in Picture” or “Split Screen.”
“Split Screen” takes the two videos and places them next to each other, and you can choose the position.
“Picture in Picture” allows you to have the slides take up the whole screen but then place a talking head somewhere on the screen. You can decide how big you want it to be and where to put it on the screen.
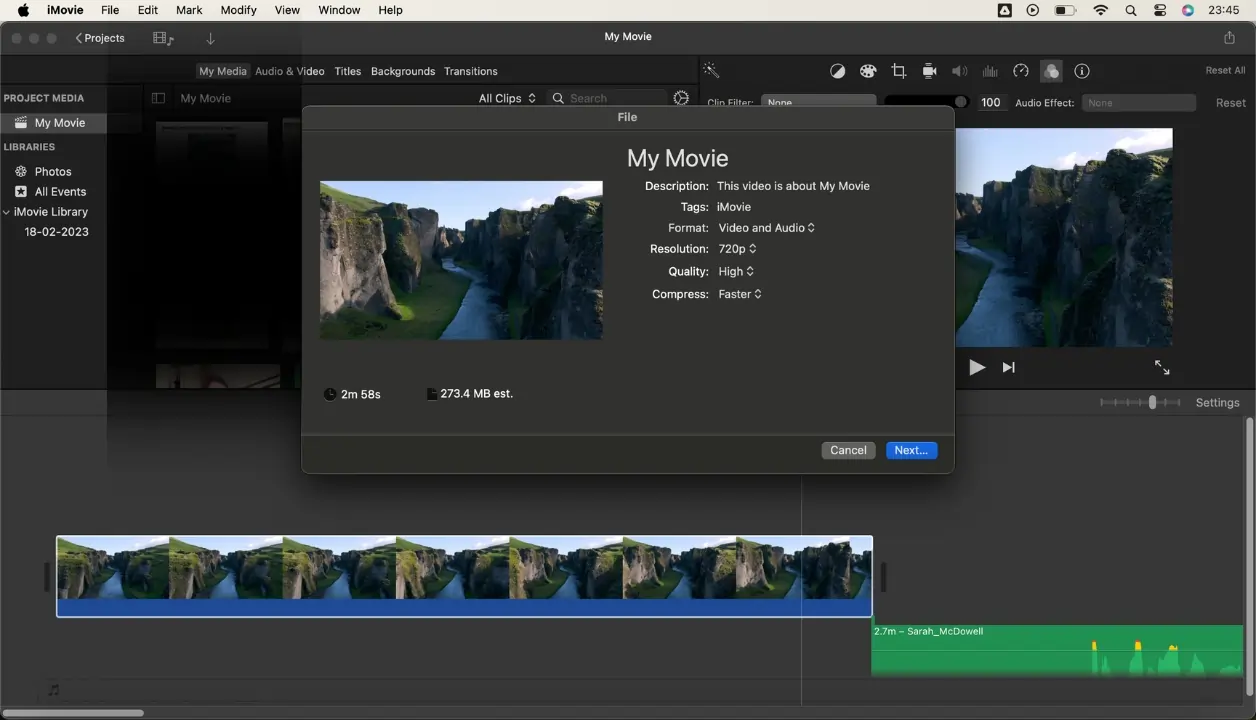
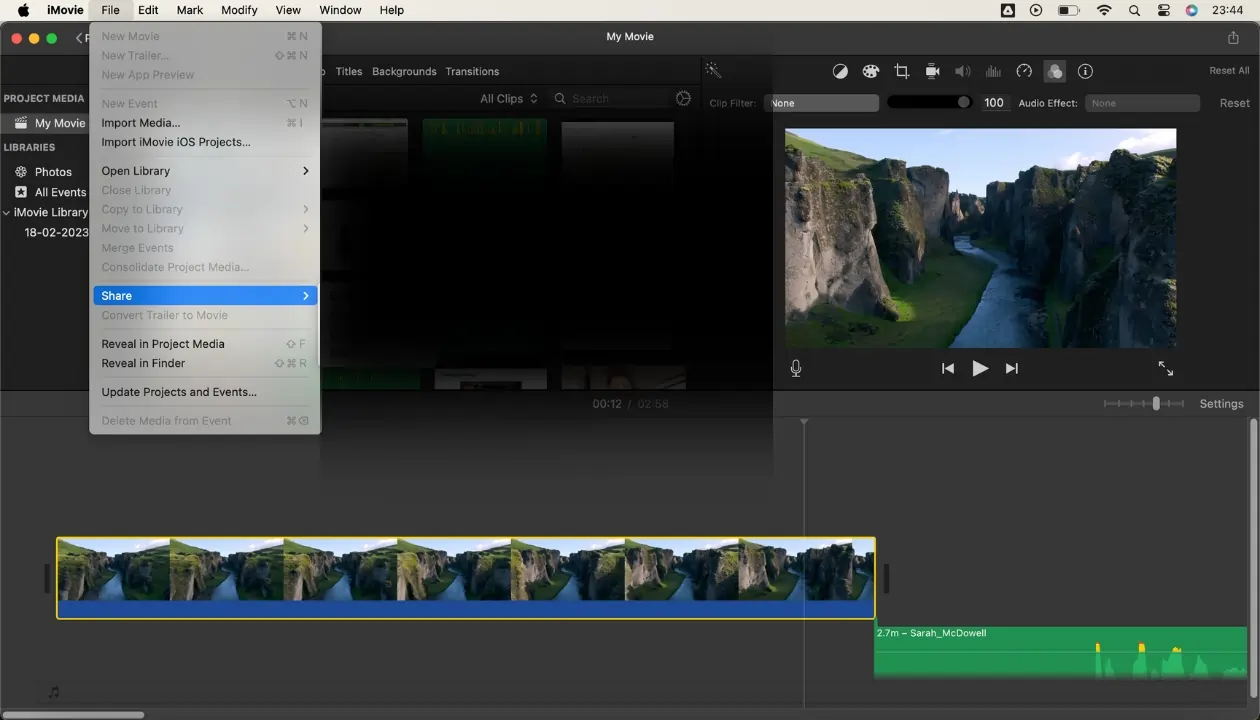
Step 4: Export your video
Once you're happy with your video, it’s time to export and save it to your device.
Head to “Share,” then select “File.” Name it, choose your resolution (options range from 540p to 4K), and then select “Next.”
Choose where you want to save your video and select “Save.”
Paid video editing software for Mac users
If you’re using a Mac computer or MacBook laptop for professional video editing of the highest order (editing movies, working on 3D animation, etc.), you should invest in advanced video editing software. Here are your best options:
Final Cut Pro
Price: $299.99 (one-time purchase)
Apple's flagship video editing software offers a powerful combination of a magnetic timeline, advanced color grading, and 360-degree VR editing. It's optimized for Macs, providing seamless performance and integration with other Apple products, making it popular among film and content production professionals.
Adobe Premiere Pro
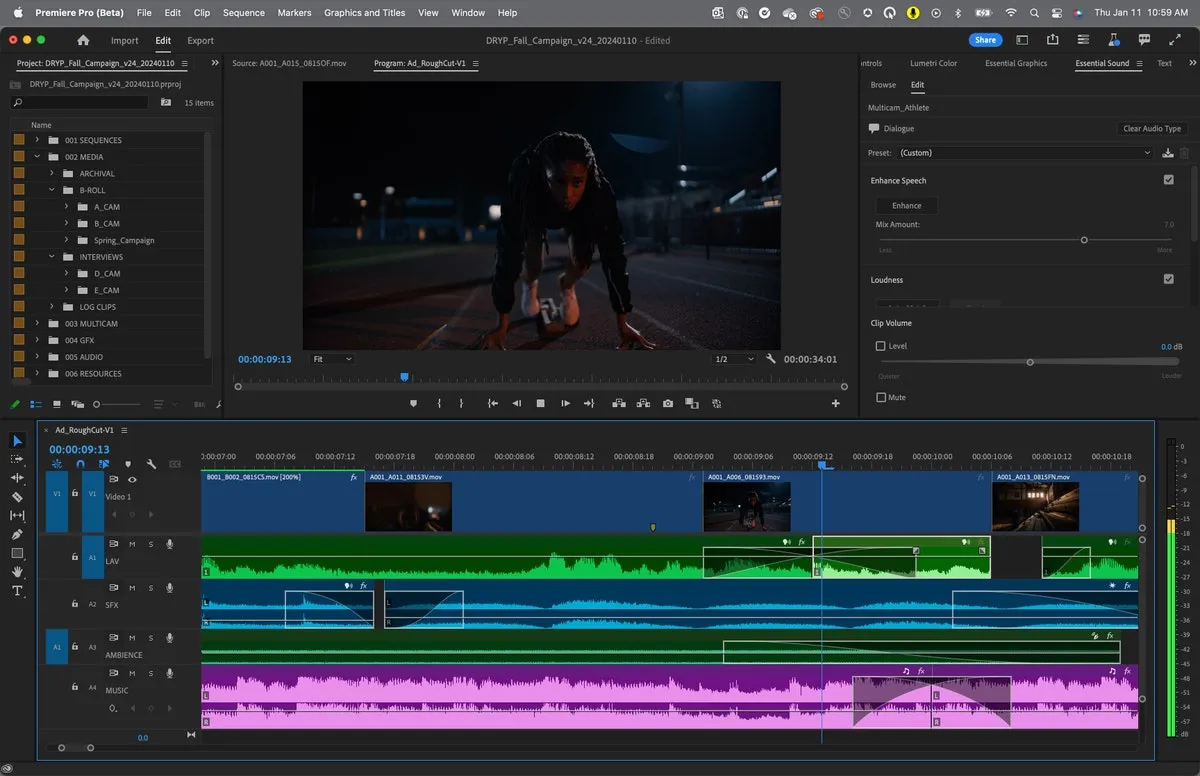
Price: $20.99/month or $239.88/year (as part of Adobe's Creative Cloud)
A leading industry-standard video editor, Adobe Premiere Pro is known for its flexibility and integration with other Adobe apps. It supports various formats and offers advanced editing tools, making it a go-to choice for filmmakers, editors, and YouTubers.
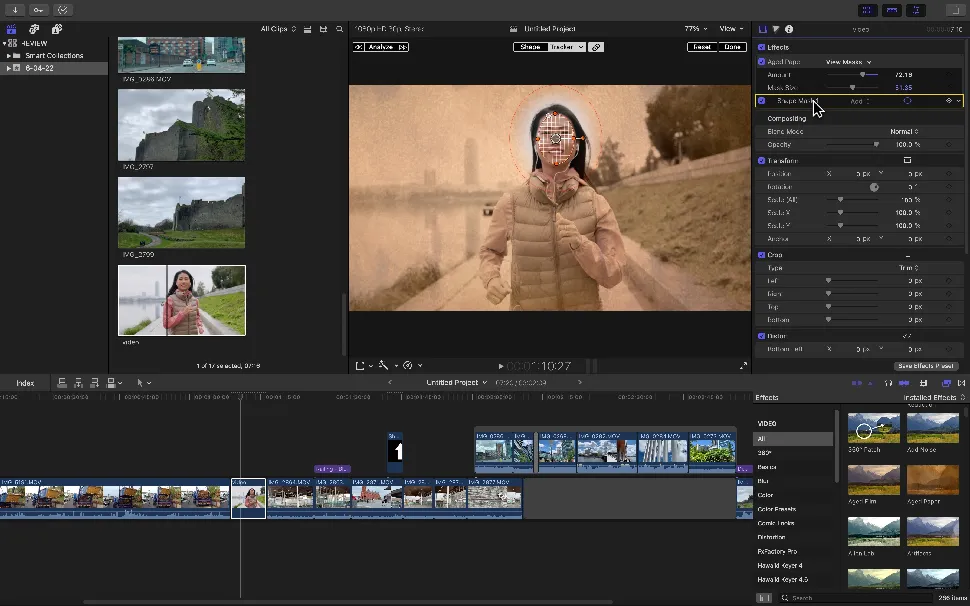
DaVinci Resolve Studio
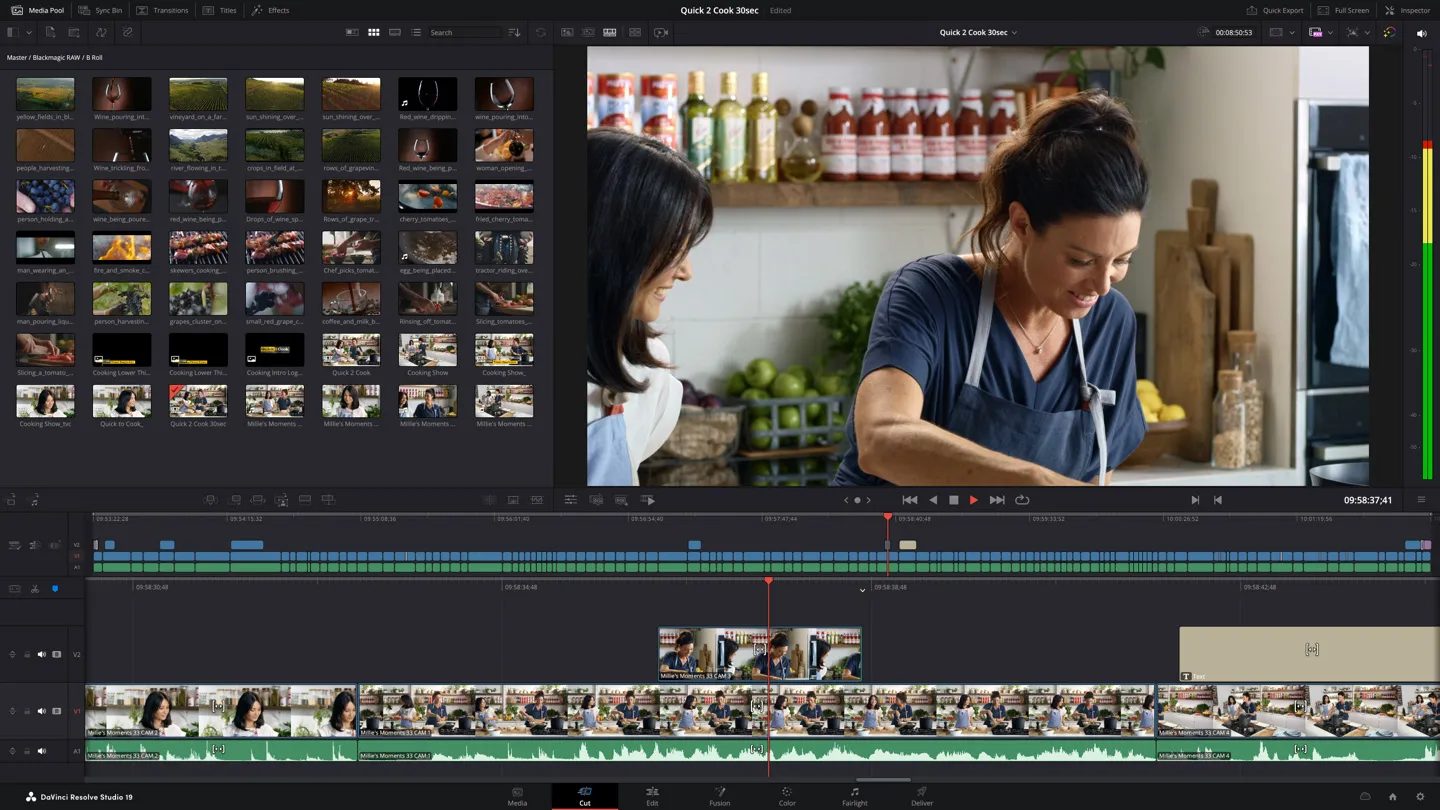
Price: $295 (one-time purchase)
Known for its best-in-class color grading capabilities, DaVinci Resolve Studio also provides professional-level editing, visual effects, and audio post-production tools. It's used in high-end film production and offers an impressive free version with limited features.
Find a tool for both video recording and editing
As a video content creator, it's ideal to have a tool that lets you record and edit in one place, streamlining your workflow and saving valuable time.
Riverside.fm offers this all-in-one solution, allowing you to record high-quality video and audio remotely while also providing built-in editing features for quick post-production.
With everything in one platform, you can produce polished content faster and with less hassle, making it a powerful option for creators looking to simplify their video production process.
FAQs on how to edit a video on Mac
Is video editing easier on Mac?
If you’re familiar with Apple devices and know the time-saving keyboard shortcuts, you’ll find editing on a Mac a breeze. There’s also the performance of Apple and Mac devices to consider. They are well-built machines and typically run error-free, meaning software and apps (both external and Apple-specific) will run pretty seamlessly.
How do I edit a screen recording on a Mac?
Use iMovie or a third-party tool, such as Riverside, to edit a screen recording on a Mac. Hit the “Cmd ⌘” + “Shift ⇧” + “5” shortcut on your keyboard to bring up your device's recording option. Ensure settings are correct, hit record, and once you’re happy, end the recording and upload to your chosen video editing tool.
How do I change and enhance video in Photos on Mac?
In the Photos app on a Mac, you can view, edit, and enhance videos. Locate the Photos app on your Mac, double-click a video, and select ”Edit” in the toolbar. Select “Adjust” on the taskbar to show the different options, such as lighting, exposure, white balance, and more.
How to edit videos on a Mac without iMovie?
You’ll need to use a third-party tool such as Riverside, DaVinci Resolve, or Final Cut Pro (which we have previously mentioned in the article). You can use the Photos app, but it has limited editing options.


%20(1).webp)
%20(1).webp)
.webp)

