.webp)


Table of contents:
Key takeaways:
- iMovie does not support SRT files: This means that you cannot import subtitles that have been created in other programs. You will need to create your subtitles directly in iMovie.
- Adding subtitles in iMovie's isn't easy: You can add subtitles and captions to videos using iMovie. However, the process is manual and can be time-consuming.
- Riverside is a great laternative: Riverside offers accurate transcriptions in over 100 languages for creating captions. This makes it a great option for creating subtitles for videos that are in multiple languages.
If you’re a content creator, you can’t ignore the importance of captions and subtitles. These visual aids help your content to reach wider audiences, particularly those with hearing or language difficulties. So, how can you add them to your videos?
In the following guide, we will take a look at how you can use iMovie to add subtitles to videos. The Apple software is available for iPhones, iPads, and Macs. We will delve into the process you should use for each of these devices. Here’s what you need to know.
Can iMovie automatically add subtitles to videos?
iMovie does not automatically generate subtitles for videos. However, that doesn’t mean that you should give up. Thanks to the Title feature, you can type your own subtitles into the application and have them appear over your video. While this is a laborious approach, it means that you can easily add subtitles or captions to any video that you choose.
Can you import an SRT file into iMovie?
Sadly, the answer to this question is no. iMovie does not allow you to import an SRT file into the application directly. Despite this fact, you can use the SRT file when creating your subtitles. To do so, copy the text from the SRT file and paste it into the application. Click the Title feature, and you will see a box in which you can type. Paste the text into there.
How to add subtitles or captions in iMovie on Mac
If you are using iMovie on a Mac, you can add subtitles or captions to your media swiftly. You don’t need any special skills to get started with this one. However, if the video is long, it might be a mini workout for your fingers. Here’s what you need to do to get started:
Step 1: Launch iMovie
Before you get started, you need to launch iMovie on your Mac. If you can’t find the application in the dock, check the Applications folder in your finder window. Double-click the icon to get started with iMovie.
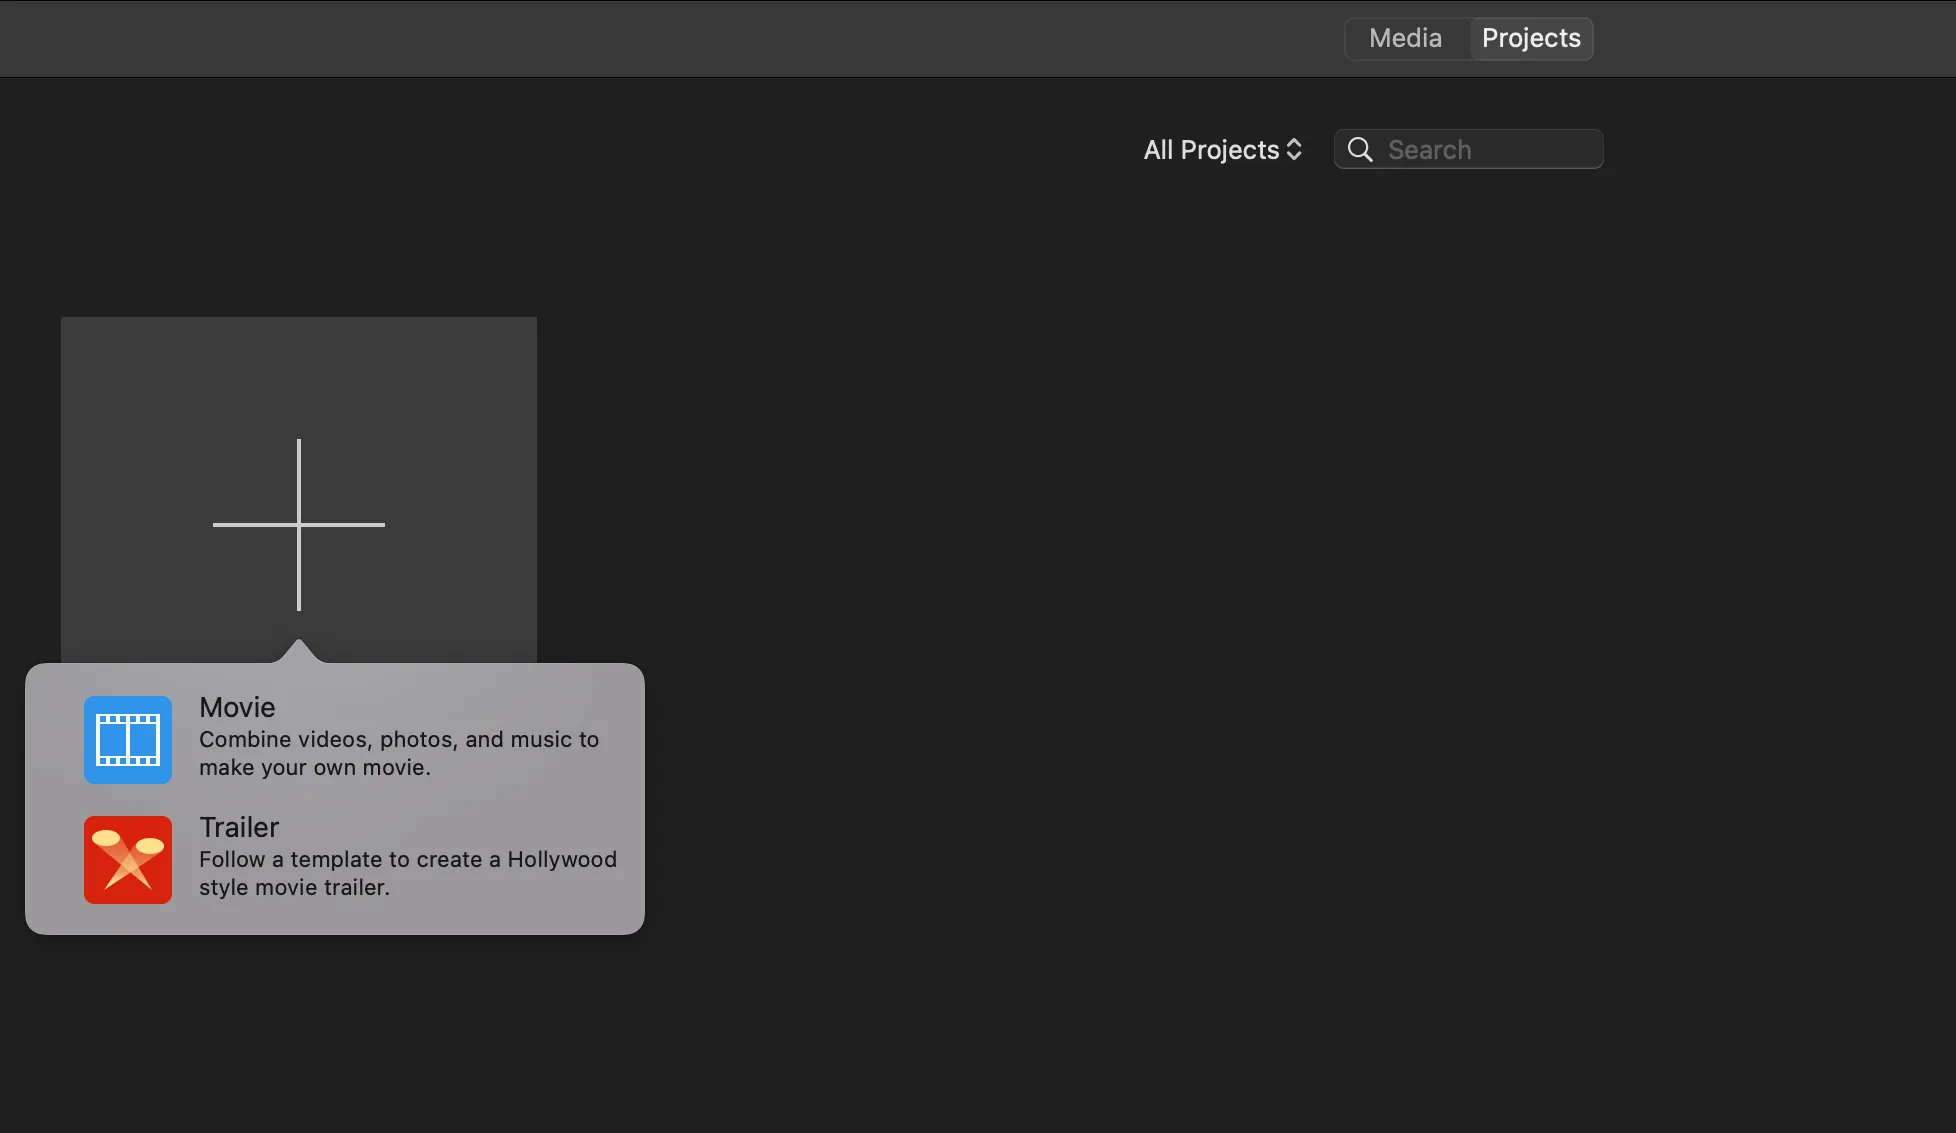
Step 2: Create a new project
Next up, you need to create a new project. When you do this, you can import the video to which you want to add subtitles. To kick things off, go to Project and then Create New, and then Movie.
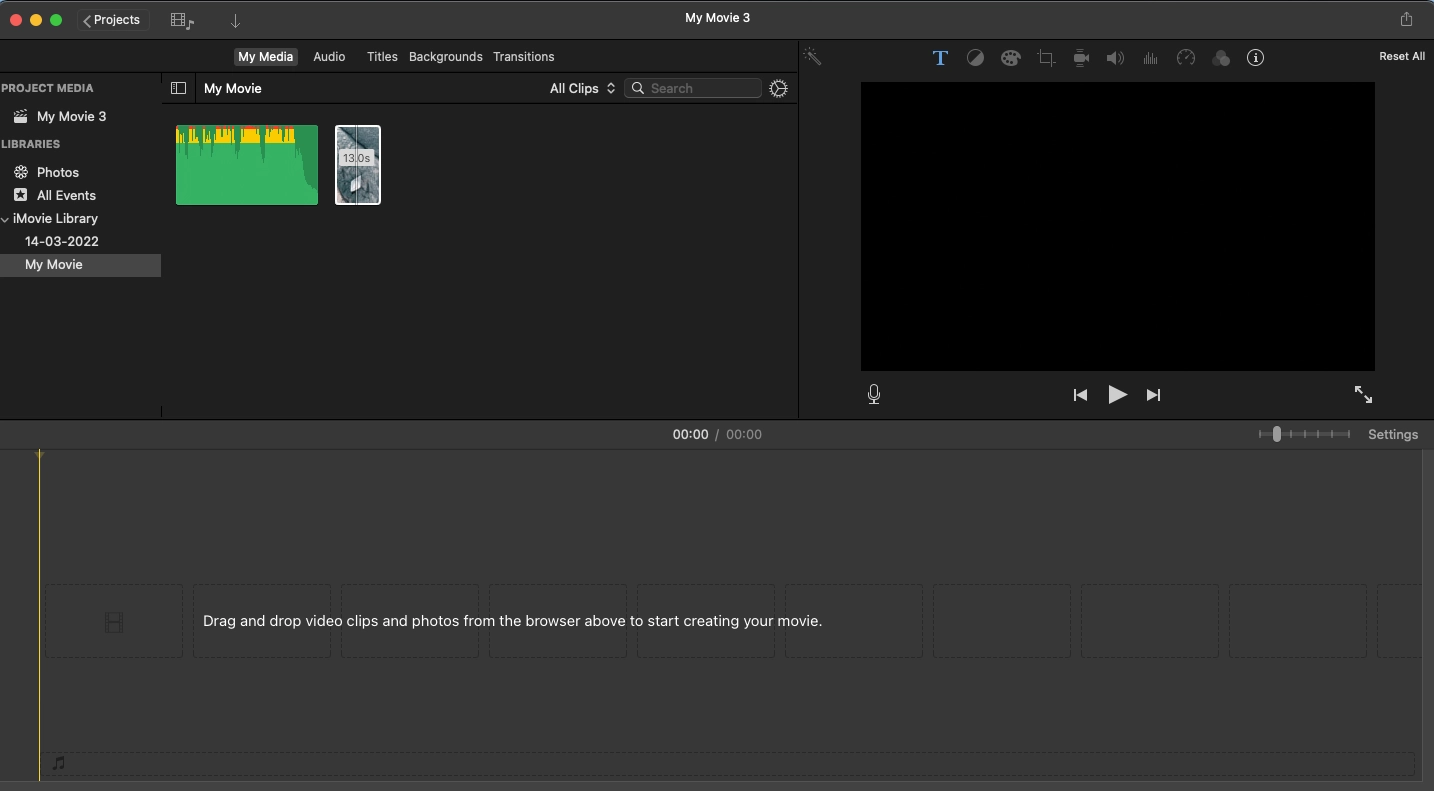
Step 3: Import the video
Next up, you need to import the video that you want to add subtitles to. To do that, click on Import Media and choose the clips that you want to use.
Step 4: Drag and drop videos
Your video clip will appear in the top left box. The next step is moving it to wherever you want on the timeline. You can use a simple drag-and -drop method here. Click on the media file (which will have a thumbnail picture) and drag it down to the timeline.
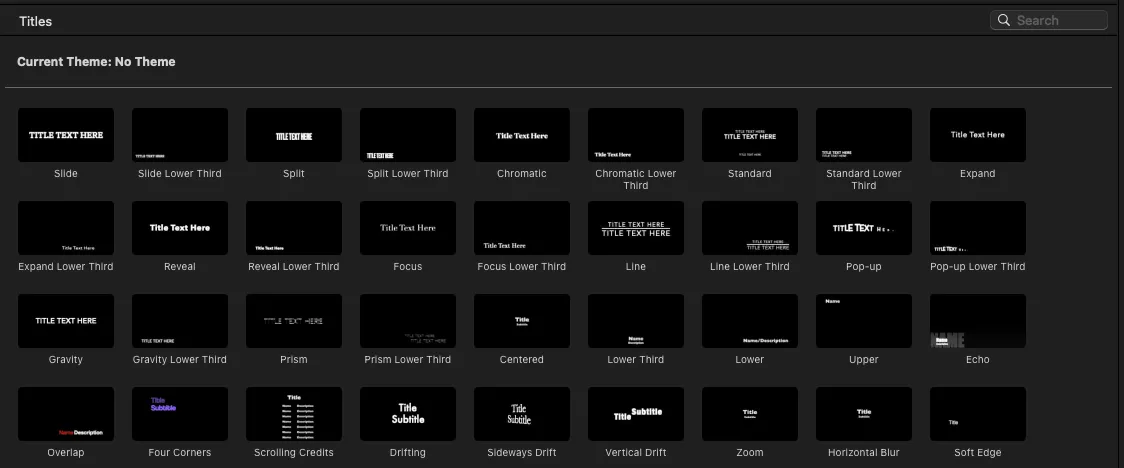
Step 5: Pick the Title style
Adding hand-typed captions to iMovie is easy. Click on the Titles button to get started. When you have done that, you will see a whole range of style types including Split, Expand, Slide, and Focus. Choose the one that suits your brand style.
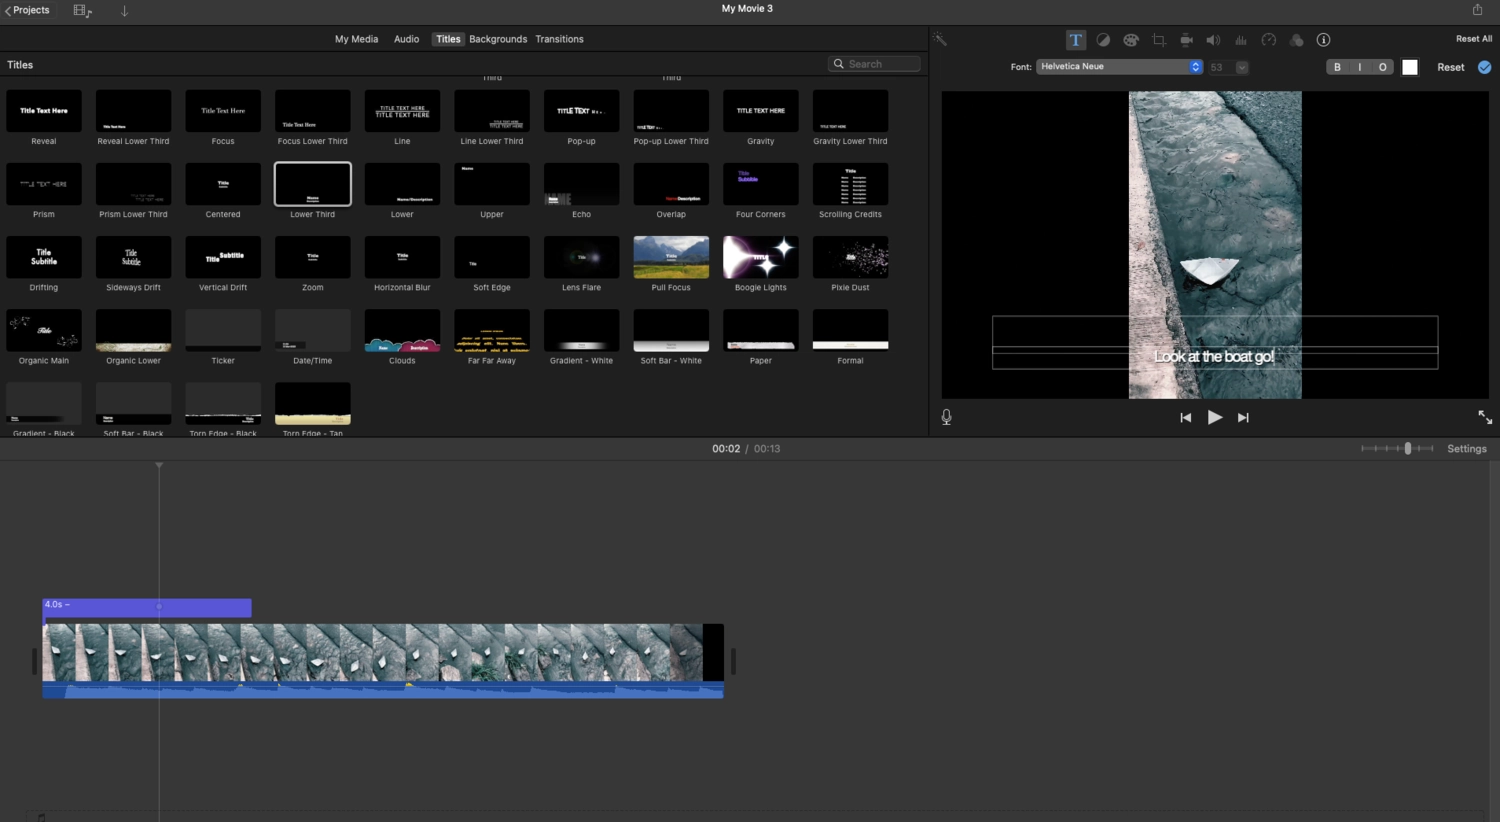
Step 6: Type out your captions
Once you have chosen a style, drag and drop the Title box down to the timeline. Pick the time when you want the subtitles to begin. Each text box you drop in will sit above the video clip with a timestamp on it. You will need to add multiple in for your captions.
When you have added your Title boxes to the timeline, type your subtitles directly into each of them. You can add a few different styles in if it suits your video.
Step 7: Get creative
When you have typed out your subtitles, and made sure that they are accurate, the next step is to spruce things up. Luckily, you can edit the text in iMovie.
Click on one of the Title boxes. Above the video in the top right of the screen, you will see font options. Pick the size, style, alignment, and color that suits your brand.
Step 8: Save the video
The final step in the process is to save the video. To do that, click File at the top of the screen. Select the Share button and then choose File again. When a box appears, click Next, name your video, and click Save. Simple.
How to add subtitles or captions in iMovie on iPhone or iPad
Of course, not everyone has a Mac. If you only have an iPhone or iPad, you can still add subtitles or captions to your video. Follow the below steps to complete this task:
Step 1: Launch iMovie
Once again, the first step in this process is launching iMovie. If you don’t already have this app on your iOS device, you can download it using the App Store.
When you have done that, simply click the icon on your phone screen, and the app will open up. The first thing you will see is a bar that says Start New Project with a few options. Select the Movie option.
Step 2: Import the video
Next, it’s time to import the video that you want to add subtitles to. You need to ensure that you have a copy of the video clip saved on your iPad or iPhone device.
When you have selected the Movie option at the start, the app will take you to the videos saved on your iOS device. Choose the one you want to use by clicking it and pressing the Create Movie button.
Step 3: Add the text
The next step is to click the media in the timeline and select the T button at the bottom of the screen. Once you do that, you will see a range of Title styles appear beneath the timeline. Select the one that suits your needs and drag the timeline to the right point.
Step 4: Type out your captions
The text will appear across the video that is at the top of the screen. Click on it and select Edit. You can then type whatever text you want into the box. When you press Play, it will appear on top of the video clip at the point you have chosen.
Step 5: Repeat the process
If you want to add multiple captions to your video, you may have to repeat the above process several times. You can choose the same Title style or different options.
Step 6: Save the video
When you are happy with your captions, click the Done button in the top left-hand side of the screen. You can then click the Share icon at the bottom of the screen to save the file.
You can share the video with friends (via WhatsApp or Messenger) or transfer it using the AirDrop feature. Alternatively, you can click Save Video, and it will save to the iOS device you currently use.
How to edit and stylize subtitles in iMovie
Now that you know how to add subtitles to iMovie, let’s talk about how you can edit them. When you have typed out your captions, you will have the chance to change the text. The process slightly differs depending on whether you’re using an iPhone, iPad, or Mac. Luckily, it’s not hard and won’t take you all that long to complete. Follow our tutorials here.
How to edit subtitles in iMovie on Mac
If you have added subtitles to your video in iMovie on a Mac, you can then edit the text. While you will have chosen a style at the start of the process, there are more options. With that in mind, you should follow the below steps to customize the subtitles on your video.
Step 1: Click on the Title box that you want to edit
Step 2: Guide the cursor to the text options in the top right-hand corner
Step 3: Click the dropdown and choose the font type
Step 4: Use the dropdown to select the font size
Step 5: Select the alignment you want for your captions
Step 6: Select Bold (B), Italic (I), or Outlined (O)
Step 7: Click on the color box and choose your text color
How to edit subtitles in iMovie on iPhone or iPad
If you have created your video on your iPhone or iPad, you can edit them using this device. You may find that the process is a little more fiddly than you might expect. Once you have added the captions to your video, you need to follow the below steps:
Step 1: Click on the Title box that you want to edit
Step 2: Select the Aa button to choose your font style
Step 3: Use the color circle to choose the font color
Step 4: Click the … button to see more customizable options including:
- Uppercase or lowercase
- Text shadows
- Text style
You can use the toggle function to make changes or click on the above options. When you have chosen the text style that suits you, simply select the Done button.
Riverside: A seamless iMovie alternative for adding subtitles
Of course, one of the biggest drawbacks to using iMovie is that you have to hand-type the captions. That can take a long time and can be a lot of hassle.
Riverside is a seamless alternative if you’re looking for an AI-powered, automated subtitles solution. The professional platform allows you to create your own virtual recording studio. At the click of a button, you — and any guests you choose to invite — can create flawless video content that you can use for podcasts, your YouTube channel, or social media.
The built-in AI transcriptions are highly accurate, and Riverside offers them in more than 100 different languages. When you have finished creating your recording, the transcription feature will automatically start working its magic. It also includes speaker differentiation, and you can label each of the guests and hosts when the transcription process is over. Best of all, you can use these transcriptions to edit your actual recording. Any text you delete in your transcripts automatically removes the matching video and audio.
You can either burn open captions into your video directly in the editor, or you can download an SRT or TXT file for easy closed captions.
Don’t panic if you haven’t recorded the video in Riverside. You can use the accurate AI transcription tool without signing up to the platform. The feature offers unlimited free transcriptions for the video or audio files that you choose to upload. It supports MP3, WAV, MP4, and MOV file formats. All you have to do is drag and drop your media to get started.
Key Features:
- Automated AI transcriptions with unmatched accuracy
- Transcriptions in over 100 languages
- Instant transcriptions (straight after recording)
- Speaker detection so you can easily identify who says what
- Text-based video and audio editing so you can create polished videos as fast as editing a text transcript
- SRT and TXT format files to easily add captions for content repurposing
- Captioning tool to easily burn open captions on your videos

How to add subtitles or captions to videos with Riverside
Looking for an easy way to add accurate captions to your videos? We’ve got the answer. There are two ways that you can use Riverside to add subtitles or captions to your videos. If you plan to create your video content using the platform, follow these steps:
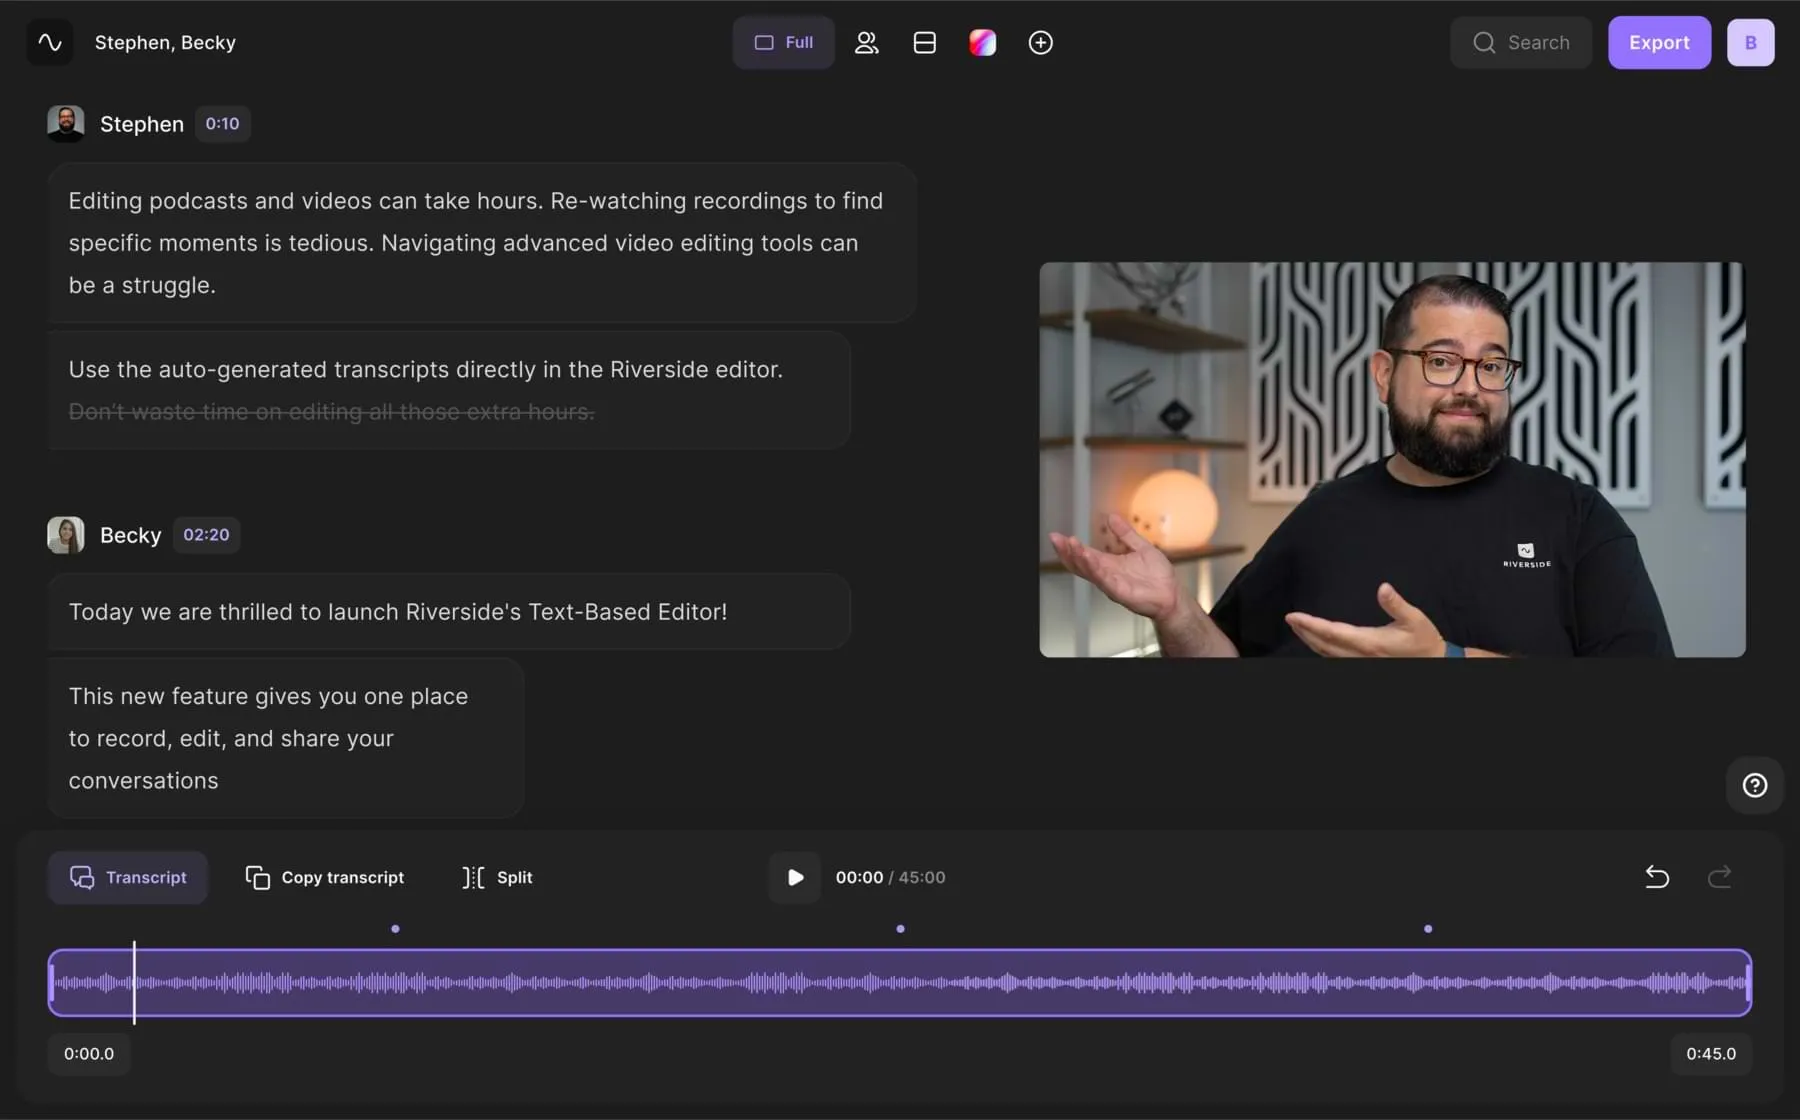
Step 1: Select Your Video
After recording a video on Riverside (or uploading one), navigate to the Studio Recordings dashboard and choose the video for which you want to create captions.
Step 2: Access the Editor
Click the “Go to editor” button to start editing your video. Hover over a clip and select “Edit” to make adjustments.
.webp)
Step 3:Edit Your Video
In the editor, refine your video using these tools:
- Trim: Edit the text transcript to trim your video or trim it manually using the timeline editor.
- Design: Personalize the background and layout.
- Enhance: Add music, images, or text overlays from the royalty-free Media Board, or upload your own assets.
if you want to improve the sound, you can also use the Magic Audio feature to fine-tune sound quality and automatically remove background noise.
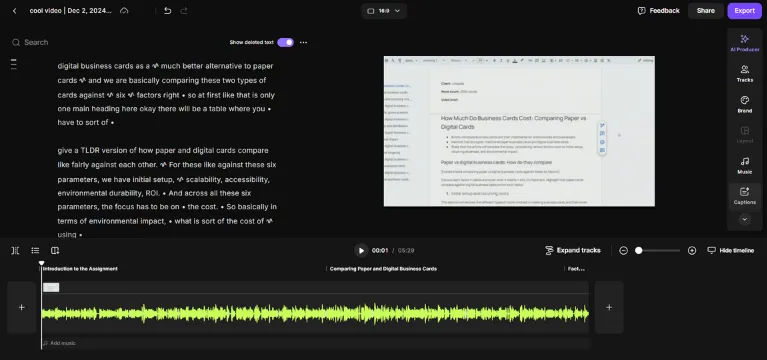
Step 4: Add Captions
When your edits are complete, click the “Captions” button in the right toolbar to add open captions directly to your video. Customize the style and position of your captions by dragging them to your desired location.
.webp)
Step 5: Export Your Video
Once you're satisfied with your edits and captions, click the purple “Export” button in the top right corner to save your video with captions included.
FAQs on How to Add Subtitles in iMovie
Can I create an SRT file in iMovie?
The short answer is that you can’t. If you want to add subtitles to iMovie, you need to use the Title feature and hand-type them. iMovie doesn’t support SRT files.
How do I manually add subtitles?
If you want to manually add subtitles to your video content, you can use iMovie. The app allows you to use the Title feature to add captions to the clips. You will have to type out the captions to match the video content. This can take a lot of time and energy.
How do I add automatic subtitles to a video on my iPhone?
You can use the Riverside app to add automatic AI-powered subtitles to your videos. Download the app first. You can either record your own content in the app or use the transcription tool to upload videos that you already have on your iOS device.

.webp)


.webp)


