Table of contents:
Key takeaways:
- Captions make Instagram Reels and Stories more accessible to anyone watching without sound and to viewers with hearing impairments.
- Adding captions boosts engagement by keeping viewers interested and improving retention rates.
- Tools like Riverside offer advanced captioning features, including customization and accurate transcription.
Want your Instagram Reels and Stories to be more engaging - and accessible?? Captions are your secret weapon!
In this article, we’ll go over how to add captions on Instagram Reels and Stories, so you can show your audience your unique style, communicate your message, and create influencer-quality videos.
Let’s get into it!
How to add captions to Instagram Reels directly in the app
Instagram has its own feature for captions. While this is right in the app, there are only limited styles you can choose from. If you want to create more dynamic captions then you’ll need to use external editing software. (We show you how below.)
Here’s the step-by-step guide on how to add captions to Instagram Reels.
Step 1: Open Instagram and start a Reel
Open the Instagram app. Tap the “+” button at the bottom of the screen.
Select “Reel” from the options below.
.webp)
Step 2: Record your Reel or select a video
Use the “Camera” icon to record a new video or select from videos already on your phone. If you’re using the camera, click and hold the big white record button in the center. Once you’ve finished recording, click “Next.”
Step 3: Transcribe captions
After recording or uploading your Reel, tap the “CC” icon to add captions.
.webp)
You can also tap the sticker icon with the smiley face. Then select “Captions.”
.webp)
Your spoken audio will be automatically transcribed by Instagram and will appear on the screen.
Step 4: Adjust caption font and styling
Choose your preferred font style from the slider.
To change colors, tap the “Text Color Picker” (rainbow) icon. Tap the “A” button to adjust text effects. To make edits to the transcription, double-tap any word.
.webp)
Step 5: Adjust caption positioning
To change the position of the captions, click “Done.” You can move the captions by dragging them to your desired position. You can also enlarge or reduce the caption size using two fingers.
Step 6: Share your Reel
Click the “Next” arrow, then choose how and where you’ll share your story. Click “Share” to post your Reel with captions.
.webp)
Read more: How to Make Instagram Reels
How to add captions to Instagram Reels and Stories with Riverside
If you’ve used Instagram to add captions to your videos, you probably know there are a few drawbacks. Instagram’s transcription isn’t always that accurate, especially in languages other than English. Plus, you’re pretty limited in how many adjustments you can make to your captions.
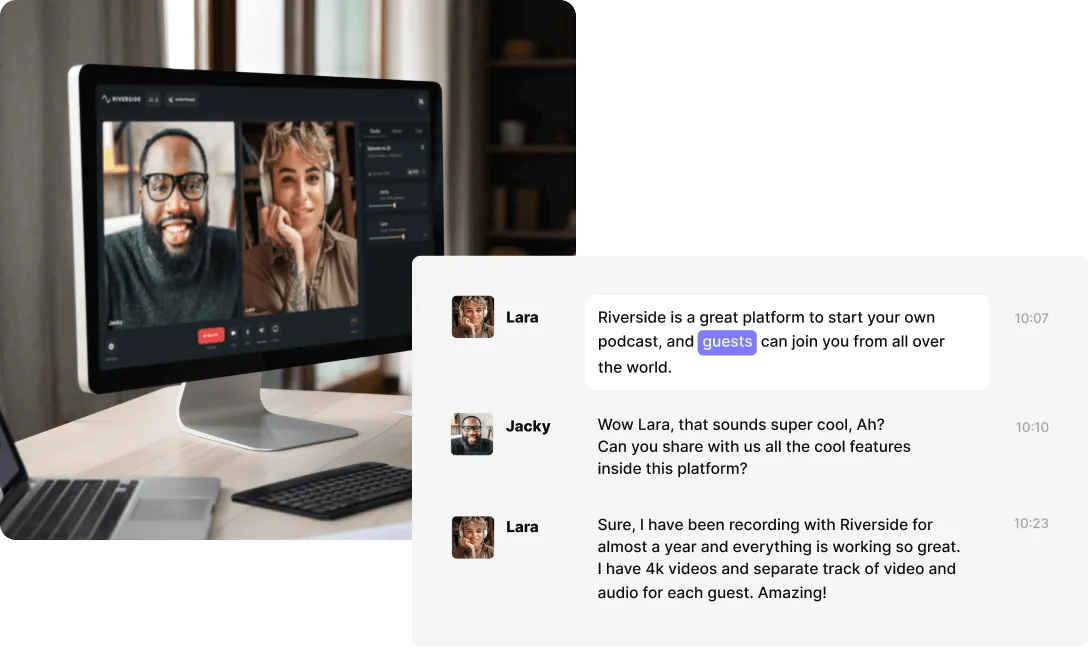
If you record or upload your video in Riverside, you will get, 99% accuracy transcriptions, available in in 100+ languages. You’ll also be able to customize your captions and your video, including layout and branding options you can’t get in the Instagram app.
Here’s how to do it.
Step 1: Record or upload your reel
Log into your Riverside account and create a new studio or go to an existing one.
Click “Record” to capture a reel if you don’t have one already. Or, to upload an existing video click “Upload.”
Learn more about recording with Riverside here.
After recording or uploading, hover over your recording and click “Edit” to go to the editor.
.webp)
If you have longer footage you’d like to turn into multiple Instagram Reels, you can use Magic Clips to automatically create short, viral-worthy clips.
Step 2: Edit your video for Instagram
First thing first, make sure your video is optimized for Instagram.
- Click on the aspect ratio button at the top of the editor, and choose 9:16.
- Make sure the video is at most 90 seconds.
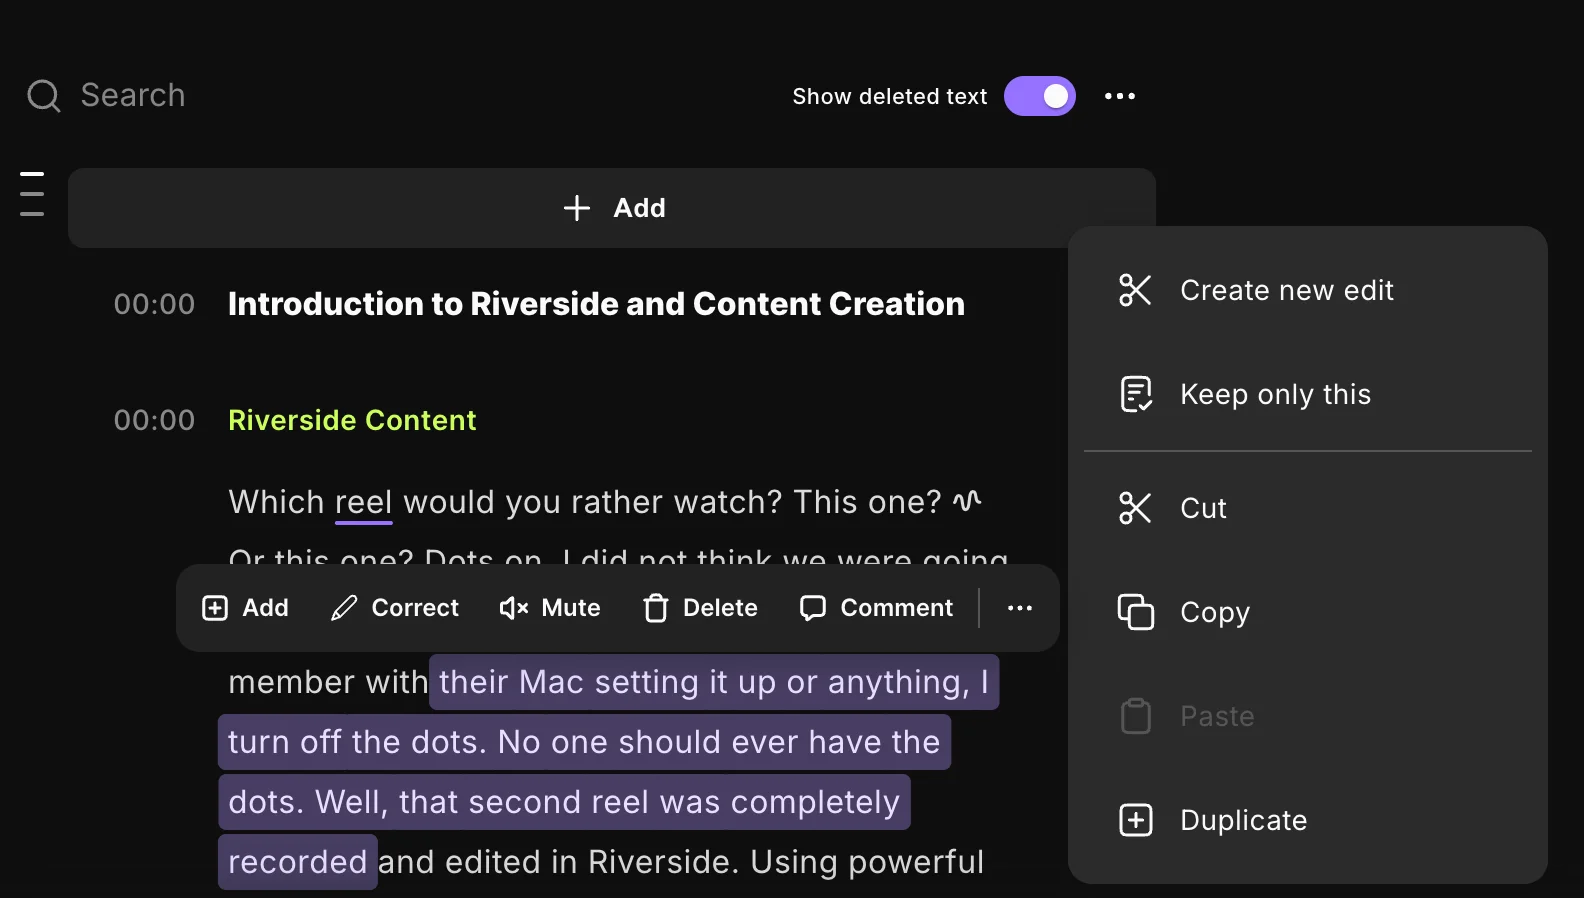
You can use our text-based editor or the timeline to trim your recording. If you’re using the text-based editor, then simply delete the text you don’t want in the recording.
If you’re using the timeline, then select what you want to cut out and click “Delete”.

Step 3: Add and edit your captions
To add captions, click the “Captions” button on the right-hand side. Here, you’ll find options to add captions in various fonts and formats.
.webp)
You can drag the captions box around your video to find the right placement. To style your video, use the toolbar to (from left to right):
- Select a font style
- Change the font
- Change the size
- Show how many lines display
- Animate your captions so they’re more engaging
- Choose the color of your captions
- Toggle between caps or sentence case
- Align your captions
.webp)
Note that you can also save caption presets. CLick the caption icon with a star on it.
To edit your captions, simply edit the transcript on the left side of your screen.
Step 4: Finish editing your Instagram video
Before going to export, make sure you reel is fully Instagram ready. Riverside has lots of other tools to help you do that.
- Enhance your audio: Enhance the audio of your recording by clicking “AI Producer” in the right-side menu of your editor. Here you can remove silences, filler words and also enhance your audio with “Magic Audio.”
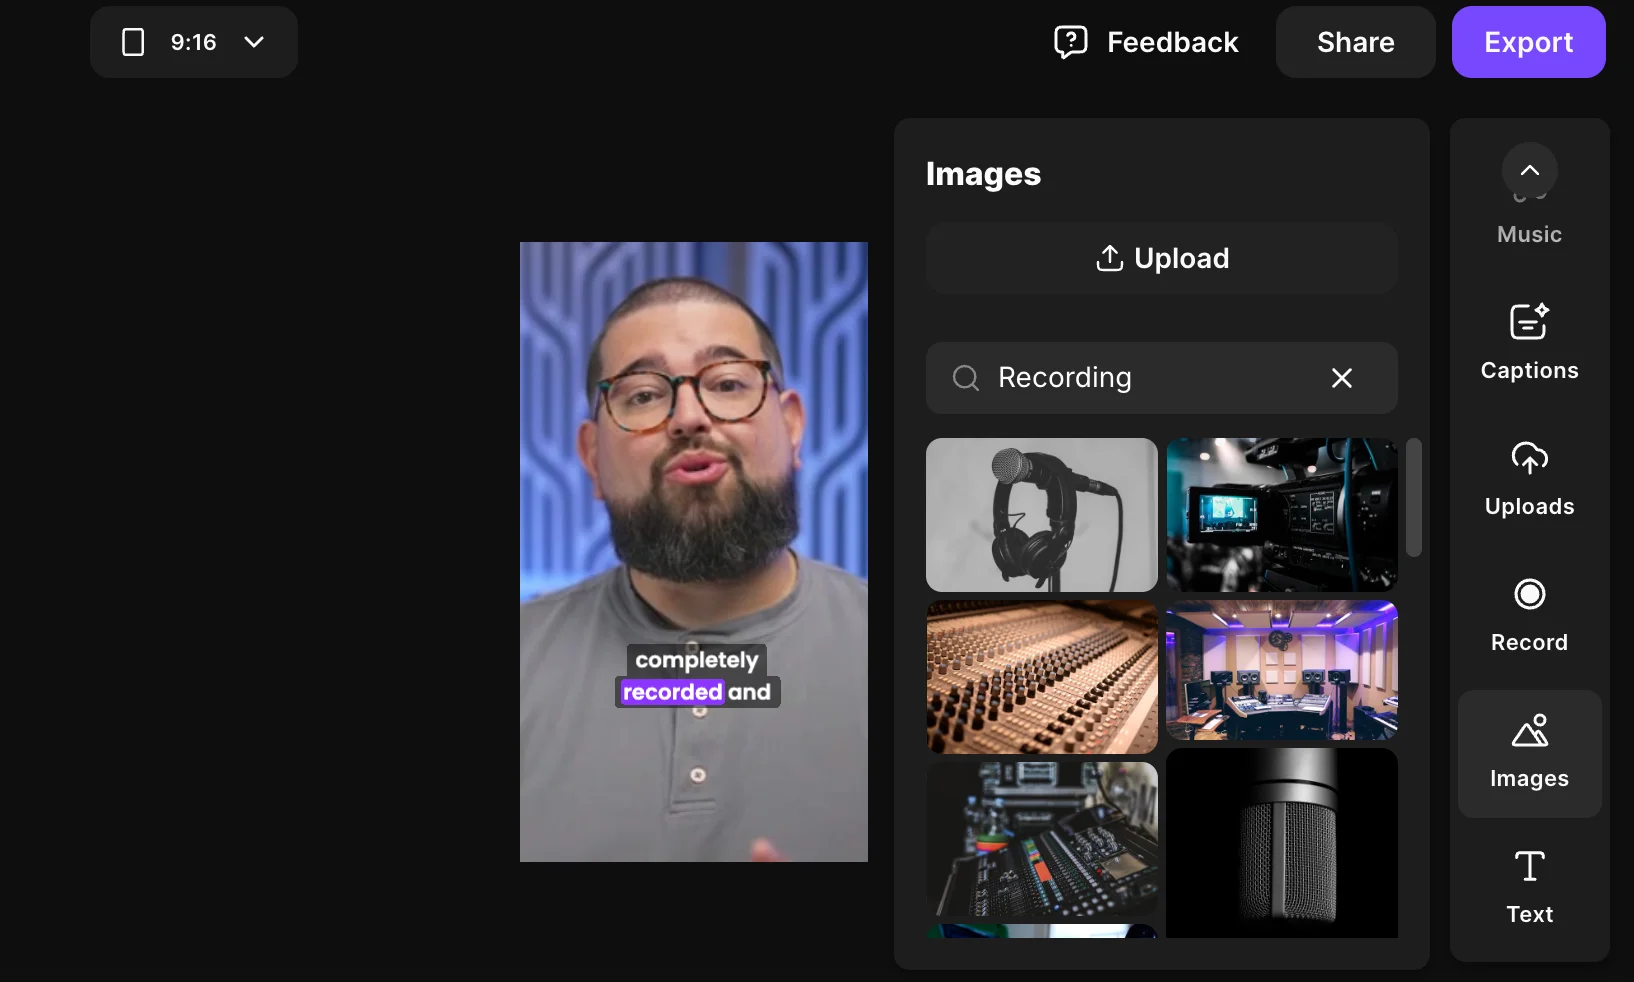
- Add overlays: You can add text overlays by clicking the “Text” tool on the right sidebar and choosing from various options. Position this text anywhere in the frame. You can also add image overlays by going to “Images” on the sidebar. Then, either upload an image or choose one from the royalty-free photos.
- Brand your video: For that extra touch, click on “Brand” to upload or add your own logo and background.

Step 5: Export your video
That’s it! All that’s left to do is to export the video.
Click on “Export” in the top right corner of the screen. From here you can select various options, including normalizing audio and removing background noise.
For video quality, choose at least 1080p, as this is the video resolution Instagram shares.
Then, click “Export video.” A pop-up will appear saying, “Exporting your edit.” Click on “Go to exports.”
Step 6: Share your video on Instagram
Hover over your exported video and click the “Share,” arrow on the top left corner. Then select Instagram. Scan the QR code with your phone camera to continue.

On your phone, click on “Open in browser.” Tap the “Share” button, click on either Reels or Stories on the following screen. You should now be able to post your Reel on Instagram.
How to add captions to Instagram Stories
Stories are a little different to reels. While Reels appear on your home feed and the explore tab, Stories are 24 hour-lasting highlights that appear at the top of everyone’s Instagram home feed.
Instagram Stories can be between 1 and 60 seconds long. And adding captions to Stories, is pretty similar to Reels.
Here are the steps to add captions to Instagram Stories.
Step 1: Open Instagram and Start a Story
Open Instagram and tap the “+” button. Select Story.
.webp)
Step 2: Record your story or select a video
Record a video or upload one from your camera roll.
To record, click and hold the white “Record” button to start your recording.
To upload videos, swipe up or tap the gallery icon on the bottom left corner of your screen to access the video files on your device.
Step 3: Transcribe captions
After recording or uploading, tap the sticker icon with the smiley face. Select the “Captions” sticker. Your spoken audio will be automatically transcribed by Instagram and will appear on the screen.
.webp)
Step 4: Choose your font and style
Choose your preferred font style by selecting it from the slider. To change colors, tap the “text color picker”(rainbow) icon. Tap the “A” button to adjust text effects. Need to make edits to the transcription? Double-tap any word to edit them.
Step 5: Adjust caption size and positioning
Click “Done.” You can now change the position of the captions by tapping and dragging them to the desired position. You can also enlarge or reduce the caption size using two fingers.
Step 6: Share your Story
Click the “Next” arrow, then choose how and where you’ll share your story. Click “Share.”
Read: How to Edit Videos for Instagram
Why adding captions to Instagram Reels and Stories Is important
Wondering whether you should make the effort to add captions on Instagram Reels and Stories? Here are a few reasons why it matters.
Accessibility
Captions make Reels accessible to people who are deaf or hard of hearing. This type of inclusivity expands your potential audience.
On top of this, people tend to watch Instagram Reels or Stories with the audio off. So it’s in your best interest to include captions so they can follow along even with their audio off.
Increased engagement
Captions can add a visual hook to your videos. You can animate your captions and make them pop, or include emojis to keep your audience engaged.
Clarity
Instagram has more than 2 billion users from all over the world who speak different languages. Your accent might not be so easy to understand. Using captions will make it easier to follow.
Best practices for adding captions on Instagram Reels and Stories
Here are some best practices for adding captions on Instagram.
Make sure the captions are synced
Captions should appear exactly when the words are spoken. If the words on the screen don’t sync with the audio, it can be uncomfortable for the viewer.
Choose readable, high-contrast captions
The caption text color and background video should have good contrast to be readable. After all, if your viewers can’t read the captions, they won’t do their job.
For more styles, colors and font options you’re better off using an external captioning tool like Riverside.
Make your captions move
Using captions that are dynamic, make your video more visually engaging. Movement hooks viewers in. You can use Instagram’s presets, but for bolder -think Hormozi style- captions, you can use a tool like Riverside. You’ll have much more flexibility and choice as to how you want to animate your captions.
For example check the captions here:
Add emojis for personality
Use emojis to add personality to captions. They help express emotions and emphasize critical points, making content more relatable and appealing. You can do this in the Instagram app. Just tap your device to open your keyboard while adding captions. You can then switch to the emoji keyboard and select the emojis you wish to include.
Check and edit auto-captions for accuracy
Don’t count on auto-captions to be 100% accurate. Always review them for accuracy. Clear, error-free captions improve credibility and make you look professional.
FAQs about adding captions to Instagram Reels
How do I enable captions on Instagram?
To enable captions on Instagram:
- Open Instagram and go to your profile.
- Tap the hamburger menu button in the top right corner.
- Select “Your app and media,” then scroll to “Accessibility and translations.”
- Tap “Captions and translations.”
- Toggle on “Show closed captions.”
Can I edit auto-generated captions on Instagram Reels?
You can only edit auto-generated captions on Instagram before posting. To edit these, just click on the text to edit the caption. However, once the Reel is published, you cannot edit auto-generated captions. If you need to do this, you’ll have to delete the existing Reel and re-upload it with the desired changes.
Is there an app that adds captions to videos?
Yes, there are plenty of apps that add captions to videos. We recommend Riverside. It’s easy to use and it’ll give you a lot of options that aren’t available in the Instagram app, including font selection and animation. You can even save caption presets so they’re ready to go for your next video.
Why can’t I add captions to Instagram story?
Having trouble adding captions to your Instagram story?
First, make sure that transcribable audio is present in your video story. Then follow the instructions listed above to select the “CAPTIONS” option from the sticker menu. If you can’t find the option to add captions here, your account may be experiencing a glitch.
It’s also possible Instagram captions aren’t available in your location, or Instagram doesn’t support your language yet.
Take a break, and try again later, or try an external captioning too like Riverside.


.webp)

.webp)


