Table of contents:
Ever imagined you could put together a portable podcasting studio?
A mobile podcast setup requires a different kind of mindset: efficiency and minimalism. You need to pack the bare equipment you use and maximize the quality you can achieve. It’s all about combining functionality and opting for compact and light tools.
In this article, we’re walking you through everything you need to put together the ultimate portable podcasting studio.
What is a mobile podcast studio?
A mobile podcast studio is a recording setup that you can take anywhere. Instead of being tied to a physical studio, you can set up and record on the go. By nature, a mobile podcast studio is compact, portable, and usually pretty minimalistic when it comes to the equipment.
What do you need for a mobile podcast studio?
As you can imagine, a mobile podcast studio is all about the essentials. Any extra pieces of kit add unnecessary weight and bulk to what’s meant to be a light and portable setup. A mobile podcast studio usually consists of the following:
- Mobile device (laptop, phone, or audio interface)
- Microphone(s)
- Camera (if you are producing video)
- Headphones
- Recording and editing software
- Optional: Light portable versions of a tripod and possibly lighting
Best Mobile Podcast Studio Setup: Tools to Include On Any Budget
Here’s a more detailed breakdown of everything you need for your portable podcasting studio, with recommendations.
Mobile Device
You need a device to record your podcast on. This could be your phone, a laptop, or an audio interface, depending on your preferences (and budget).
Mobile Phone
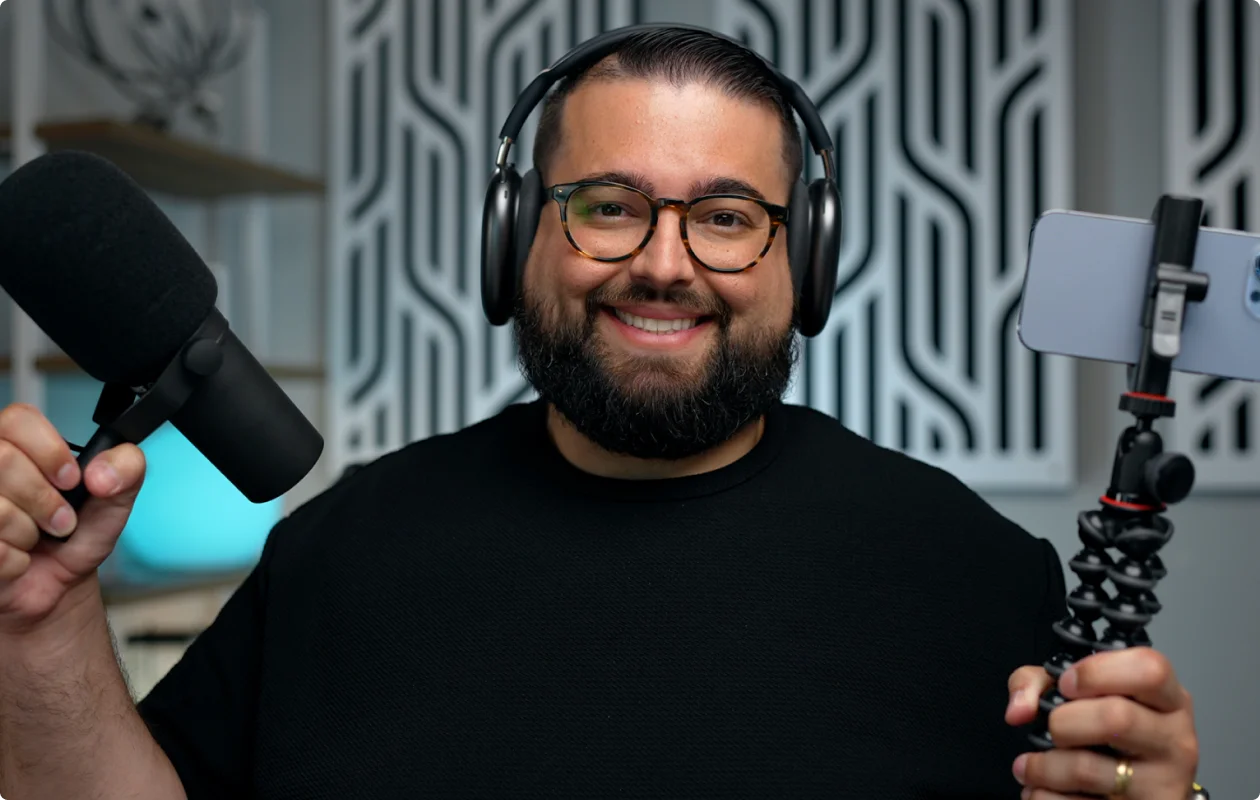
A mobile phone is probably the easiest (and most compact) device you can record your podcast with. And, you don’t need to invest in anything new. There are loads of apps like Riverside’s that make recording from your phone super easy.
What to consider:
- Battery life. You don’t want your phone dying mid-recording session.
- Good camera. Try and get a phone with a good camera. This way, you can record both video and audio using just your phone.
- Software compatibility: Your phone needs to be compatible with your chosen recording software app.
- Headphone jack. Ideally, you’ll be able to plug headphones into your phone to monitor your audio during your recording. Not all phones have one these days.
- Mic compatibility. If you invest in an external mic, you’ll need to think about compatibility with your specific phone model.
Recommendations:
Laptop
A laptop makes it easy to both record and edit your podcast on the go. And, this opens up the kinds of recording and editing platforms you can use, as well as your capabilities in general compared to using a mobile phone.
What to consider:
- Weight. How much your laptop weighs can really impact its portability.
- Compatibility. Your laptop’s operating system might affect which recording software you’re able to use.
- Battery life. If you don’t want to be tied to a power outlet or risk your battery dying this is an important consideration.
- Built-in camera or microphone. We recommend using an external mic (and camera). But, if you’re using your laptop’s internal mic and camera, make sure they’re high-quality.
- CPU & RAM. CPU refers to your laptop’s Central Processing Unit. You want a laptop with a minimum of 4 cores. RAM means Random Access Memory. This essentially tells you how quickly your computer can run.
- Storage. Since audio and video recordings take up a significant amount of space.
- Ports. Essential for connecting other pieces of kit. Depending on what equipment you have in your mobile podcasting setup, you’ll need different kinds of connectivity: USB, Audio Jack, HDMI, Thunderbolt etc.
Recommendations:
Audio Interface
If you have an XLR mic, you will need an audio interface. An audio interface converts your microphone’s signals into a readable format for your computer. It also gives you more control and improves the quality of audio you record for your podcast.
An audio interface is especially important if you’re going to be recording with guests in person. This is because you can include multiple mics in your portable setup.
What to consider:
- Number. Check how many mics you can plug in at one time and how many tracks you can record simultaneously.
- Size & weight. Since you’re building a mobile podcast studio, you should be conscious of the weight and size of your audio interface.
Recommendations:
Microphone
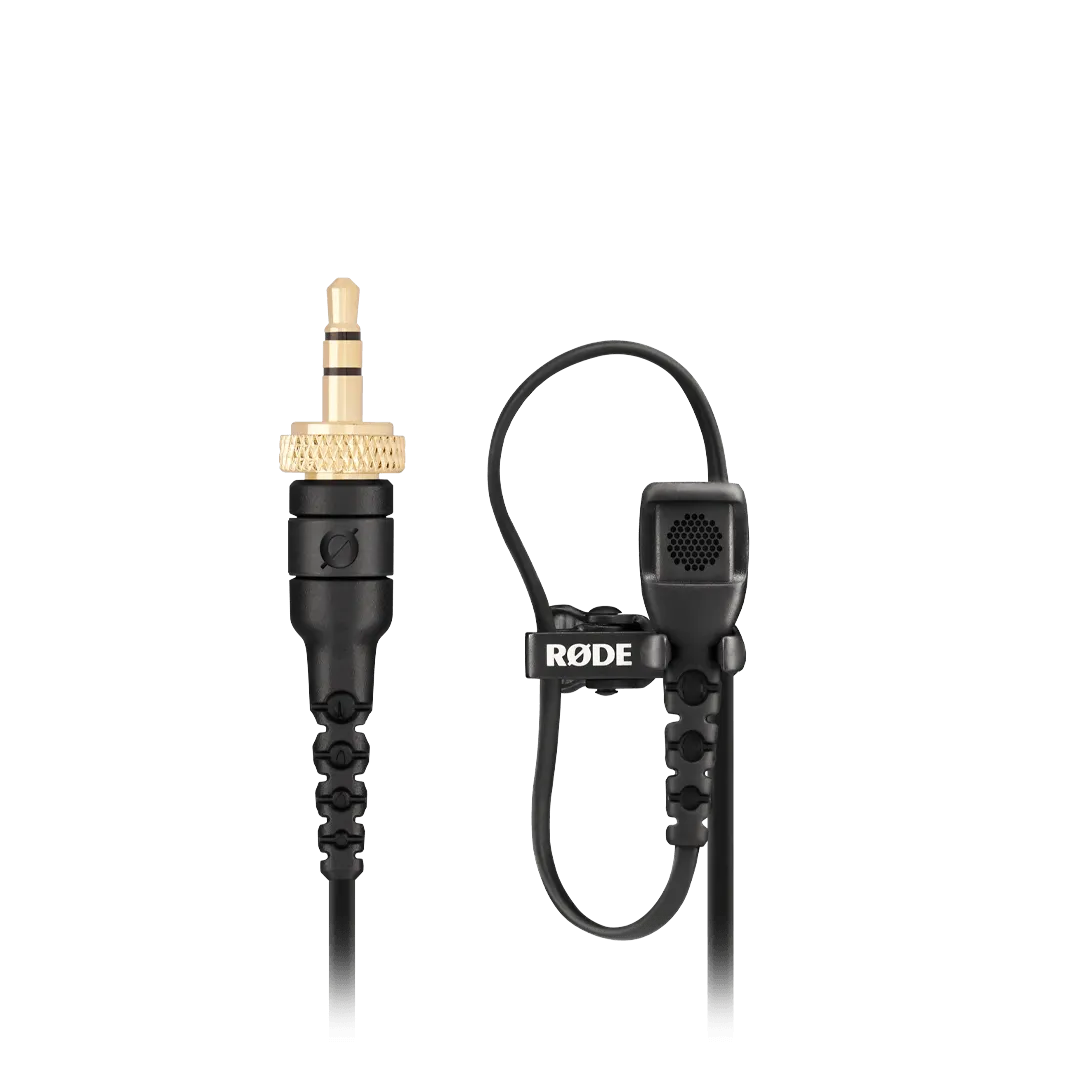
If you have the budget, we recommend getting an external podcast microphone. This will instantly elevate the production quality of your podcast. Mics don’t have to be bulky. There are plenty of options out there that are portable and compact.
What to consider:
- USB (Type A or C) vs XLR. Your mic’s connection type will affect its usability and compatibility. Make sure your mic is compatible with your recording device. Most phones would work with USB C, whereas XLR mics are better with an audio interface.
- Size & Portability. Again, this should be a big factor in your choice of mic. You don’t want to have to haul a big mic with you everywhere that you go.
- Durability. Since you will be bringing this mic on the go, it needs to be robust enough to withstand being thrown around a bit.
- Condenser vs Dynamic mic. Dynamic mics tend to be slightly sturdier compared to condenser mics. They also tend to do better with background noise.
- Polar pattern. Your mic’s polar pattern tells you about its sensitivityand where it picks up audio from the most. There are three main types of polar pattern.
- Cardioid: picks up noise from the front
- Omnidirectional: picks up audio all around
- Unidirectional: picks up audio from the front and the back.
Recommendations:
- Rode Lavalier II
- Sennheiser MKE 400 (if you’ve got a camera)
- Samson Go mic
Or, if you want an alternative to a mic, you could opt for a recorder like the Zoom H4N.
Camera
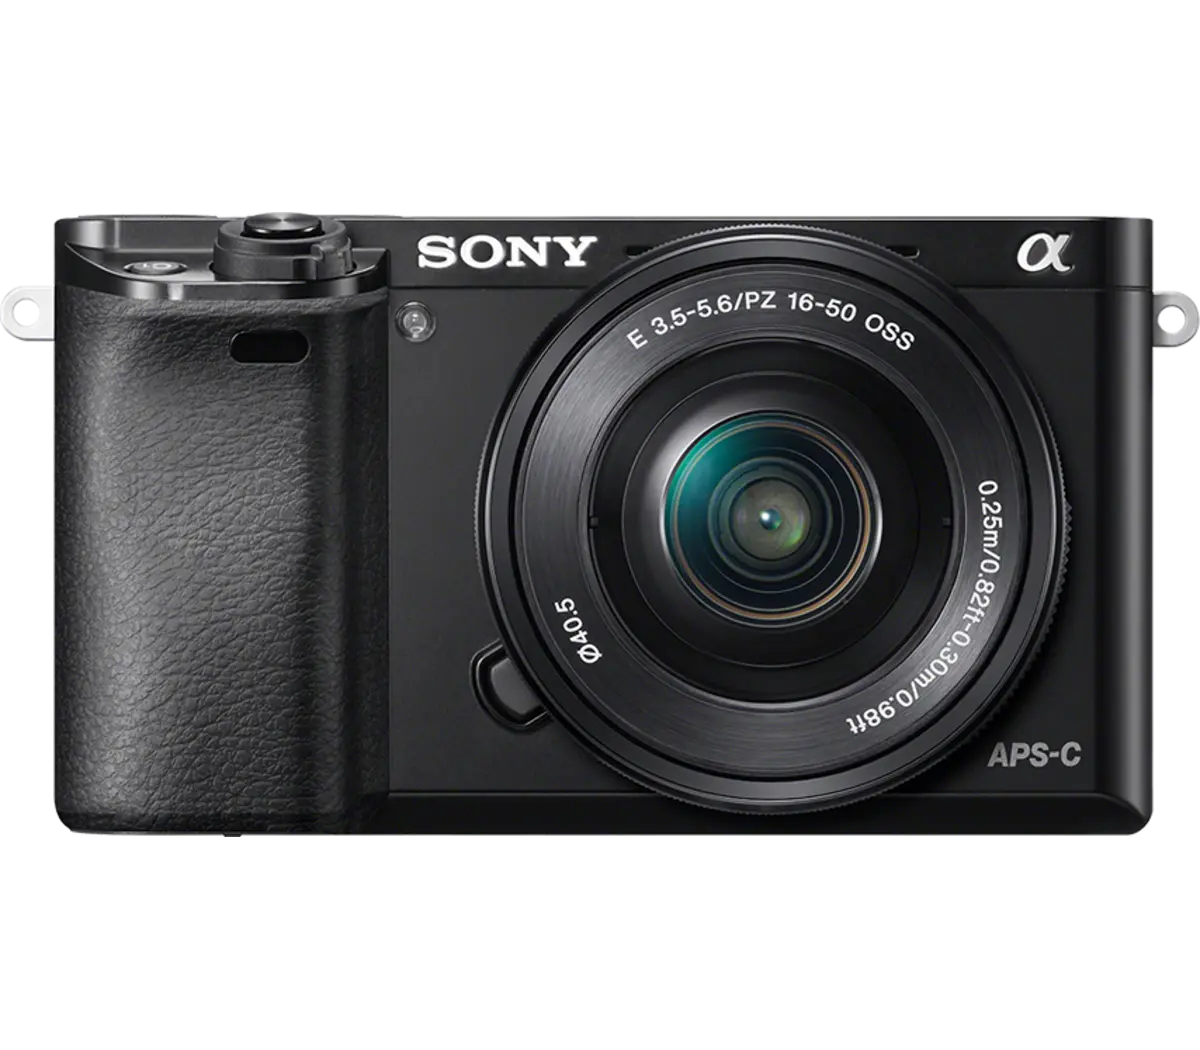
If you want to keep costs down or your portable studio’s weight to a minimum, then you could use your phone’s camera. Alternatively, you could opt for a dedicated compact external podcast camera.
What to look for/consider:
- Weight & portability. This is the most important thing to think about. Your camera needs to be small and compact enough to travel with you on the go.
- Recording quality. You want a high-quality camera that can record at a minimum of 1080p HD or, better yet, 4K quality.
- Battery life & recording limits. You need to check your chosen camera’s battery life and its maximum recording time.
- Connectivity. It’s super convenient if your camera features a mini USB port, for example, so you can transfer directly to your computer.
Recommendations:
Headphones
Podcast headphones are essential for helping you to monitor your audio and optimize your recording quality. You’ll also need them when you’re editing on the go. Wired headphones are usually better for reduced latency, but you can also get away with wireless ones.
What to look for/consider:
- Comfort is the biggest priority here since you’ll spend a lot of time using these headphones between recording and editing.
- Wired vs wireless. This is a preference, but as we said, wired tends to be a better choice for minimizing latency. Also, you won’t have to worry about battery life.
- Battery life (if wireless). Wireless headphones are really convenient until they run out of battery.
- Style (in-ear, over-ear), again, this depends on your personal preference. Just make sure they’re comfortable.
Recommendations:
Recording and Editing Software
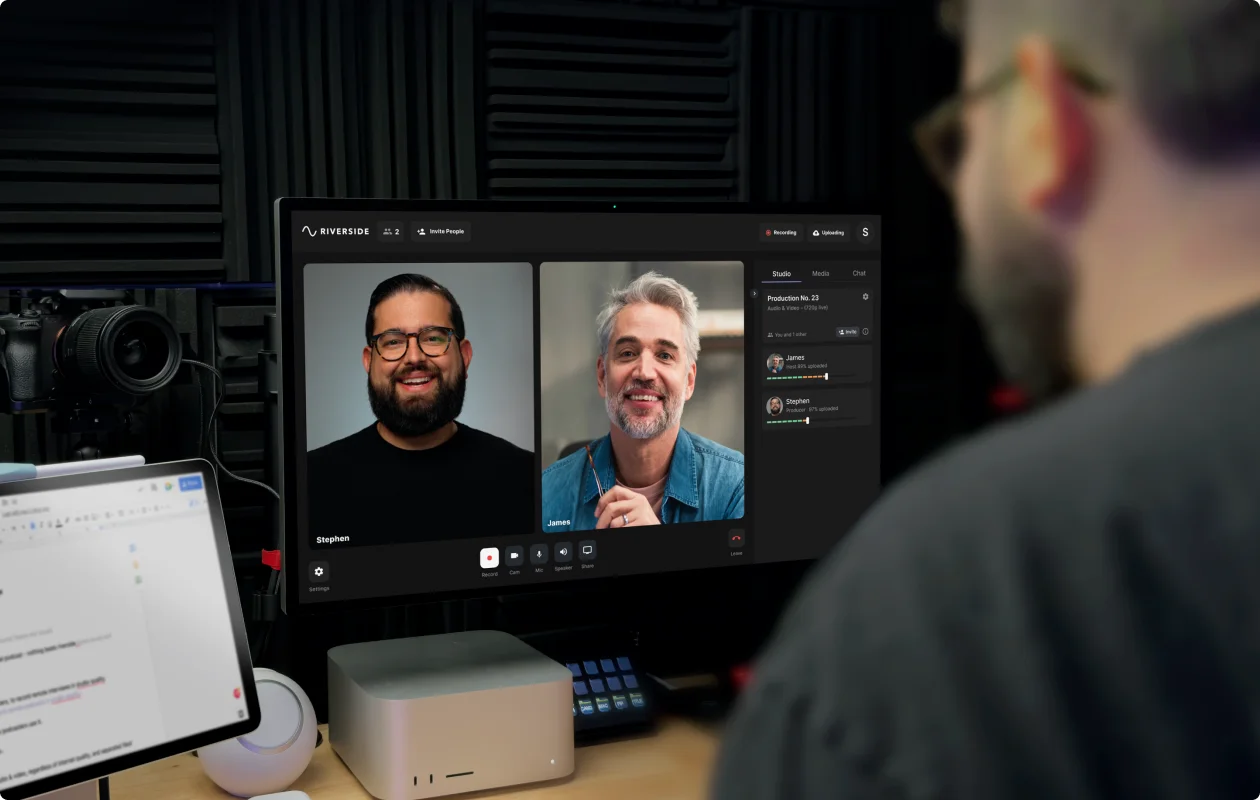
Last but not least, you’ll need podcast recording and editing software. If you’re using just your phone, this needs to be an app. Combining your recording and editing software into one is a great way to streamline your workflow.
What to look for:
- High-quality recording with at least 1080p HD
- Local recording for maximized quality even with bad wifi
- Separate track recording for more control during post-production
- Mobile app so you can record from your phone
- Compatibility with your computer or mobile OS
- User-friendly workflows so you can easily create content
- Integrated editor for streamlined workflows
- Additional features such as transcriptions, captions, AI powered tools, and more
Recommendations:
- Riverside (browser-based and mobile app)
- Final Cut Pro, Logic Pro, Garageband, or iMovie if you’re an Apple user
- Spotify for podcasters
- Spreaker studio
Accessories
Depending on your setup, there are certain accessories that you’ll also need to add to make sure everything works to its best capabilities:
- If you’re going to invest in a camera for your mobile podcast studio, you’ll also need a tripod. There's options available for all budgets, but we'd suggest trying something like the Manfrotto Befree-Advanced tripod. You’ll need to make sure your tripod is compatible with your camera.
- For external mics, you’ll need to think about a mic stand and windscreen. If you’ve got an on-camera mic, then you won’t need a mic stand.
How to start a mobile podcast with Riverside
Riverside offers both a browser-based and mobile app podcast recording studio. So, whatever your setup looks like, you can harness Riverside’s capabilities. Our platform is all about high-quality remote recording. You can capture professional standard video and audio wherever you are.
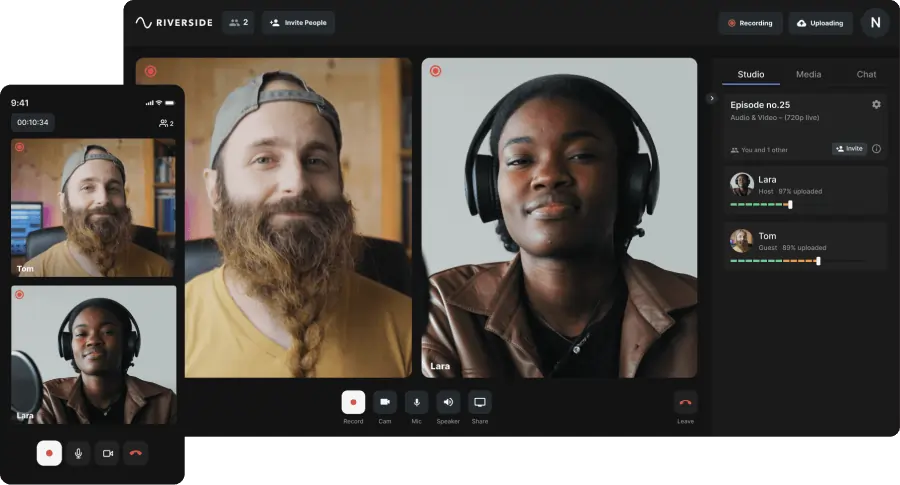
Let’s take a look at some of Riverside’s key features:
- High-quality recordings: Up to 4K video and 48kHz audio resolution
- Local recording: Each person records on their own device rather than over the internet. This means your connection won’t impact quality.
- Separate tracks: Each person’s audio, video, and screen shares record on a separate track for more editing flexibility.
- Mobile app and browser-based: Flexible recording wherever and whenever you want.
- Audio enhancement: Background noise removal, silence remover, and audio normalization for crystal clear audio.
- AI transcriptions: Highly accurate transcripts available in over 100 languages.
- AI Clips: Magic Clips turns your recordings’ key moments into social-media-ready short-form videos.
- Seamless editor: Text-based editing and an intuitive color-coded video editing timeline for easy trimming and mixing.
- Easy customization: Choose your own layout, background and captions. You can style your video as you like.
- Live streaming: Stream to major platforms such as YouTube, Facebook, Twitch and LinkedIn
- Additional camera angles: Use the Riverside mobile app to set your phone as a secondary webcam.
- Teleprompter: lets you upload pre-prepared scripts or prompts that you can reference easily during your recording session.
- AI show notes: Generate a recording summary, key takeaways, and chapters instantly.
- Async recording: Share your recording studio link with your guests and let them record themselves when it suits them.
How to create a podcast on Riverside: Step-by-Step
In this section, you’ll find a walkthrough of how to create a podcast using Riverside on your desktop. The mobile workflow is very similar, and you can find specifics here.
Step 1: Log in to your Riverside account.
Click the ‘+’ button from the left-side menu.
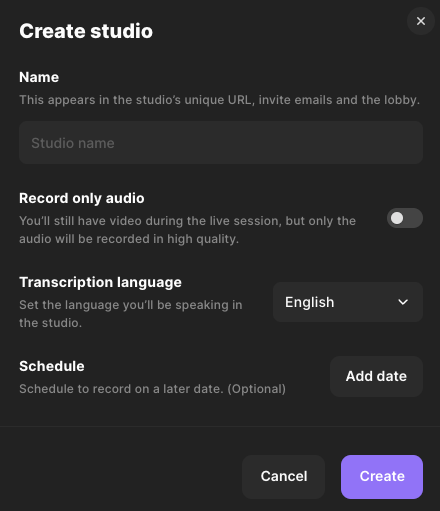
In the pop-up that appears, give your studio a name. If you’re only recording audio then make sure to toggle ‘record only audio’ on. Next, click ‘Create’.
Step 3: Once in your studio dashboard you can invite remote participants if you have any. Select “Plan recording” then “Invite to record”.
You can also do this later in the studio.

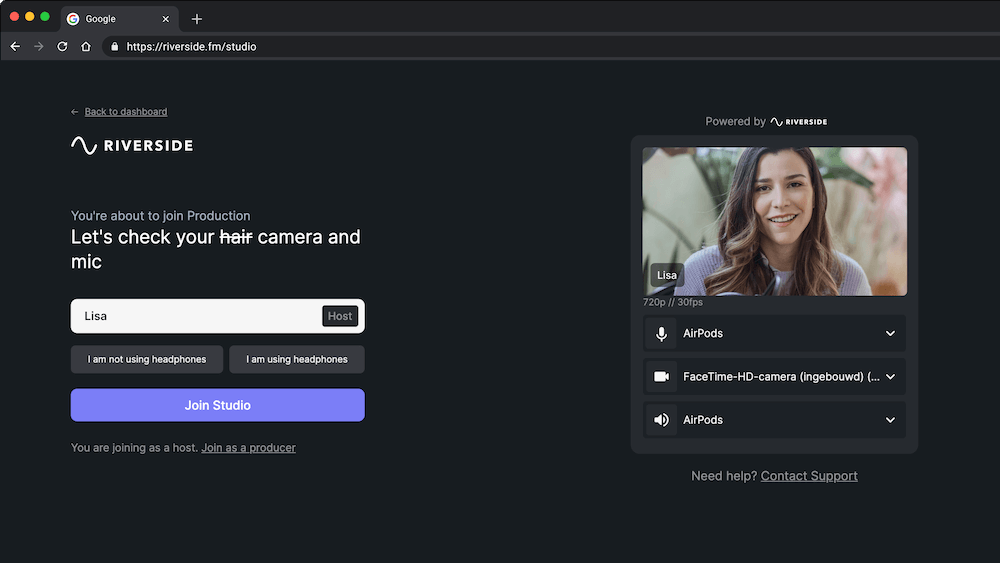
Step 4: Click “Go to studio” and you’ll land in the lobby where you can check your mic and camera before you click “Join Studio”.
Step 5: When you’re in the studio, and your remote guests have joined, click the red record button at the bottom of your screen.
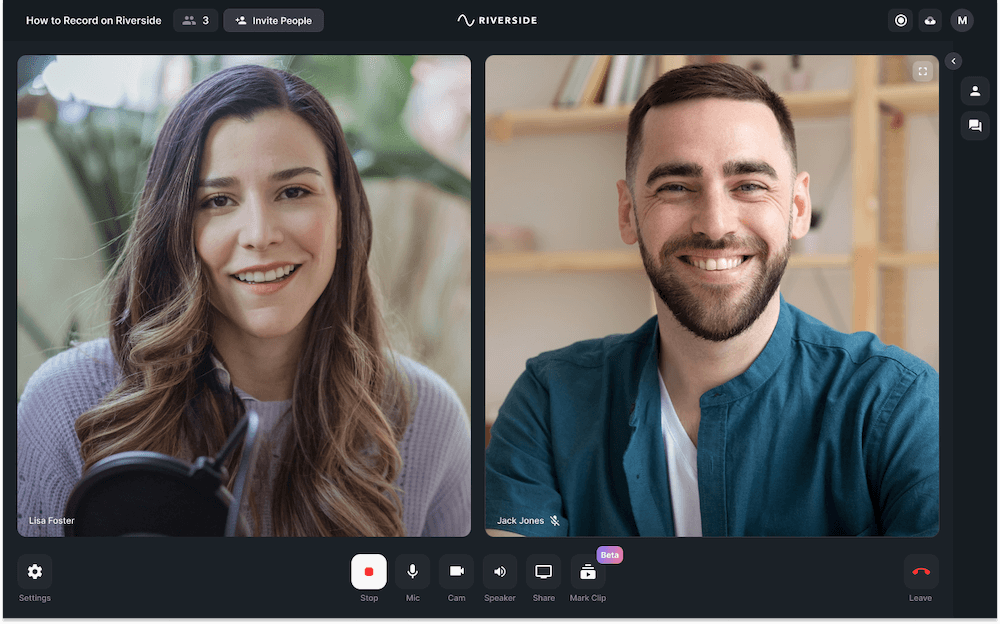
Step 6: When you finish recording, click the red hang up button. Then click “End Session for All”.
Step 7: Click on your track and then on the top right you can select “Edit” and then “Create new edit” to go to the text-based editor.
Step 8: In the Editor, you can either:
- Use the color-coded timeline to trim your recording and add new tracks
- Adjust your AI transcription and we’ll make corresponding edits in your actual recoridng
After you’ve done trimming and editing your narrative, you can click on:
- “Captions” to style and add your own set of captions
- “Brand” to customize your video background
- “Layout” to adjust your view
- “Text” to add your own text
- “Images” for adding visual files
Step 9: Once you finish editing you can export and remove background noise and normalize your audio levels. Simply click “Share” and then “Export”.
FAQs on Mobile Podcast Studio
How much does it cost to hire a podcast studio?
This depends entirely on your location as well as how long you’re going to be using the studio space for. We’d say budget anywhere between $40 to $100 per hour.
What is mobile podcasting?
Mobile podcasting means podcasting on the go, wherever you are, rather than in a fixed studio location. A mobile podcasting setup needs to be portable and light by nature.
Can you record a podcast with just a mobile phone?
Absolutely, you can record a podcast using just your mobile. Riverside’s mobile app puts a whole podcast recording studio in your pocket. So you don’t even need to compromise on your recording quality.


.webp)
.webp)
%20(1).webp)


