Table of contents:
Key takeaways:
- To go live on X from your desktop you’ll need a premium account and you’ll have to connect your account to a third-party streaming service like Riverside.
- To live stream on X from your phone you can directly stream from the app by clicking the “Go live” option in a new post.
- You can also stream on Twitter using the Media Studio Producer.
What is the quickest, most effective way to stop the scroll and engage your audience on X?The answer is simple: Do a live stream. This is your ultimate guide for live streaming on X, including detailed, easy-to-follow steps. Follow our expert advice and guidance, and you’ll be live on X before you know it.
X live streaming requirements
You have to pay for the Premium plan to go live on X. If you have a free or Basic X account, you won’t be able to go live.
You’ll also need an internet connection, and your account must be set to public, and not private.
Make sure the “Protect my tweets” toggle in “Privacy settings” is switched off.
How to live stream on X from your desktop
You’ll need to use third-party software to go live from your desktop. Starting a live stream directly from within the X desktop app is impossible. But, you can use a third-party streaming platform.
For example, let’s take a look at how to do this using Riverside livestreaming.
How to live stream on X using third-party streaming software
Live streaming on X is easy with Riverside. Just follow these steps:
Step 1: Log in to your Riverside account. Click on the studio you’d like to stream in. (You can learn how to create one here.)
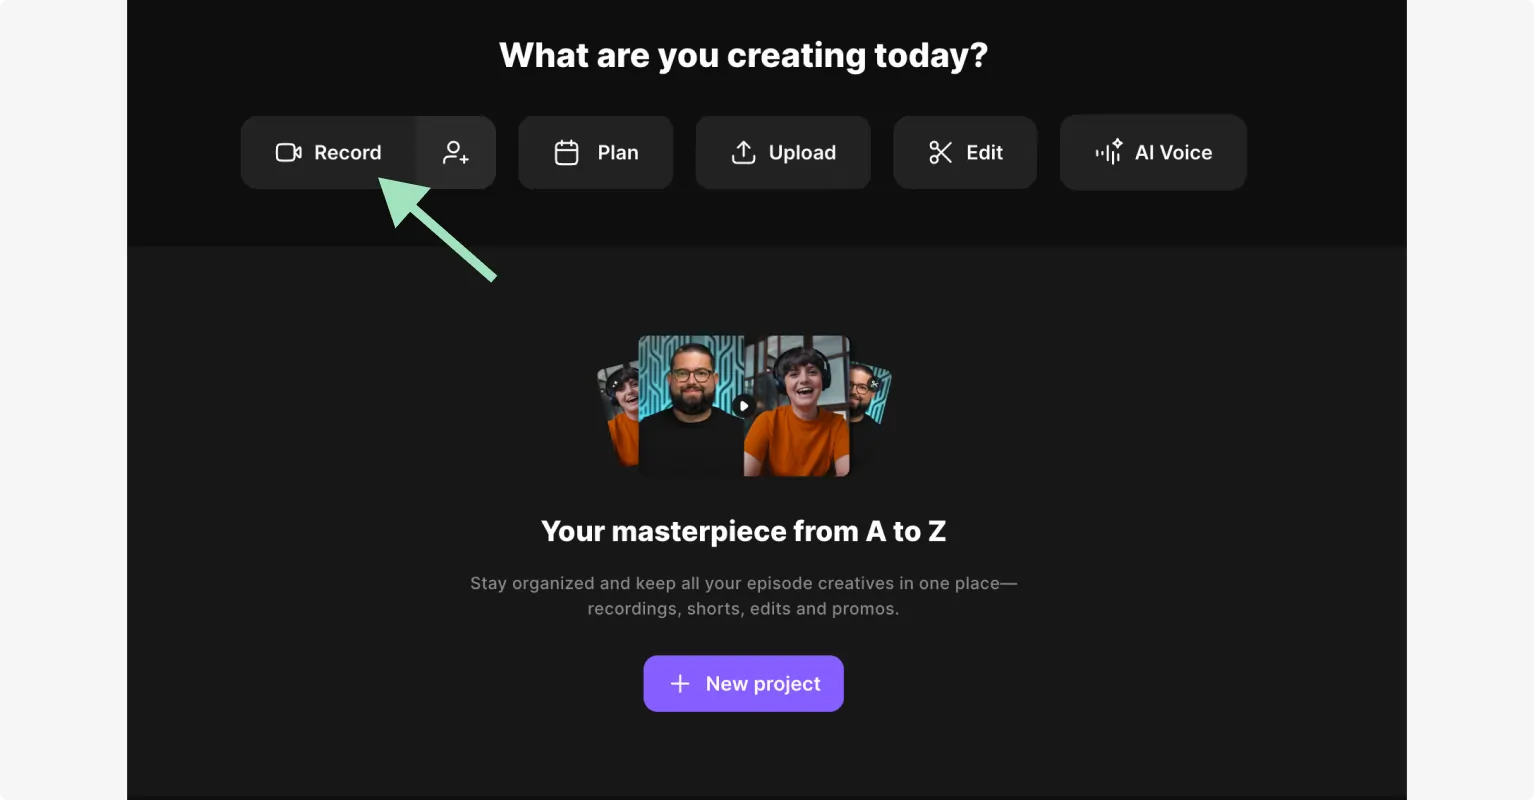
Then, under “What are you creating today?” hit “Record.”
Step 2: Enter your name, check your equipment settings, and then hit “Join Studio.”
.webp)
Step 3: In the studio, you’ll see a button that says “Live stream - off” on the top left of your screen. Use the dropdown to expand this area.
Step 4: In “Stream to social” at the bottom, select X. You’ll be taken to X, and asked to authorize Riverside.
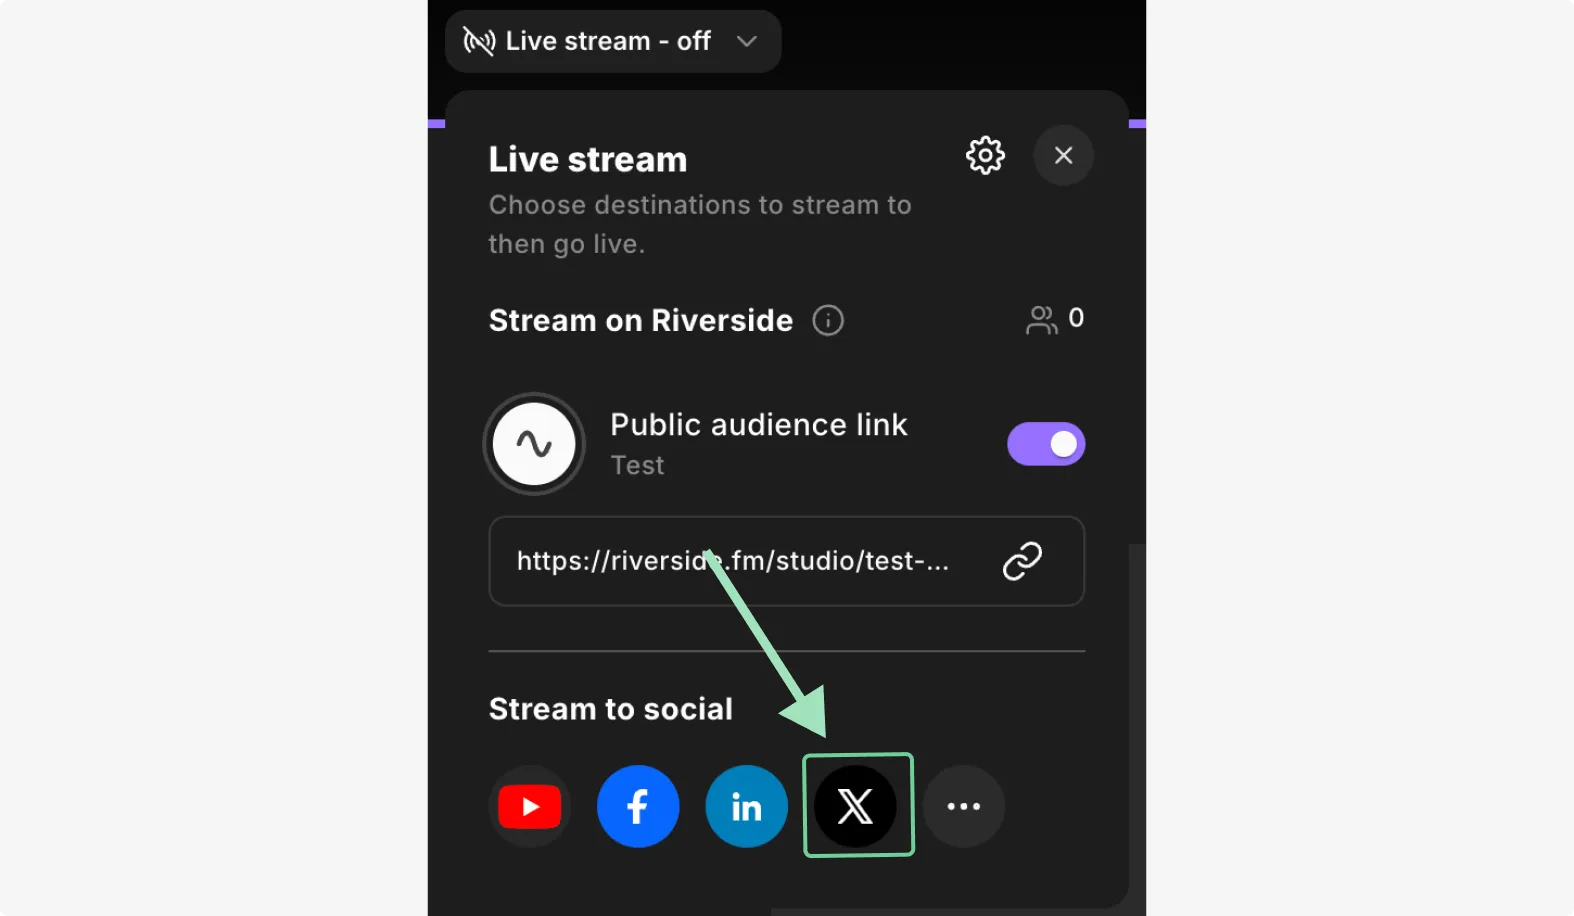
You’ll then be taken back to Riverside and prompted to connect your X profile.
Step 5: Now that you’re all connected to X, you can set up your studio.
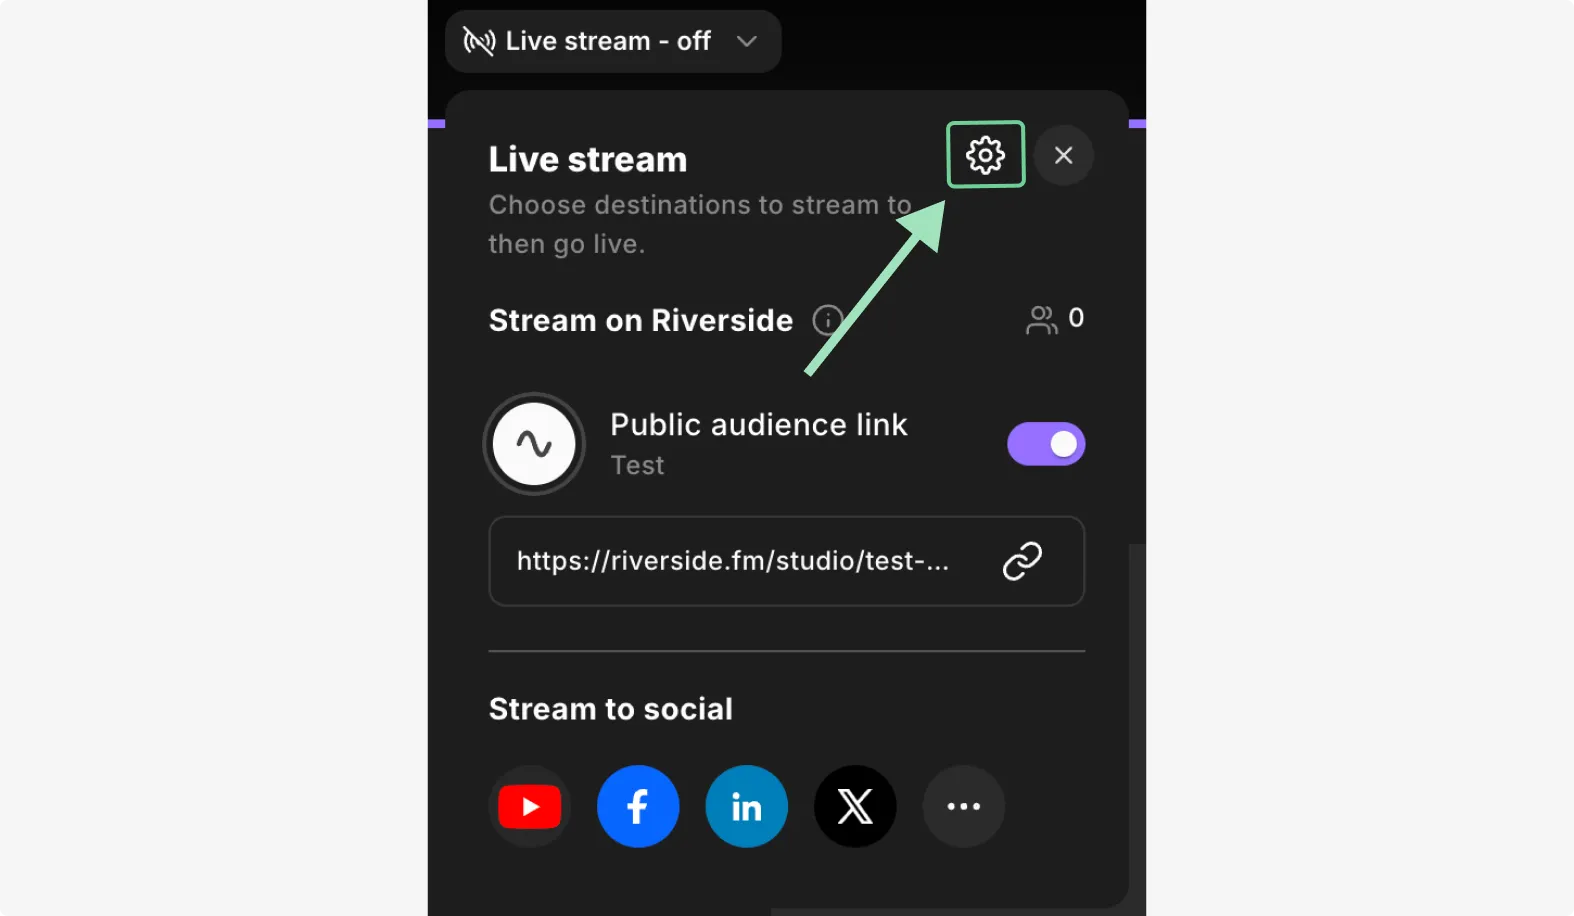
Open the Live stream dropdown and click the settings button to select your video resolution and remove the Riverside watermark.
Customize your stream by clicking the “Brand” button from the right toolbar. Here, you can add a logo, theme, brand colors, and background.
.webp)
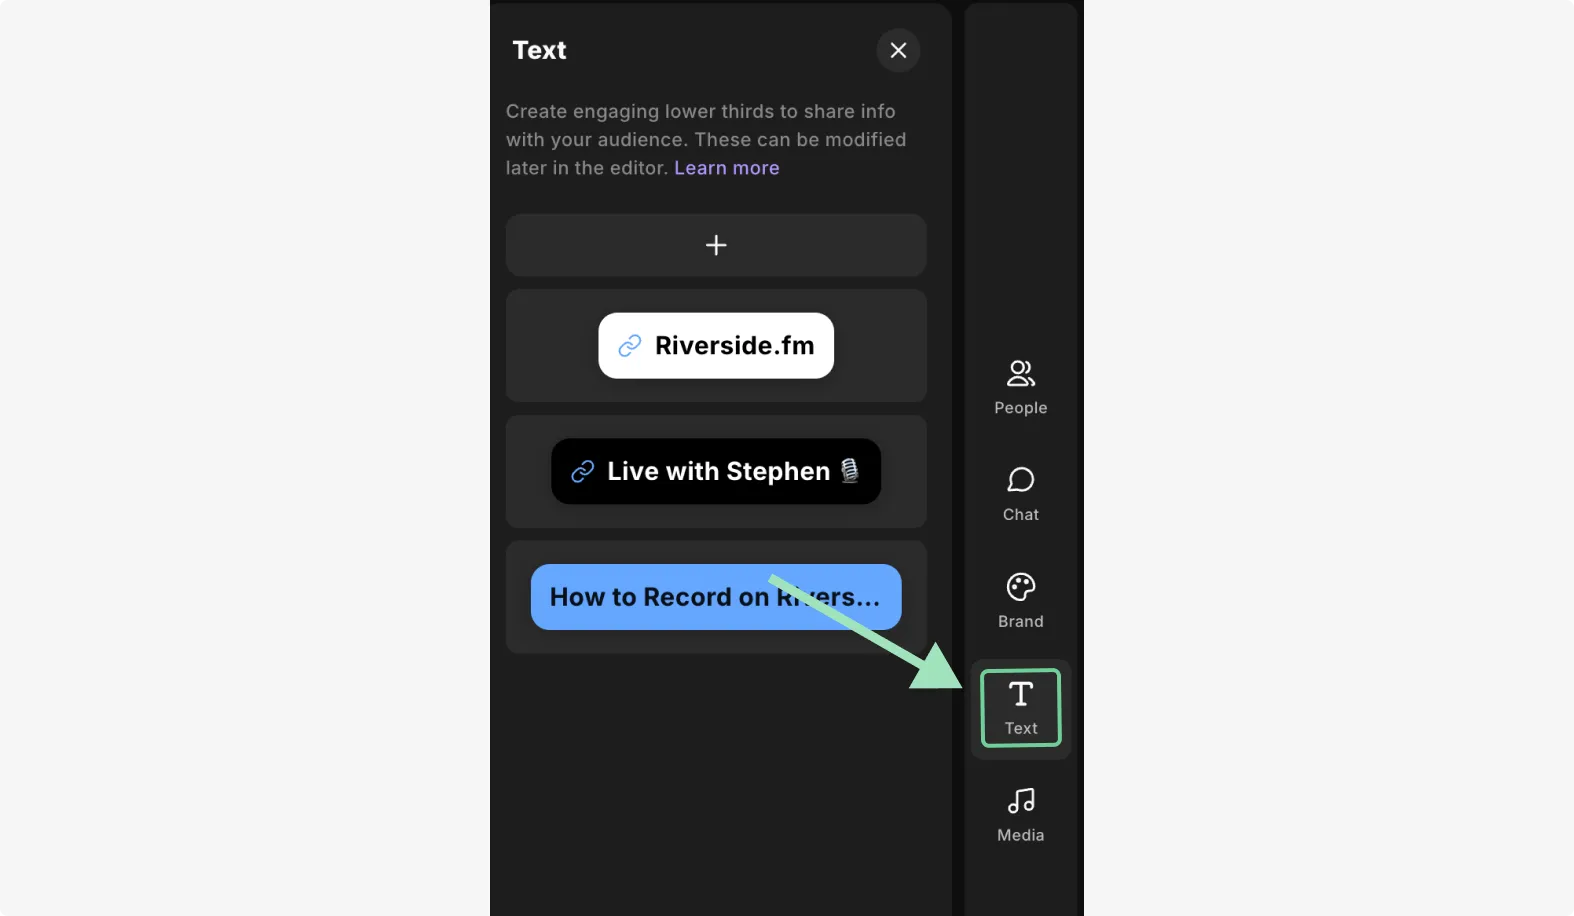
Click “Text” under brand to add and adjust lower thirds. You can also click on your name in your video preview to customize its layout as well.
Step 6: If you haven’t already, invite others to join you. Click “Invite” to share the invite link. Note that you can invite up to 9 guest speakers.
Step 7: Hit “Go Live & Record” to see your live stream on your X profile.
Note: If you want to preview your live stream on X at any point then click on the Live stream dropdown on the top right. (This will show Live REC if you’re already live.) Select the linked X account, which will take you to a preview.
You can learn more in our help site tutorial on streaming to X with Riverside.
How to go live on X from the mobile app
Unlike on desktop, it’s possible to go live directly from the mobile app. Here’s how:
Step 1: Log in to your X account.
Step 2: In the bottom right of your screen hit the “+” icon.
Step 3: Hit ”Go Live,” which is the top option. You may need to give Twitter camera permissions.

Step 4: Add a caption for your live stream and add your location (optional).
Step 5: You can use the top left bar to:
- Accept who can leave comments using the chat bubble icon
- Turn on likes using the heart icon.
- Turn on your camera's flash with the flash icon.
- Switch your camera view from front to back or visa versa.

Step 7: Whenever you’re all set hit “Go Live.”
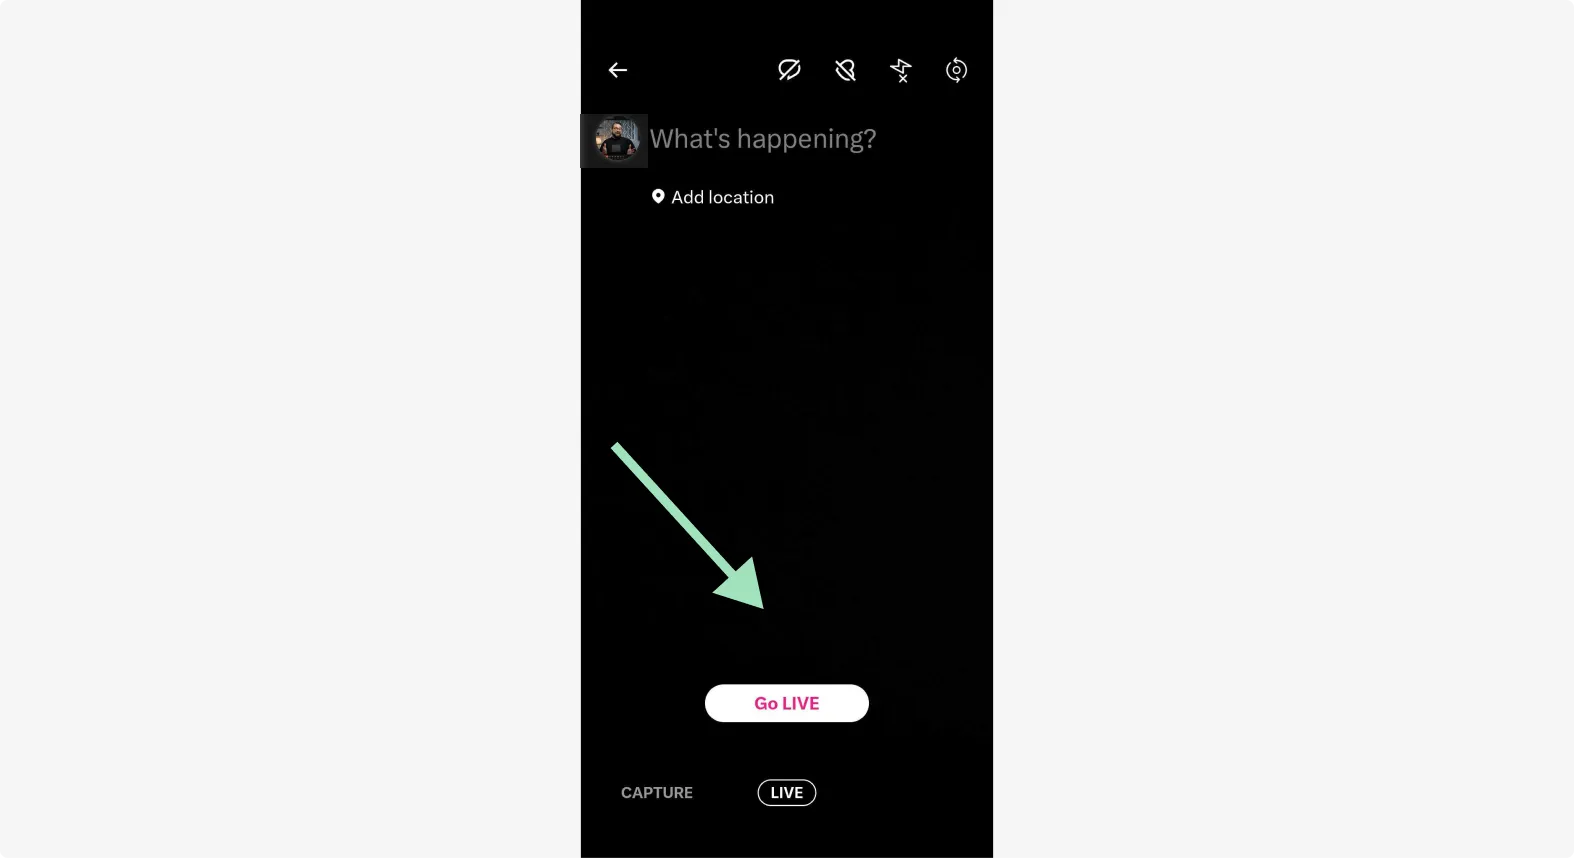
During your live stream, you’ll be able to see how many people are watching and who has joined.
You’ll also be able to see comments, which you can interact with by replying or adding emojis.
How to live stream on X using Media Studio Producer
X allows paying Premium users ($9.60 per month) to live stream using Media Studio Producer (a flexible API solution).
With Media Studio Producer you can schedule and promote your live stream, and edit it down into highlights.
Follow these steps:
Step 1: Log in to your X account.
Hit the “More” option on the left-hand side of the screen and select “Media Studio” from the list of options.
Step 2: Click on the “Broadcast” tab and then select “Create Broadcast”.
Step 3: Enter your “Broadcast name,” then choose a category and your “Source.”
You can select an existing source or create a new one, either using HTTP live stream (HLS) or Real-Time Messaging Protocol (RTMP).
RTMP is known for low latency, meaning the content is delivered as quickly as possible but requires flash. HLS is more widely supported by browsers, offering better scalability and compatibility.
Step 4: To create a new source head to the “Sources” tab and click “Create source.”
- To create an HLS source, you’ll need to enter a “Source name,” the link used to retrieve or “pull,” the streaming media (“HLS pull URL,”) and “Region.”
- To create an RTMP source, you’ll need to enter a “Source name” and “Region.”
Step 5: Select whether your live is “Public” or “Private”. Private broadcasts are only available to view in your Media Studio.
Step 6: Choose to start your broadcast either immediately or schedule it for a later date. You can also choose whether you want this broadcast to repeat daily, weekly, or not at all.
You’ll also need to choose a poster image for your live.
Step 7: You can also open up “Advanced Settings” to set permissions for users to chat in the broadcast.
In “Content Restrictions,” choose whether to enable geo-restrictions. You may not want your live stream to be available in some places.
Step 8: Once everything is set push your video live from your live streaming encoder to your source, and see your content in the preview player.
Step 9: Finally, click “Create broadcast.” If you’re chose “Start immediately” you’ll go live right away.
Best tips for live streaming on X
Make your live stream a success! Here are some quick and easy tips to help.
Steady your phone or camera
Use a tripod to steady your phone or camera and prevent shaky or unsteady footage.
You also don’t need to spend a fortune on a tripod. You can buy a budget-friendly one on Amazon.
Promote to your audience
To give your live the best chance, tell your audience about it beforehand.
Yes, people will join on a whim. But, you can increase the chances of people joining you if you give them the opportunity to schedule the event on their calendars.
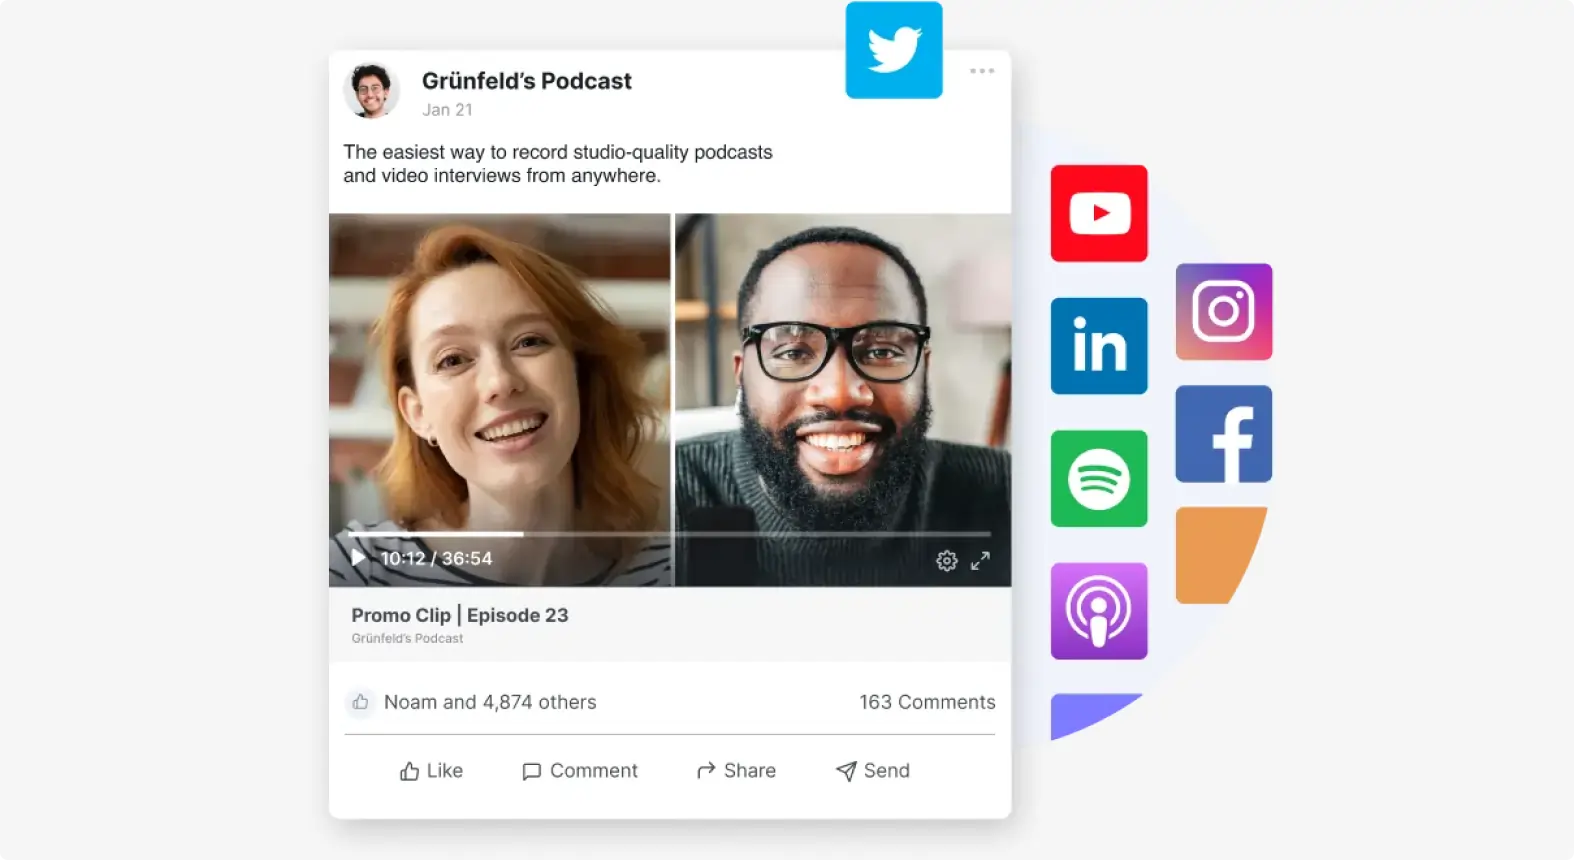
Promoting your content can be as simple as tweeting about your event.
Think about your CTA
Make sure you’ve thought about your call to action (CTA).
What is the one main thing you want people to do after watching your live stream?
Whether it's to follow you on X or check out your website, make sure to make the most out of this engaged audience.
Get to the point
What is the main point of your live stream?
Yes, wait a few minutes for people to join, but don’t keep them waiting. Get to the point of your live as quickly as possible.
Encourage people to share your live
Reach as many people as possible, and encourage your viewers to share your live with their friends and families.
Who do they know that would benefit from your content?
Don’t wait for people to do this themselves - give them a friendly little nudge.
First impressions count
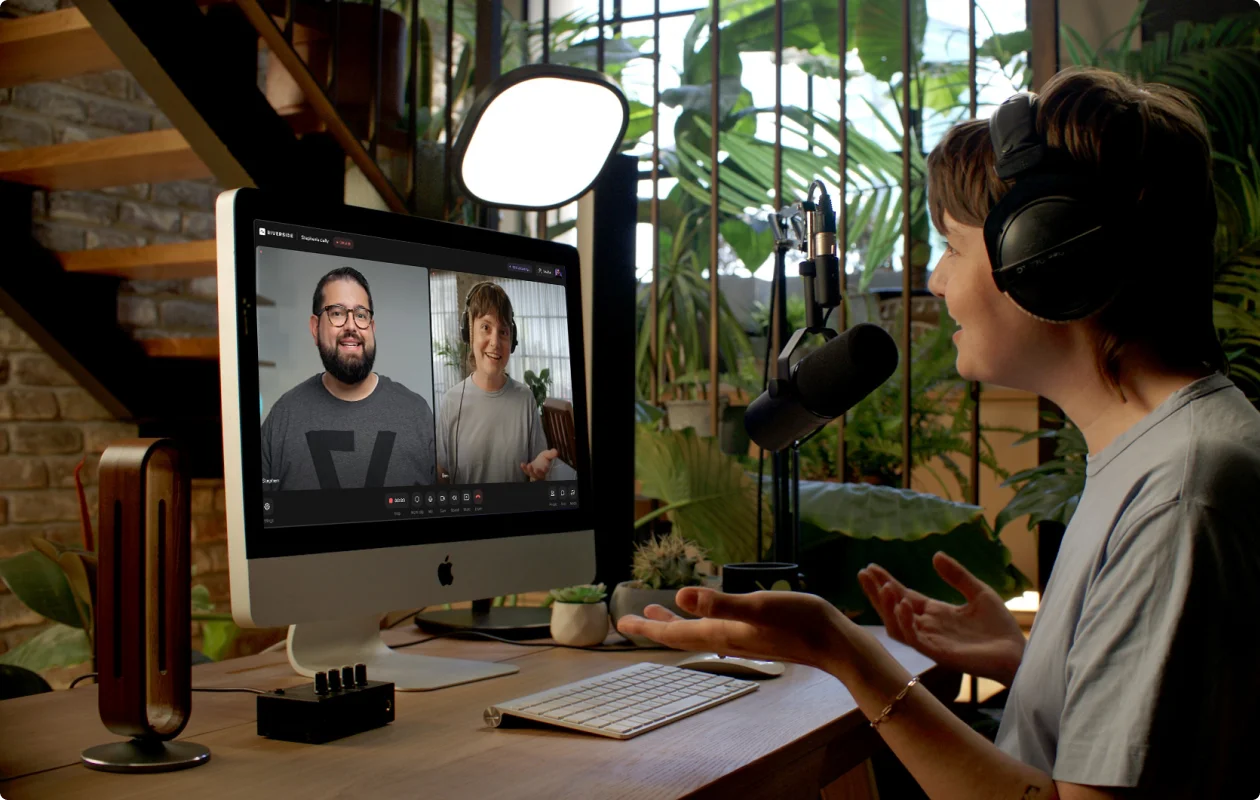
First impressions really do count. If you don’t capture your audience from the get-go, they’ll go elsewhere. One sure way to impress is to think about your live stream setup. Think about your video lighting and background. What can you do to enhance your video and make it really stand out?
Use the correct equipment
You don't need to break the bank to live stream on X. But at the very least we recommend a high-quality microphone. Your computer or mobile's mic likely won't cut it.
Check out our live stream equipment guide for some worthwhile options.
Be flexible
You need to be flexible and accept the fact that things can go wrong. No matter how many times you have tested your setup, unexpected things can happen that are outside of your control. If there is an issue, make light of the situation, take a breather, and calmly find a way to fix what has gone wrong.
Maximize engagement
To be successful, a live stream must connect with your audience. Check our community guideline for some extra tips on how to make your show as engaging as possible.
Final thoughts
Going live on X is an effective way to connect with your audience. Fortunately, there are a number of ways to get the job done, including through the X platform itself, using a streaming software like Riverside, or using X’s Media Studio producer.
Remember to have fun and think about your main goal. The more times you jump on a live stream, the better you will become.
FAQs on how to live stream on X (Twitter)
Where do X live streams go?
Any X live streams are displayed on the platform as Tweets. If you follow someone on X and they start a live stream, it will appear on your timeline. Similarly, if you check out someone’s profile when they’re live, this will show up as a tweet on their profile too.
Can you stream on X (previously Twitter)?
Yes, as long as you have a Premium account, you can live stream on X via the mobile app or use a third-party tool like Riverside on the desktop.
How do you watch a live stream on X?
Once you’ve logged in, it’s easy to watch live streams on X. When scrolling, you’ll see live streams appear on the feed. Simply choose which one you want to watch by tapping on it, and making sure the sound is switched on. You’ll also get notified if someone you’re following is doing a live stream.
How do you live stream games on X?
To live stream gameplay on X you will need to use third-party software such as Riverside or OBS Studio.
Some game consoles have the functionality to stream straight to X, like Xbox.
- Hit the “Xbox” button on your controller to open up the guide, and then go to “Capture & Share.”
- Select “Live Streaming,” scroll across until you find X, and activate your account. Adjust your settings and then select “Go live now.”


_%20Step-by-Step.webp)


-(1)-(1).webp)
-(1).webp)
-(1).webp)


