Table of contents:
Social media is optimized for video, not audio. So how do you promote audio on social media?
Well if you don’t want to jump onto the video trend, you can always turn your content into an audio waveform or audiogram.
While the name sounds like it belongs exclusively in a science textbook, audio waveforms are actually very common in the social media world. They’re often used by content creators like podcasters, musicians, and brands who want to promote their audio content on visual platforms.
Find out how what exactly an audio waveform is and learn how to effectively promote your content by creating your own.
First Things First: What Is an Audio Waveform?
An audio waveform, or audiogram, is a graph of an audio file that shows the audio wave as the clip progresses. You’ve probably seen one before:

Reading an audio waveform is simple: the x-axis (horizontal) represents time, and the y-axis (vertical) represents amplitude. Basically, the higher waves are for louder frequencies, while the shorter waves are for softer sounds.
What Are the Types of Waveform?
The standard (or fundamental) waveform is a sine waveform. It only reflects one frequency (like 440Hz) without any background noise.
But there are other kinds of waveforms, known as synthetic waveforms, that are shaped differently based on harmonics. The other types include square, triangle, and sawtooth:
.png)
Why Use an Audio Waveform?
So that’s the scientific background of audio waves. But in the context of social media marketing, audio waveforms are used to animate and promote audio clips on places like Twitter, Instagram, and YouTube.
Here’s an example of an audiogram posted on Twitter by the SiriusXM College Sports account. You can see that they added an audio waveform to a static image, along with some scrolling caption text:
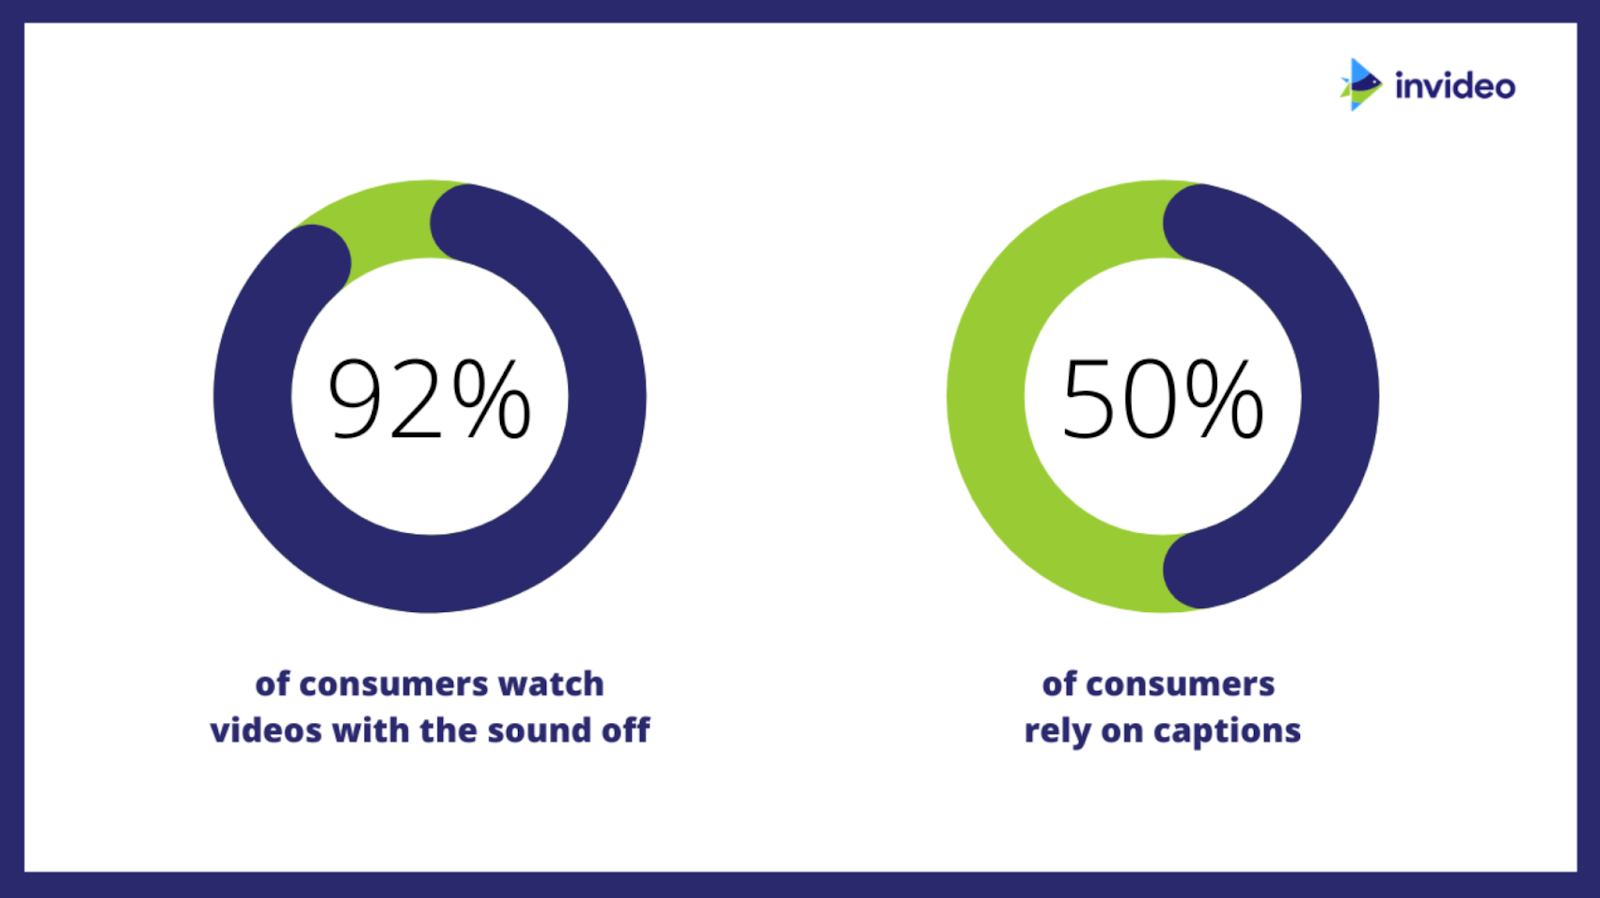
Adding elements like these can help engage an audience that may be scrolling social media with their sound muted. According to a Verizon study, 92% of social media users view videos on their phones with the sound off—so you can’t rely on your audio clip alone if you want to promote your content.
If you want to publish your audio file to a visual channel, you may want to consider adding an audio waveform to your sound clip. Audiograms are an easy and simple, yet professional—not to mention mesmerizing—touch that turns your audio file into a video with very little effort.
On the other hand, if you're already recording video we'd suggest sticking to video-format and posting short snippets of your content for social media promotion. You can easily create clips of your content using a tool like Magic Clips. This tool uses Ai to turn key moments of your recordings into short, shareable videos.
How Do You Make an Audio Waveform?
To make an audiogram, you can either use video editing software or an audiogram generator.
Many video editing software options—like Adobe Premiere, Final Cut Pro X, and After Effects—let you add an audio waveform to your video. But if you don’t already have a favorite video editing software that you’re used to, you may not want to bother with the steep learning curve involved if you only want to create an audiogram.
In that case, an audiogram generator is probably the better solution for you. Let’s take a look at five of the most popular tools out there.
Audiogram
.png)
Audiogram is a popular audio waveform generator that comes with professionally designed templates and an automated caption function. It’s easy to use and very intuitive, which is great for beginners looking to experiment with creating audiograms.
Pricing: It comes with a free plan, but if you want watermark-free video and more than 60 seconds of transcribed captions, you’ll need to pay for a Pro ($19/month) or Elite ($29/month) plan.
Headliner

Headliner is a podcast marketing app designed to help podcasters turn their products into social sharing clips. You can add sound wave animations, captions, GIFs, and more, then export your video across various social media platforms.
Pricing: The free plan comes with 5 videos and 10 minutes of transcription per month. Paid plans start at $7.99/month with features like custom watermarks, reusable templates, and custom intros and outros.
Wavve
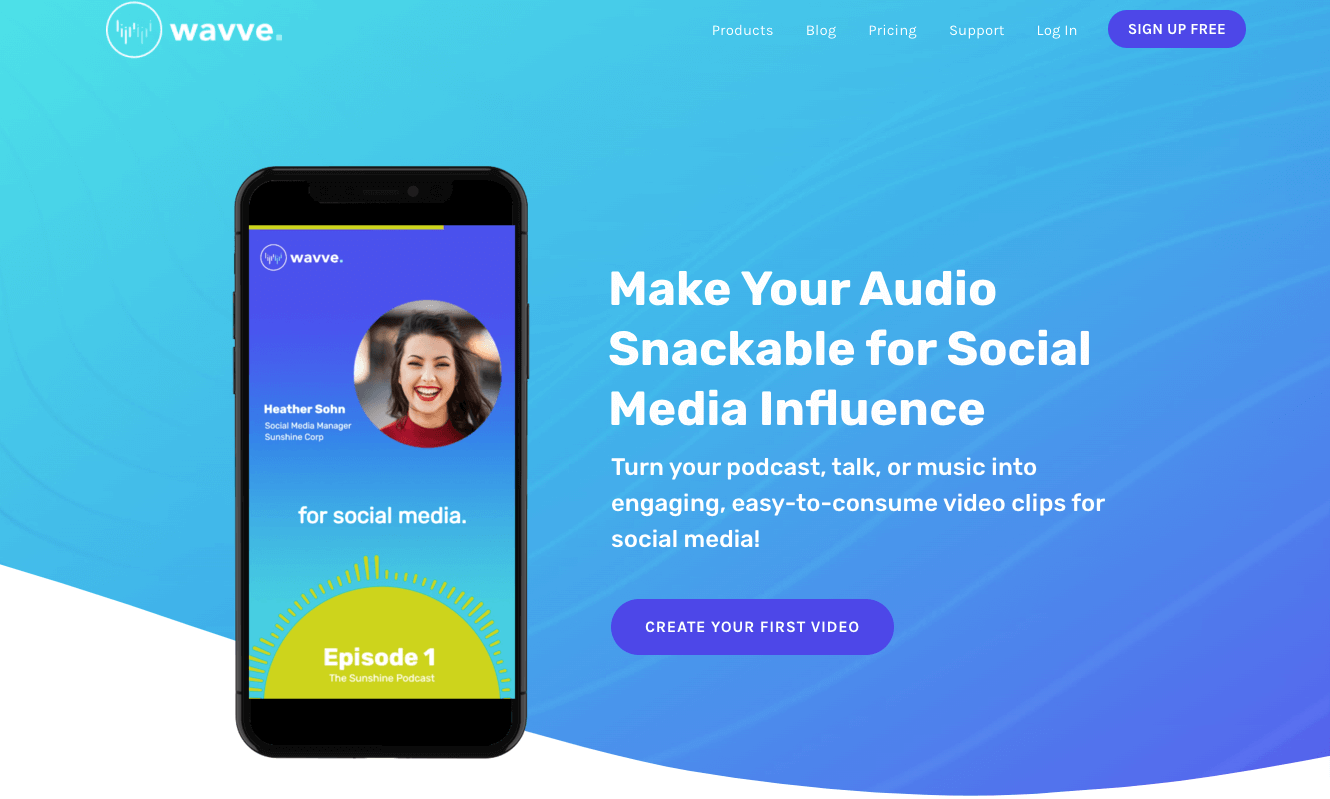
Wavve is a powerful and popular app used by brands, musicians, and podcasters alike to create “snackable” videos for social media marketing. All Wavve videos are in 1080p HD, even on the free plan, which means your finished product will always be crisp and professional-looking across every platform.
Pricing: The free plan comes with 2 minutes of video per month. Paid plans start at $12.99/month and come with 30+ minutes of video and a custom domain URL.
Auphonic
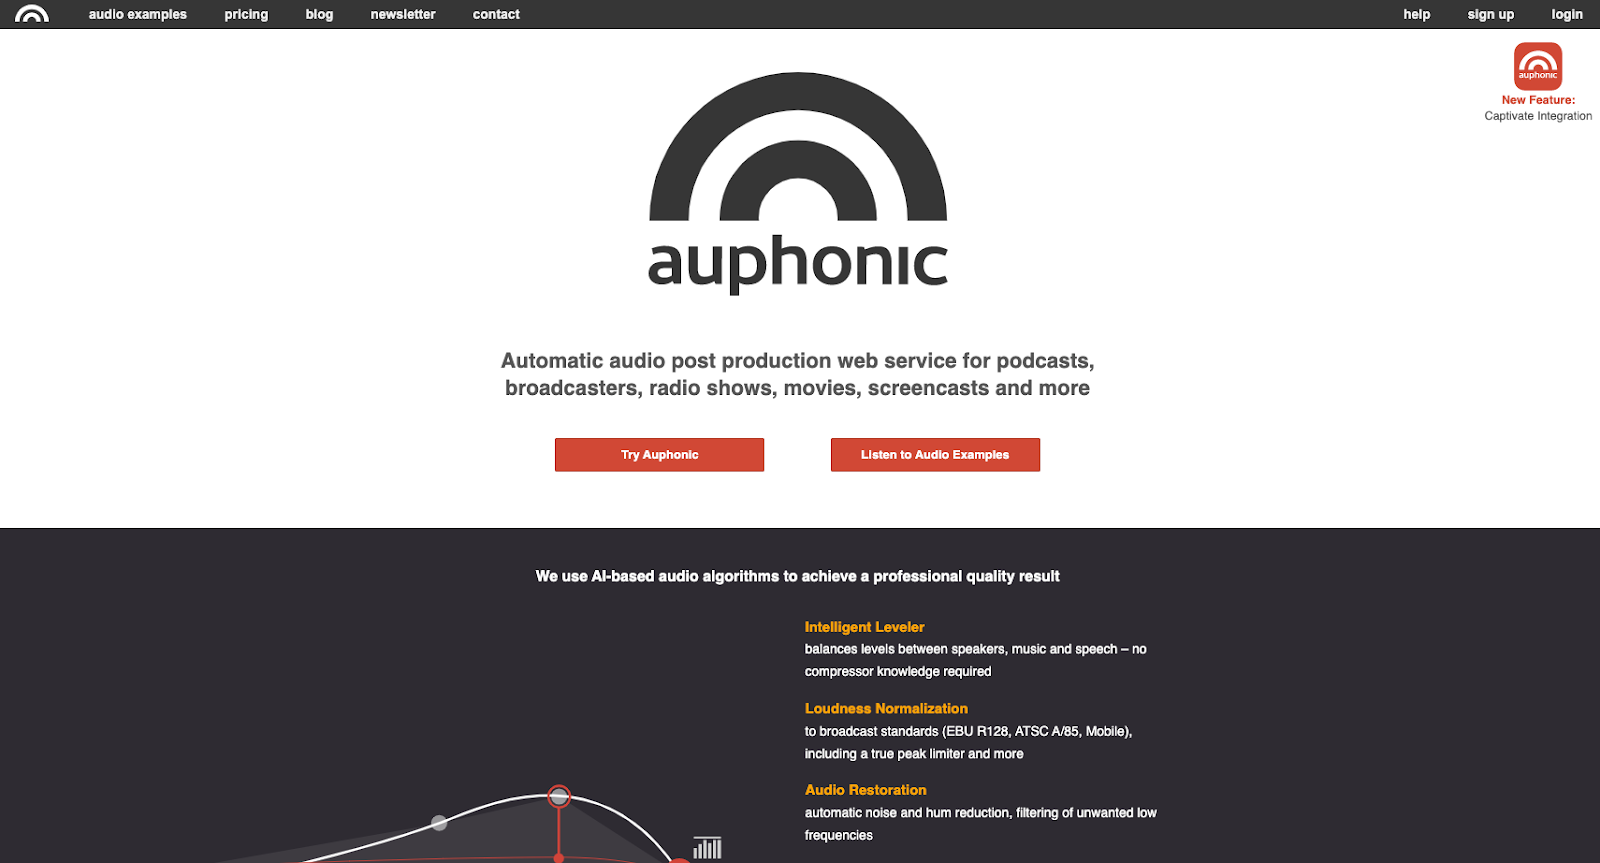
Auphonic doesn’t have the smoothest UI, but its free plan is high-powered and useful for beginners on a budget. The software’s features include AI-driven audio optimization, automatic speech recognition, and third-party integrations to help automate your content creation workflows.
Pricing: Free for up to 2 hours of video per month. Paid plans start at $11/month for 9 hours of monthly processed audio.
Kapwing

Kapwing is a tool designed for quick, easy, and collaborative video editing. The software supports several file formats (including .mp4, .mov, .png, and .gif) and lets you split, trim, and rearrange your video footage. Alongside adding audio waveform animations to your videos, you can also remove backgrounds with a click, automatically generate captions, and even create memes.
Pricing: Free plan allows publication of up to 3 hours of video and 10 minutes of transcription per month. Paid plans start at $16 and let you export in 1080p resolution.
How to Quickly Generate a Waveform from Your Audio
The process for creating a waveform (or adding one to your video) is usually simple. The specifics depend on which tool you use, but it generally looks something like this (we’ll use Audiogram as an example):
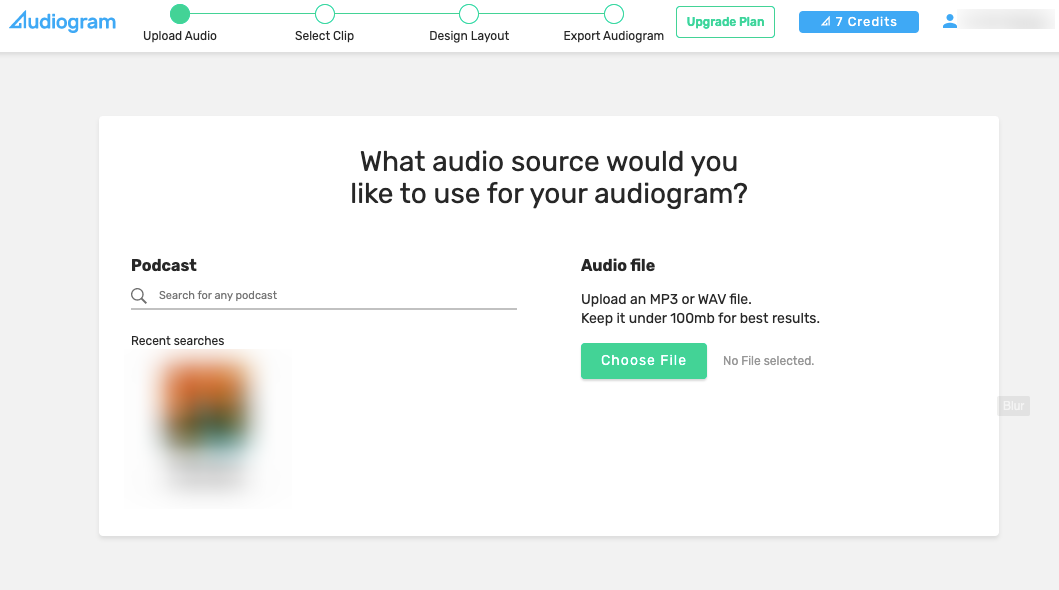
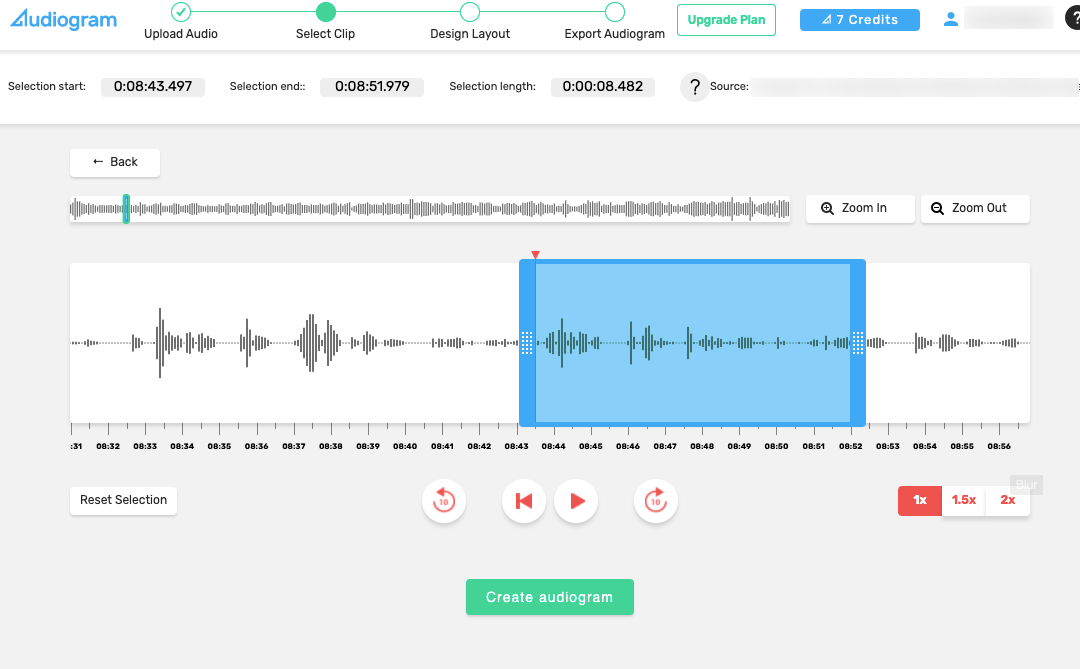
Step 1: First, create or log into your account. Click Create Audiogram. You’ll be asked to upload an audio file or search for a podcast episode that’s already been published.
Step 2: Select the portion of audio you’d like to use. Keep in mind that if you choose a selection over 60 seconds, the bar will turn orange. This is a reminder that you won’t be able to use automatically transcribed captions for selection over 60 seconds.
When you’re ready, click Create Audiogram.
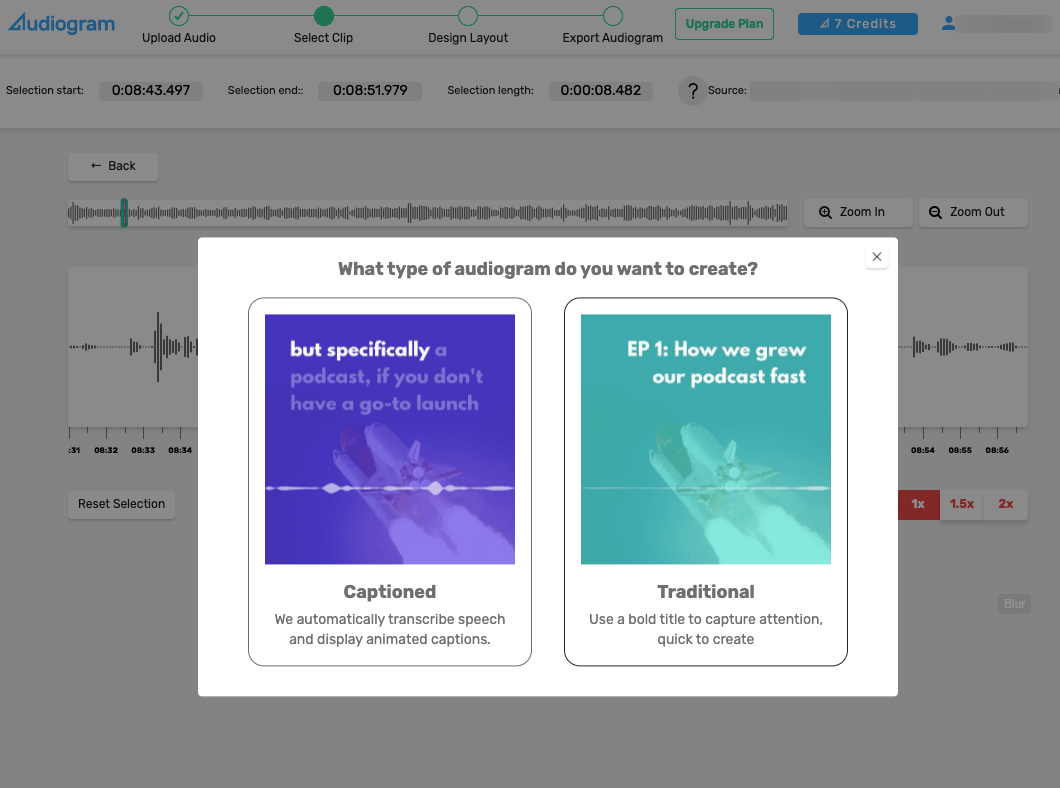
Step 3: Choose whether you want a Captioned audiogram (with a running transcript of the audio feed) or a Traditional audiogram (with static text used throughout the whole video).
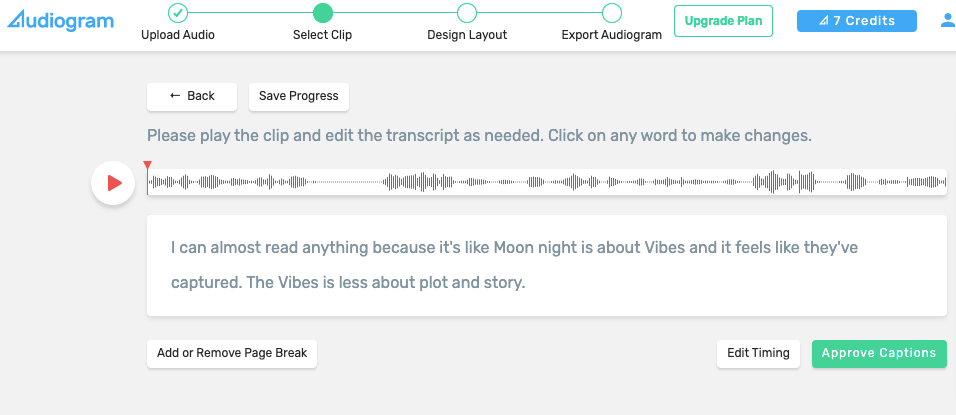
If you chose a captioned audiogram, you’ll have the option to review and edit the auto-transcribed text. When you’re done, click Approve Captions.
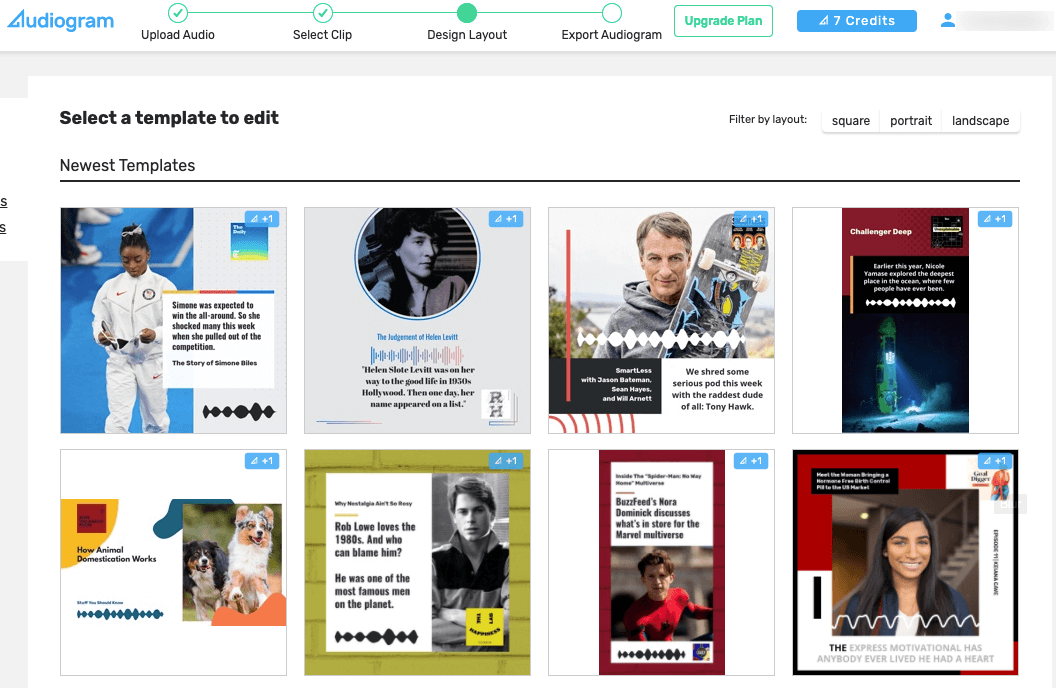
Step 4: Next, choose a design template to use in your new audiogram.
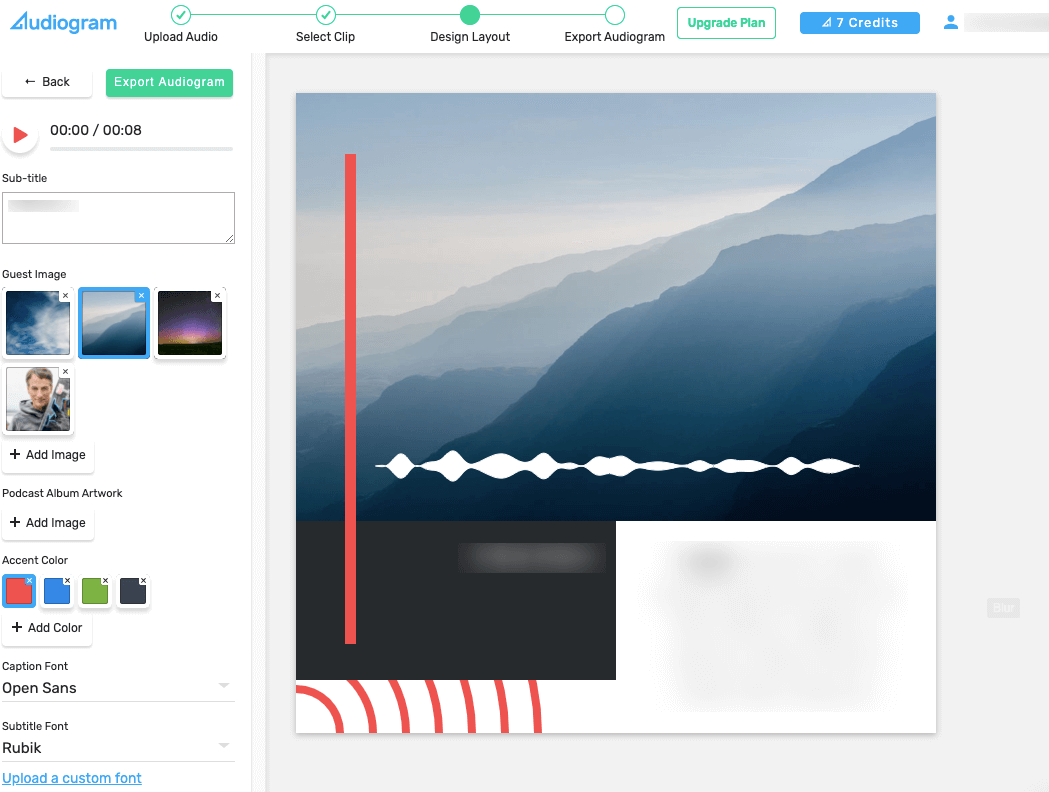
Step 5: You can then finalize the design details, including choosing a subtitle, images, accent color, and fonts. When you’re ready, click Export Audiogram to save and distribute it to your favorite content channels.
For more details, check out this tutorial video from Audiogram on how to create your first audio waveform:
Bonus: 6 Tips to Make the Best Audiograms
No matter which tool you choose, there are a few best practices that you should keep in mind to maximize the reception of each clip. Let’s take a look at 6 tips to make the best audiograms possible.
1. Keep it Short and Sweet
Most audio creators agree that the best audiogram clips are between 30 and 60 seconds long.
Aside from the video length, you should also try to make each clip contain a single point or idea. Trying to include a complex or varying discussion will dilute the attention-grabbing power of your clip.
2. Be Picky with the Clips You Choose
Don’t just break your latest podcast episode into 40 minute-long clips. Not only is this time-consuming, but it’s going to be a lot of wasted effort.
Instead, find clips that are interesting enough to keep social media scrollers’ attention (without giving away the best jokes or content in your episode).
Think of it like you’re designing a movie trailer; the audience should be curious enough to seek out the full episode, but if you give away the best parts, people won’t need to experience the rest.
3. Pay Attention to Aspect Ratio
The size and shape of your clips matter. Choose from one of these three layouts based on where you plan to publish your audiogram:
- Landscape (16:9 dimension): best for YouTube and webpages
- Square (1:1 dimension): best for Instagram, Facebook, or Twitter newsfeeds
- Portrait (4:3 dimension): best for TikTok, Instagram/Facebook Stories, and Snapchat
4. Don’t Forget the Captions
Since most people scroll social media with their sound off, don’t rely on the audio waveform visualizer alone to pique your audience’s interest.
Add a transcription/subtitles to your audiograms to ensure there’s enough information on your video to maximize user engagement. Most audiogram generators come with transcription services, so you can start with automatically generated captions and edit them to be as accurate as possible.
Taking a few minutes to make sure your audiogram has captions can increase engagement by at least 17% and audience reach by 16%.
5. Choose Compelling Images
Since social media platforms are optimized for video, you should do everything you can to engage your audience visually. This includes using an audio waveform, transcribing your audio into captions, and choosing a background image for your audiogram that appeals to your audience.
Don’t settle for basic stock photos, either; find something that feels unique and directly related to the content of your clip.
6. Use High-Quality Sound
It should go without saying, but the best audiograms start on the best audio foundation. If your audio file is fuzzy or full of static and background noise, it won’t matter how flashy or cool the audio waveform is that you lay over top of it.
That’s why you shouldn’t skimp on your recording setup. Use a quality microphone and follow best practices for setting up your recording studio.
And look for recording software, that can capture your audio feed in uncompressed, crystal clear audio (bonus points if it’s easy to use and doesn’t rely on your internet connection). Check out Riverside, which lets you do all this and more! Start recording and see how easy you can create studio-quality audio.
For more information on recording the best audio possible, check out our article: How To Make Your Podcast Recording Sound Better.


.png)
.webp)


