Table of contents:
YouTube remains a fast-growing social media platform, with over 2 billion active users tuning in to the site every month.
Vertical video content has seen a boom since the introduction of YouTube Shorts. In fact, research shows that YouTube Shorts are growing 135% year over year, with over 1.5 billion monthly active users.
If you’re new to YouTube shorts and can’t quite figure out where or how to upload them, we’re here to help. The last thing you want is to post a Short as a regular YouTube video.
Follow this simple step-by-step guide to learn all you need on how to upload YouTube shorts.
Where can you find Shorts on YouTube?
YouTube is well known for its landscape video content, but where can you find Shorts, YouTube’s vertical short-form content offering?
Fortunately, YouTube Shorts are easy to locate when you know where to look. In most cases, YouTube Shorts videos appear on the Shorts tab. You can navigate here from your homepage menu.
- From the App: You can find the ‘Shorts’ button in the menu and the bottom of your screen.
- On a PC device: Go to your side menu to find ‘Shorts.
Here, you can select a Short to launch the Shorts player. You can start or pause the Short video by clicking directly on the screen or click right to find more information about a video. When you’re ready to move on to the next Short, simply scroll down, or scroll up to revisit a Short you’ve seen already.
How to upload your own pre-recorded YouTube Shorts
If you want to become a YouTube Shorts creator, you need to know how to upload your own Shorts to the YouTube platform!
Luckily, this process is easy with the right skills to help you, even if you’re working with pre-recorded content captured outside of the YouTube app.
How to upload pre-recorded YouTube Shorts on a PC
If you’re using a PC device, follow these steps to quickly and easily upload a pre-recorded video to YouTube Shorts.
Step 1: First, sign in to the YouTube Studio.
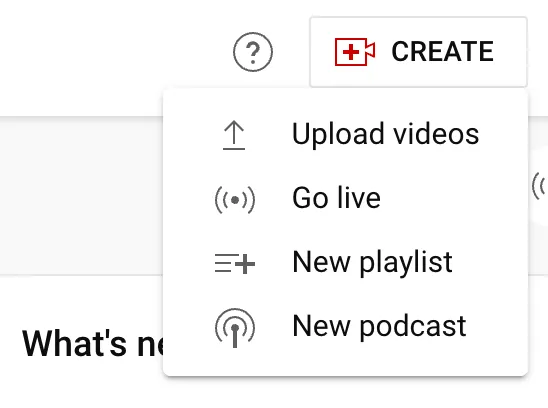
Step 2: At the top right corner of your screen, select ‘CREATE’, and choose ‘Upload videos’ from the dropdown menu that appears.
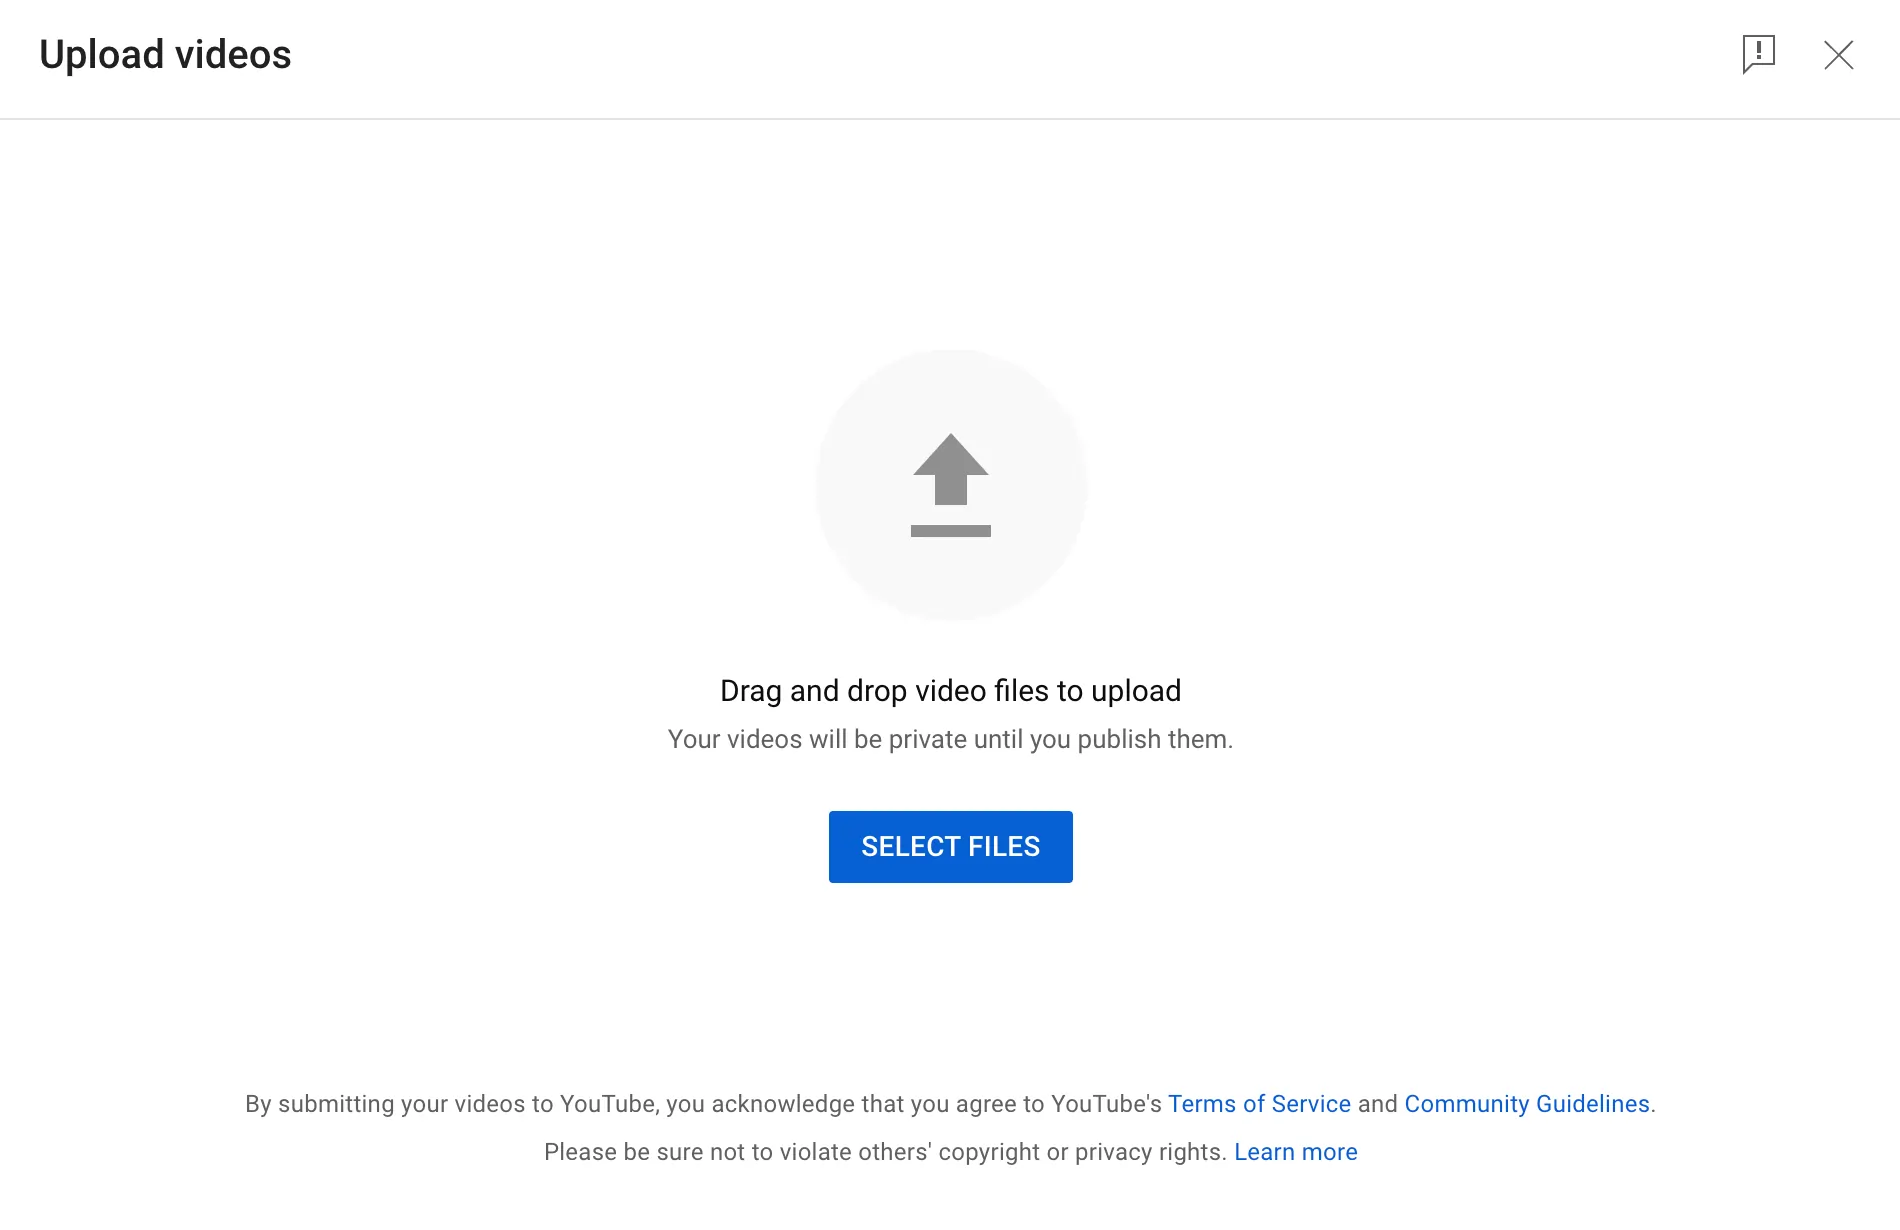
Step 3: Choose ‘SELECT FILES’, and upload a video clip up to 60 seconds in length from your PC device.
Note: Your video may have a square or vertical format. However, the ideal aspect ratio for Youtube Shorts is 9:16.
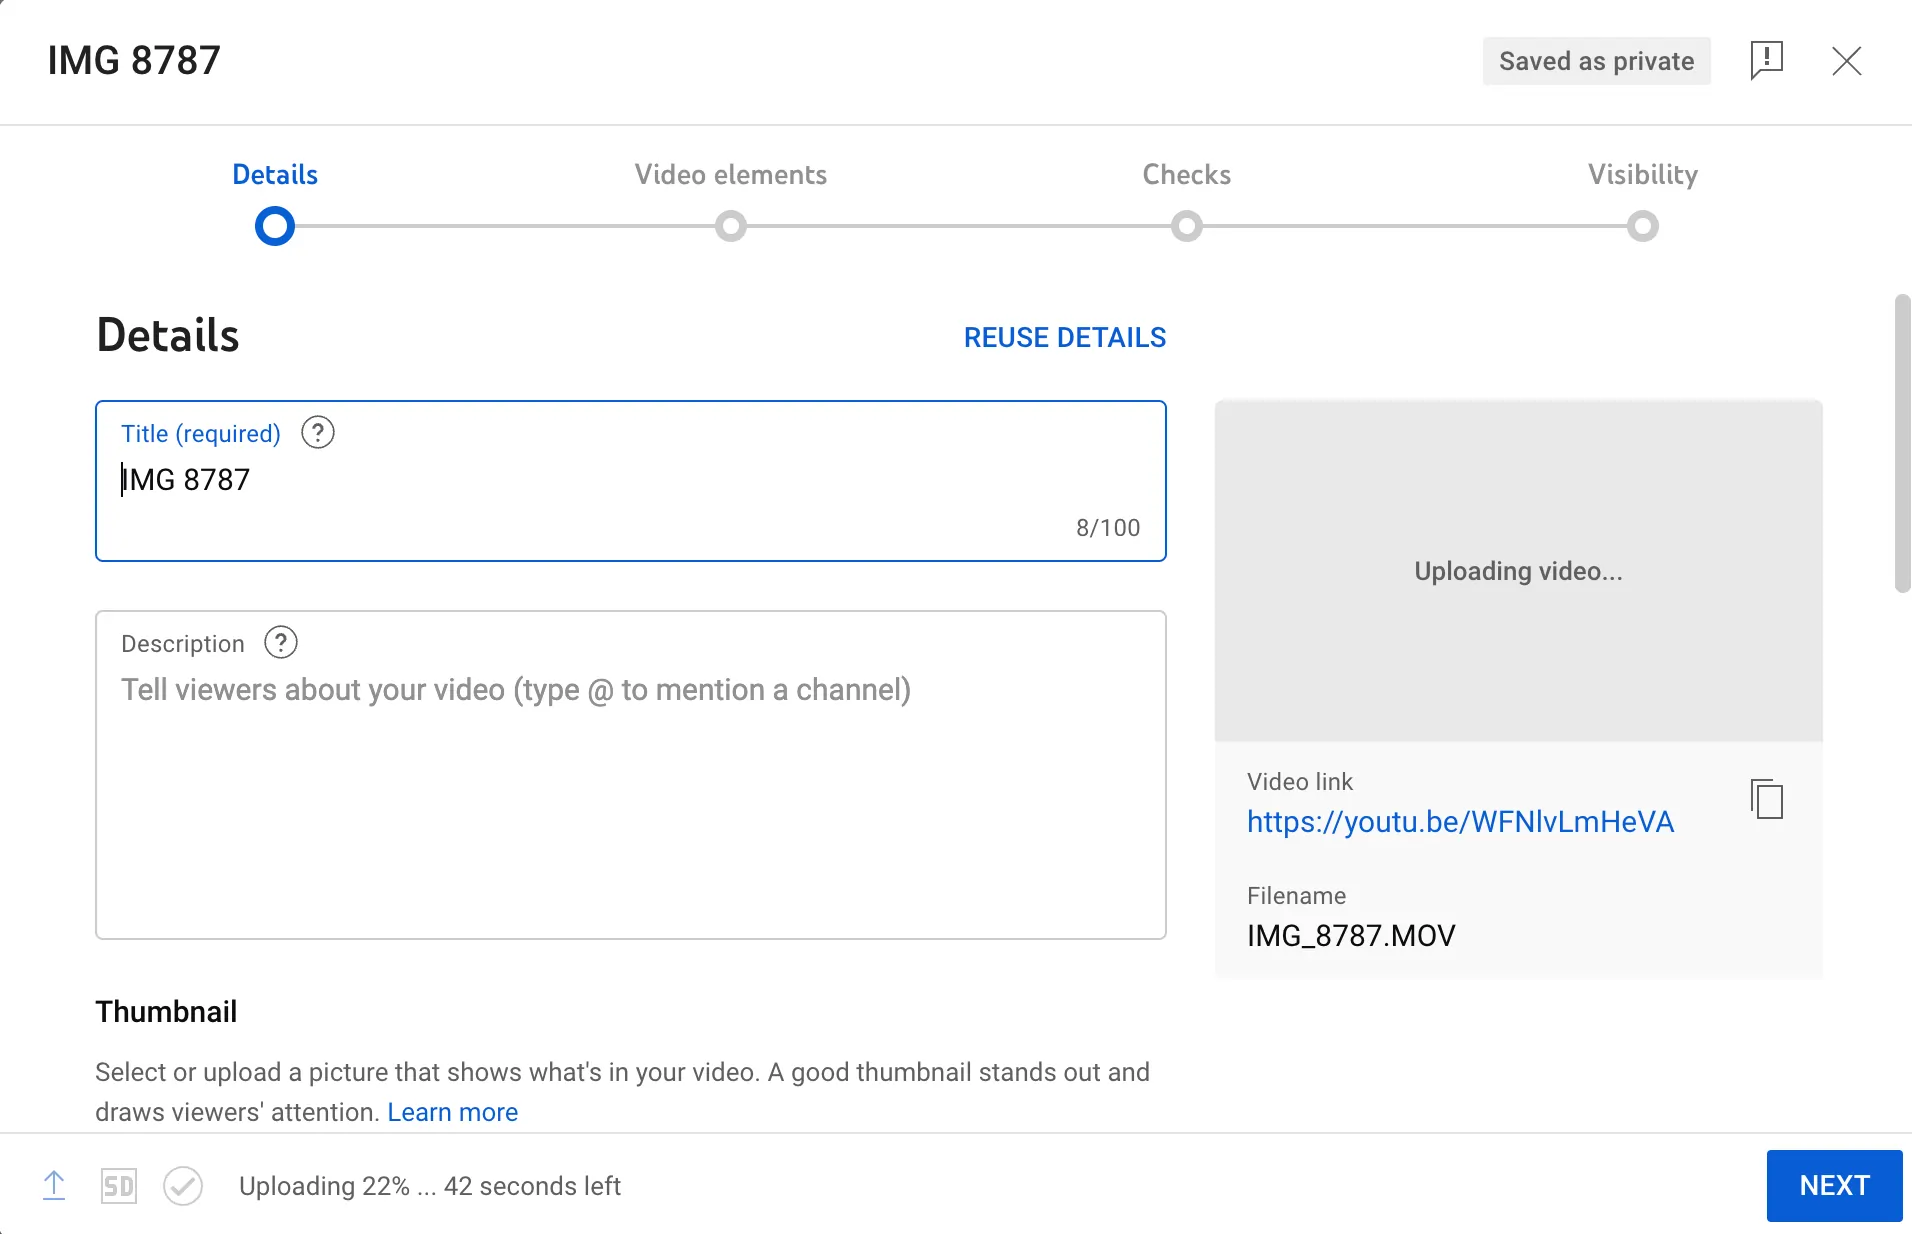
Step 4: On the following screen, use the relevant text boxes to apply a video title and description, select a thumbnail and verify audiences and playlists.
Note: Optionally, include #Shorts in your video description. This will help the YouTube algorithm correctly categorize your video and display it to audiences.
How to upload pre-recorded YouTube Shorts on mobile (iOS or Android)
If you’re using a mobile (iOS or Android) device, the uploading process may be a little different. Follow these steps to get started.
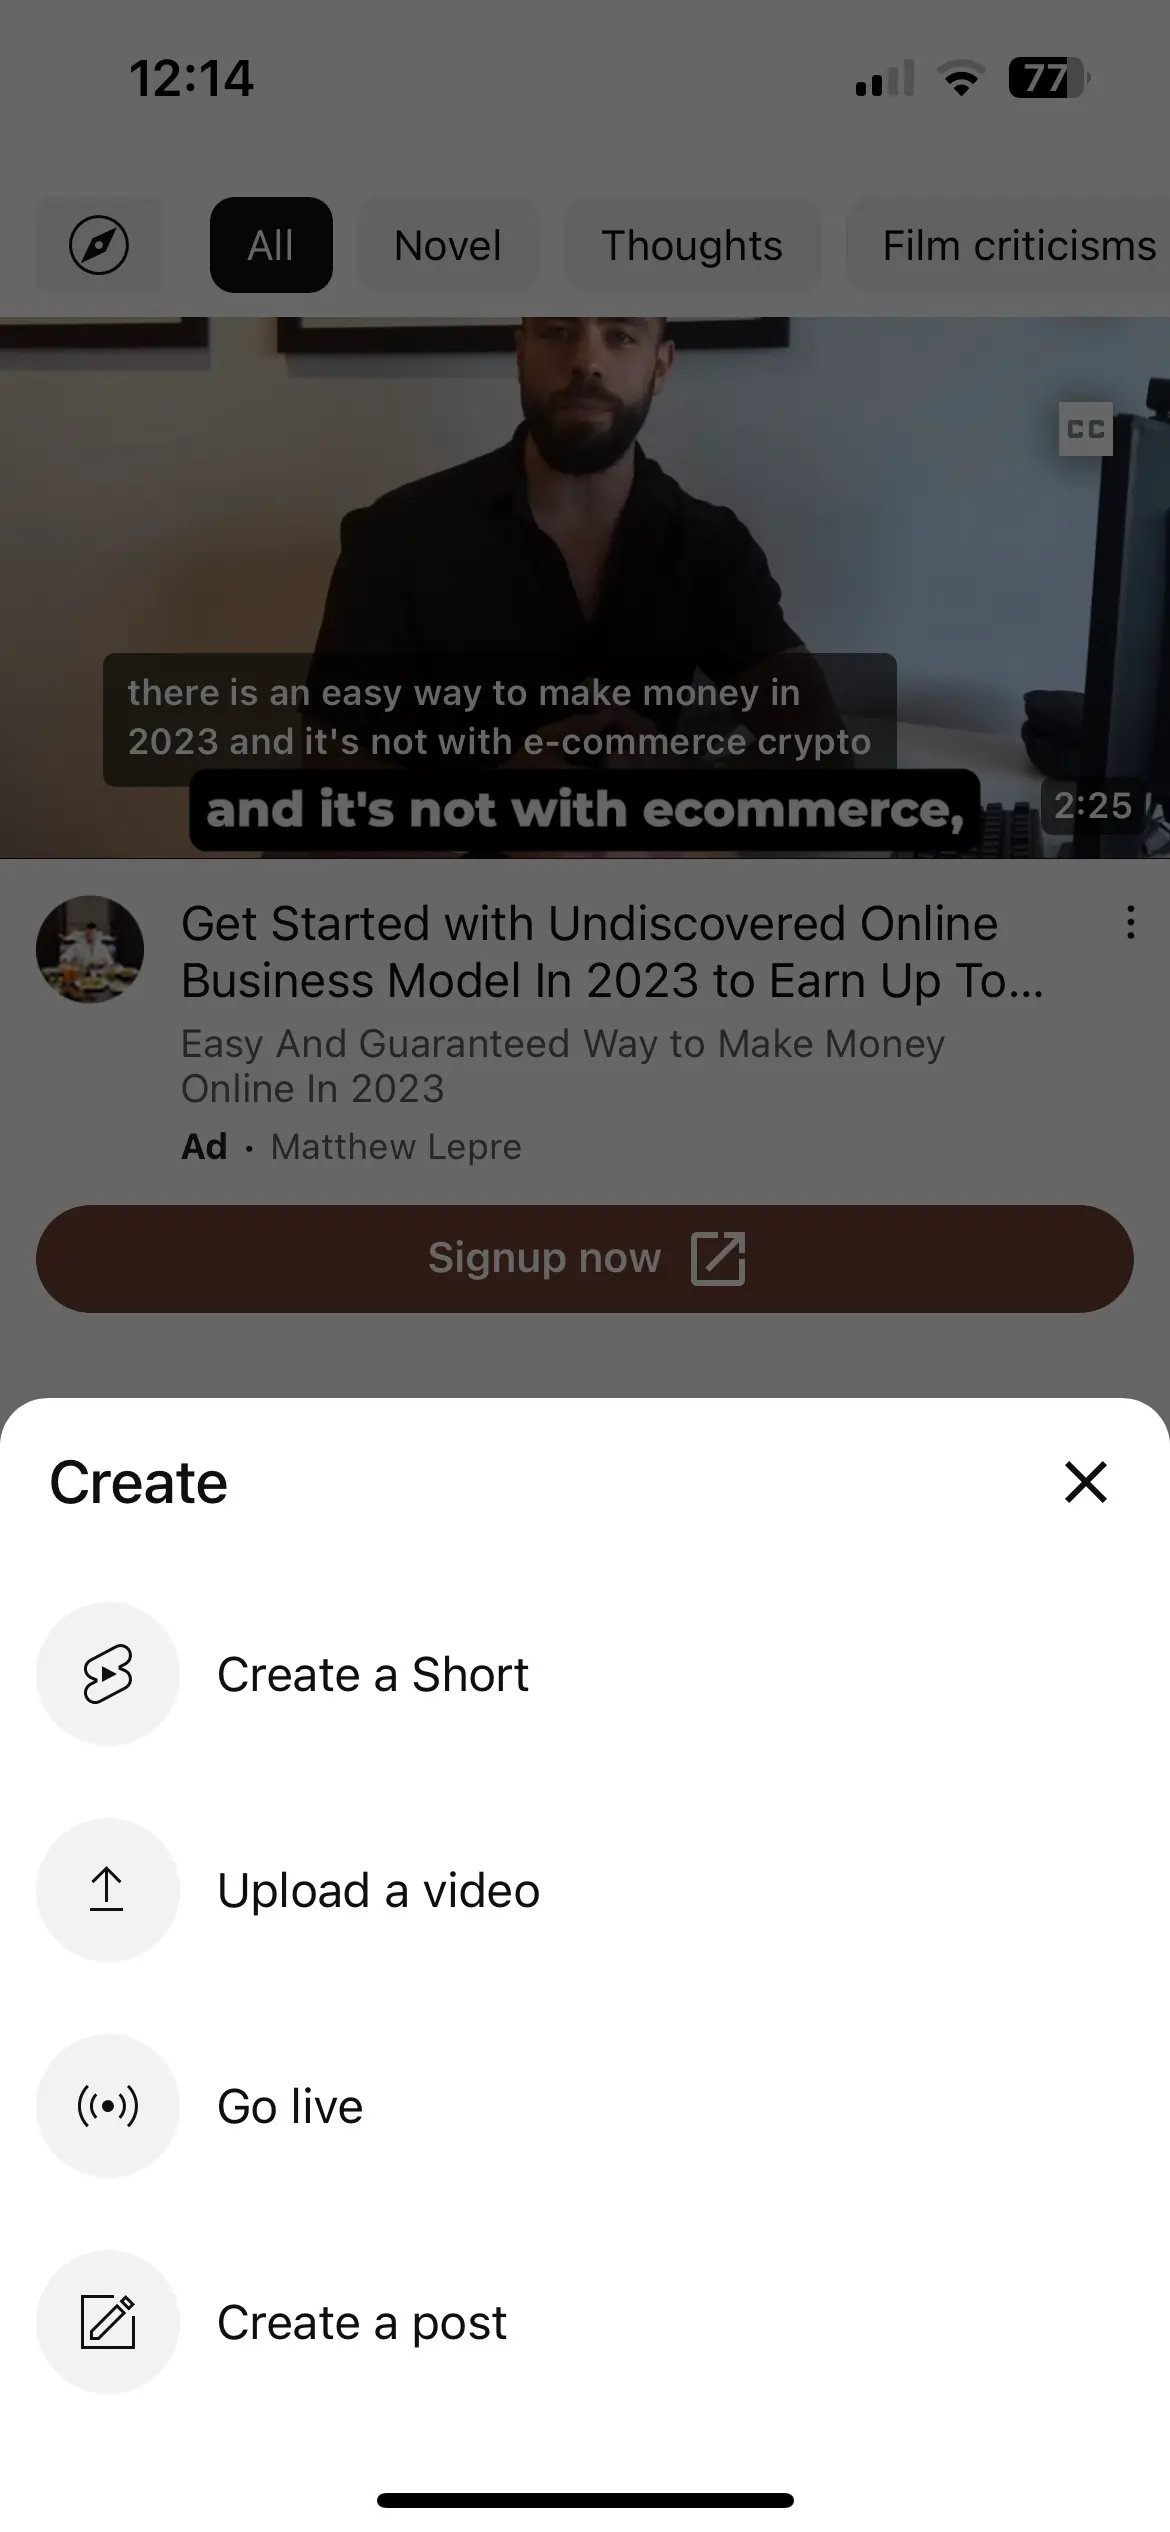
Step 1: First, launch the YouTube app, and press the + icon at the bottom of your screen.
Step 2: From the menu, select ‘Upload a Video’, and choose a video file up to 60 seconds in length from your device’s camera roll. Then select ‘Next’.
Note: If your video exceeds 60 seconds in length, you can use the ‘Edit into a Short’ button in the bottom left corner of your screen to revise it before proceeding.
Step 3: Use the editor screen to apply a range of effects, including sound, voiceover, and text. You can also adjust the timeline or apply filters to your video. When you finish editing, click Next at the top right of your screen.
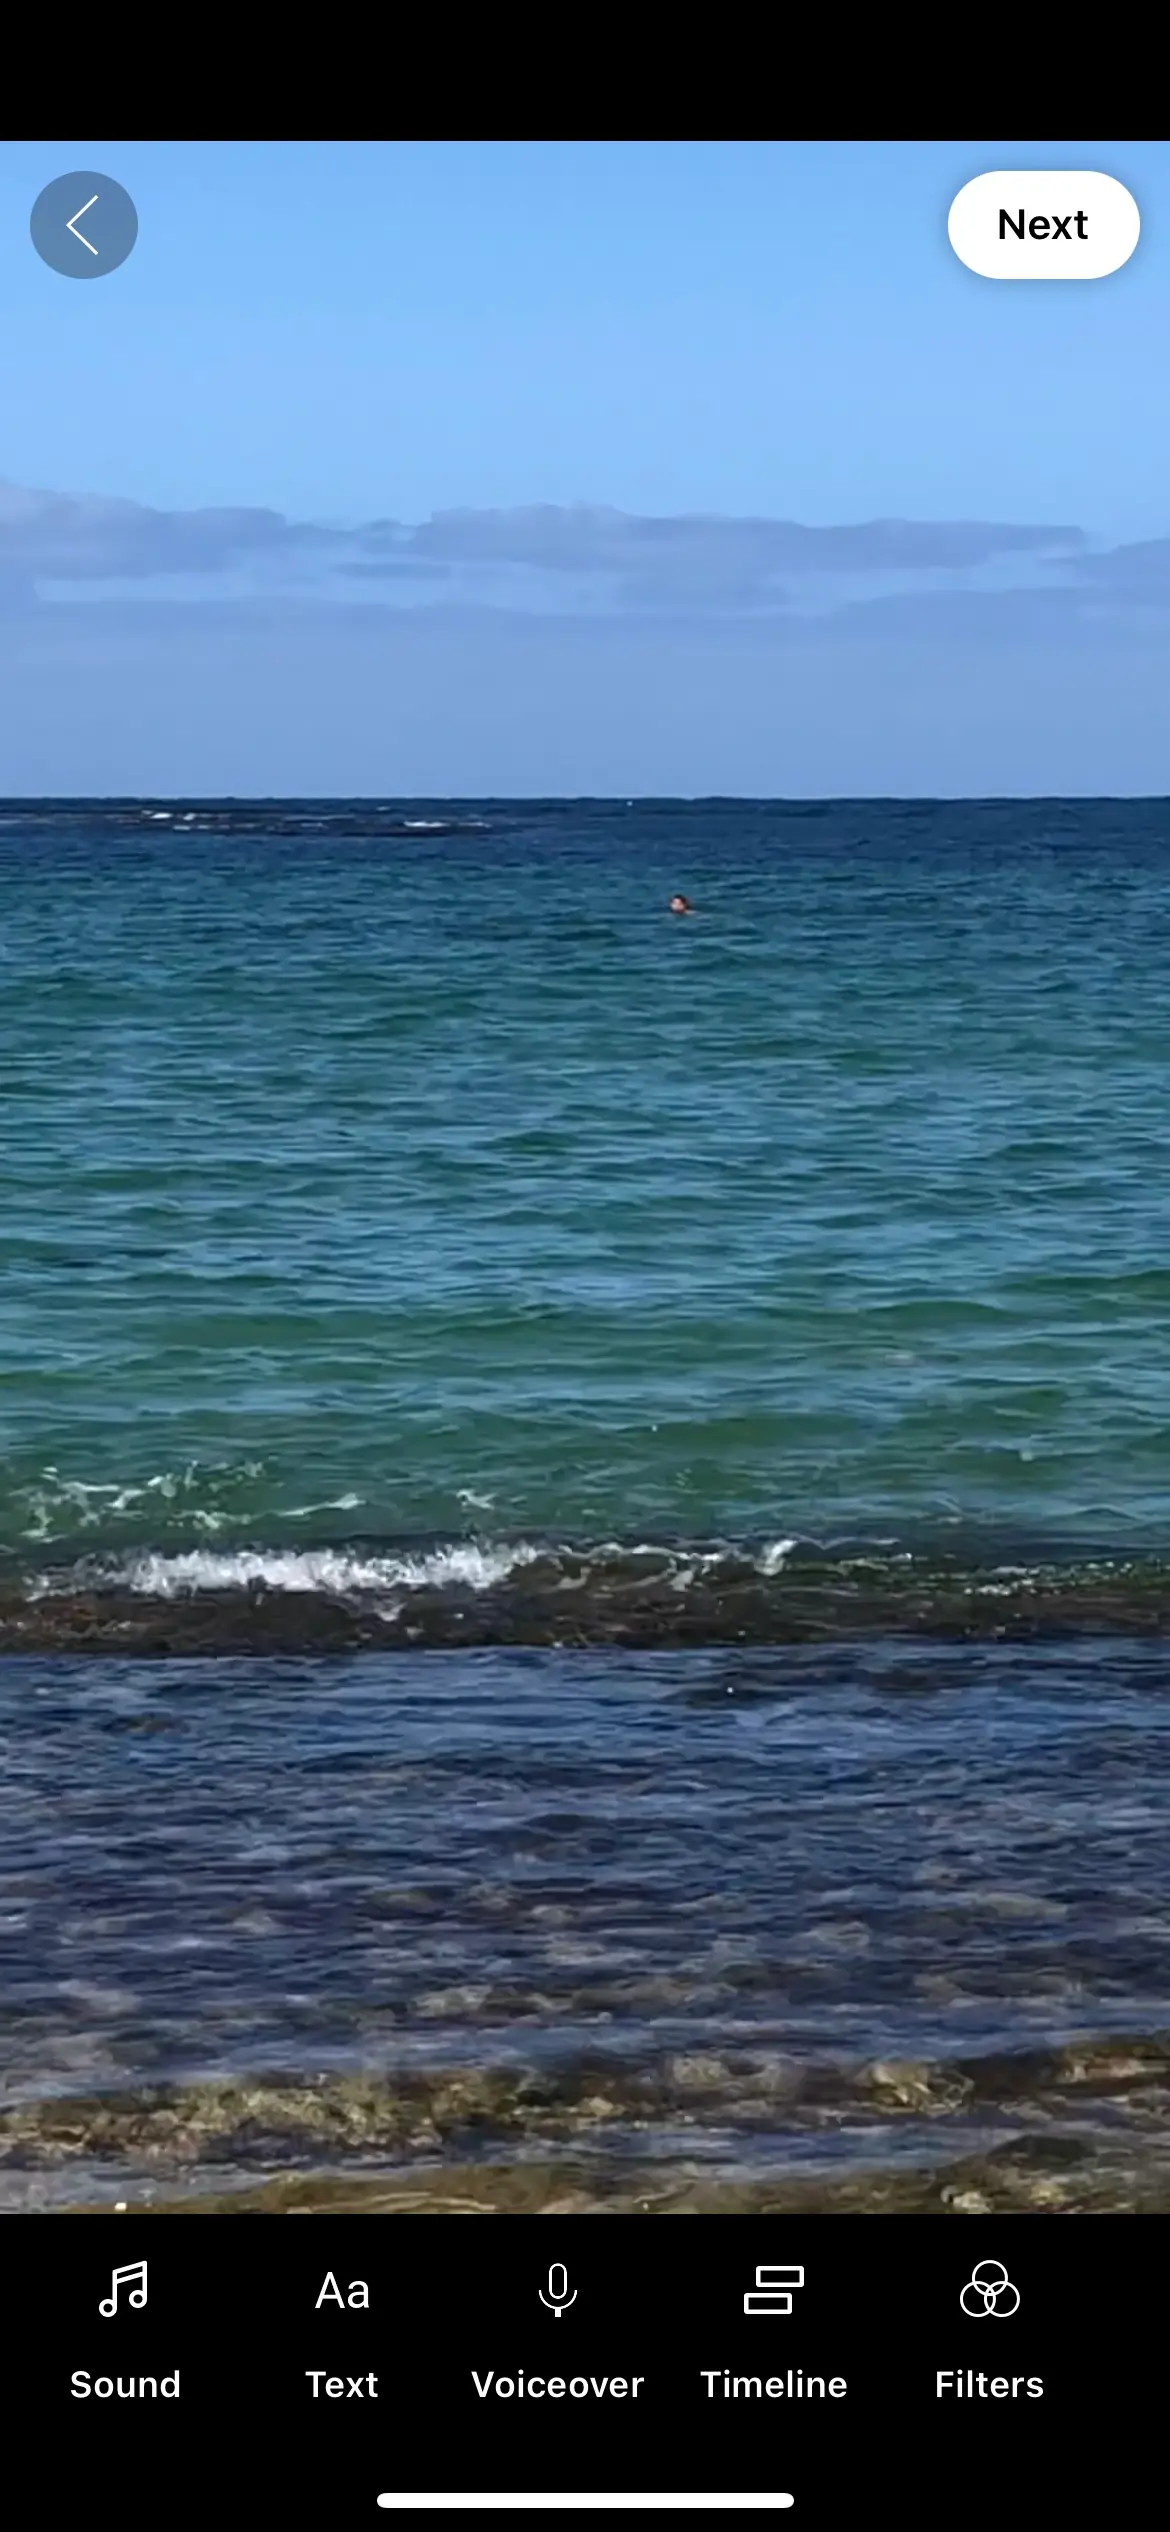
Step 4: On the following page, use the relevant text boxes to apply a video title and caption, and confirm other details. When you’re ready to set your video live, press ‘Upload Short’.
Note: Optionally, include #Shorts in your video description. This will help the YouTube algorithm correctly categorize your video and display it to audiences.
How to record and upload Shorts directly in YouTube
What if you want to record and upload your YouTube Shorts all within the YouTube Platform instead?
While doing so can mean lower video quality, it is possible. All you need is a mobile device with a camera and access to the YouTube app. Then follow these steps!
Step 1: Launch the YouTube app on your mobile device.
Step 2: Press the + icon at the bottom of your screen, and select ‘Create a Short’ from the menu that appears.
Step 3: Tap the 15s symbol at the top right corner of your screen to adjust whether your video will be 15 seconds or up to 60 seconds in length.
Step 4: Press the red circle capture button to start recording. Then tap again to stop.
Step 5: Use the undo and redo buttons to control your recordings.
Step 6: When your video recording is complete, press the tick to preview it. Here, you can add any required edits.
Step 7: If you’re happy with your video, press ‘Next’ to progress to the caption screen. Here, add your video’s title and description, as well as setting your audience and confirming other relevant details.
Step 8: Finally, press ‘Upload Short’ to set your video live.
Best practices when uploading YouTube Shorts
When uploading YouTube Shorts, you should keep a few best practices in mind to ensure the best possible results.
Choose the right format
First, it’s important to choose the right video format! This is critical, regardless of whether you’re recording in the YouTube app or uploading a pre-existing video file.
Make sure that your video aligns with the specifications required for YouTube Shorts. Typically, the best option is a vertical video with a 9:16 aspect ratio. Your video should achieve 1920x1080p dimensions for the best full-screen presentation.
Select a high resolution
Resolution is an important part of enhancing the quality of your video. This can help you showcase your professional as a creator to your YouTube Shorts audience.
Select a video resolution of 1920 x 1080 pixels. This is high enough to avoid pixelating your content or compromising on quality. At the same time, it is low enough to allow for fast, reliable video playback.
Enhance sound quality
Sound quality, like resolution, can greatly impact how professional your video content appears. Choosing clear, crisp audio can make it easier for viewers to understand what you’re saying in your video content.
Capture the best sound quality you can for your YouTube Shorts. Listen back to your content, and ensure you eliminate crackly audio or background disruptions as much as possible.
Add captions or subtitles
Captions and subtitles can be valuable! These can improve the accessibility of your content by making it easier for viewers who can’t listen to understand what your video aims to communicate.
Use a reliable transcription tool to generate automatic subtitles for your video, and apply these to your YouTube upload. Remember to check that your subtitles are clear and accurate throughout.
Optimize with keywords
Titles and descriptions are a great place to include keywords that could help your video content achieve better audience reach, contributing to ongoing growth and social media engagement.
In your video description, include a few searchable keywords that relate closely to the content of your video and the audience you want to target. This is your chance to make the most of in-app SEO on YouTube!
Share content widely
It’s not enough to post your content and forget about it! If you want to do well with YouTube Shorts, you need to look for opportunities to share your video content with the world.
Share your Shorts with your audience across a variety of social media platforms and marketing channels. Take advantage of every chance to attract new users to your content.
Create YouTube Shorts for easy uploads with Riverside
.webp)
Want to create higher-quality content for YouTube Shorts? Riverside can help!
Riverside is a studio-quality online video creation platform. You can capture up to 4K video resolution and 48kHz sound quality for up to 10 remote participants at time. Riverside uses local recording so you don’t need to worry about faulty internet connection ruining your resolution. Instead, everything records directly on your device.
You’ll receive separate audio and video tracks for each participant, giving you more editing flexibility. Better yet, you can trim and edit your video seamlessly with Riverside’s text-based editor. This works with AI transcriptions, where you simply delete text in your transcript to cut out sections in your recording.
If you’re looking to repurpose a long-form YouTube video into Shorts, then try Riverside’s Magic Clips tool. No need to edit everything twice. Simply record on Riverside and let Ai do the rest. Magic Clips uses Ai to identify key moments in your recordings and repurpose them into shareable short-form videos. You can adjust these in the editor, and you can even burn captions into your Shorts.
Easy as that, you can record once and have a full YouTube video plus repurposed Shorts.
Key features:
- Up to 4K video resolution for premium visual quality
- 48kHz sound quality, allowing for excellent audio
- Built-in user-friendly text-based video editor offering a seamless workflow
- Highly accurate AI transcriptions in over 100 languages
- Magic Clips so you can turn one recording into multiple shareable Shorts
- Separate audio and video tracks for up to 10 call participants, which gives you more editing control
Riverside offers much more! Learn more here, or sign up to start experiencing a smooth YouTube Shorts workflow
Troubleshooting tips: Why can’t I upload Shorts to YouTube?
Sometimes, uploading YouTube Shorts doesn’t go quite according to plan. When this occurs, there are a few things you can do to troubleshoot and hopefully resolve the issue.
Is your YouTube app or studio up to date? If you’re using an outdated version of the app, you may have trouble uploading Shorts content! By installing the latest updates, you can ensure that you have access to all the tools and features you need.
Are you working with a compatible video file? YouTube Shorts may prevent you from uploading if you’re trying to share a video that doesn’t meet the file type or dimensions requirements necessary. Try editing your video so it aligns with the YouTube system, or try again with another clip that aligns well.
Struggling to get past the loading screen? This might result from a poor internet connection or a system glitch. Check that your device is properly connected to stable WiFi, or close the YouTube system and relaunch it before trying again.
FAQs on how to upload YouTube Shorts
Still unsure about how to upload YouTube Shorts? Here are our answers to a few frequently asked questions.
Can anyone upload YouTube Shorts?
Yes! Currently, there are no major restrictions on who can upload YouTube Shorts. All you need is an active YouTube account and access to the platform’s studio tools.
Can you schedule YouTube Shorts videos?
It is possible to schedule YouTube Shorts videos ahead of time if you can’t be around to post when you need to. Follow these steps!
Step 1: Sign in to your YouTube Studio, preferably on a desktop device.
Step 2: Select ‘CREATE’, followed by ‘Upload Videos’ and ‘Select Files’.
Step 3: Follow the prompts to upload your video and enter all relevant details, including title, description, thumbnail, and audience information.
Step 4: Proceed to the ‘Visibility tab’. Here, use the scheduling tool to set the date, time, and timezone when you want your video to go live.
Step 5: Finally, click ‘Schedule’ before exiting the YouTube Studio.
What format do you upload YouTube Shorts?
Format is important when uploading to YouTube Shorts! The platform will accept a few format options. However, generally speaking, the best option is to upload a video with a 9:16 aspect ratio and a resolution of 1920 by 1080 pixels.
Are you ready to start creating better content for YouTube Shorts? Try Riverside today!


.webp)


