What does import mean?
Importing is the process of transferring video files from an external source (camera, hard drive) into video editing software. This step allows you to access and organize clips for editing within the software.
Does import mean upload?
Not exactly. Import means bringing a file into editing software, making it available for use within the project. Upload refers to transferring a file from your device to an online platform or cloud storage.
Does import mean copy?
No, it doesn’t. Import means bringing a file into your editing software's project library, making it accessible for editing. It doesn't create a new copy on your computer but rather links to the original file's location.
How to import files to edit in Riverside
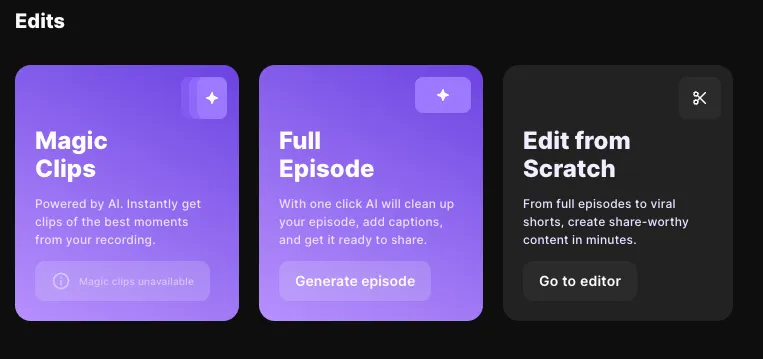
Upload a media file that you recorded outside of Riverside to generate a transcription of the conversation, create Magic Clips, and customize clips in the editor.
Unlike files you record on Riverside which you can edit each individual speaker's track, external media files can only be edited as one single track.
- Log in to your Riverside account.
- Under Studios, click the relevant Studio.
- On the Projects page, click Upload.
- Under Upload audio or video, click Select file or drag and drop a file into the box.
- Select a media file on your computer that meets the requirements and click Open.
- Next to Language, select a language for the transcript and captions (in beta).
Selecting a language when uploading a file applies to all new projects within the specific studio moving forward. - Click Upload.
- In the Edits section, click Magic Clips, Full Episode, or Edit from scratch to edit the original recording.

Keep the page open while the file uploads. You can leave it while Riverside processes it.To cancel the file upload or processing, hover over the media's thumbnail, click ••• [the three dots], and choose Remove.
Importing Timeline Audio into Adobe Audition on Riverside
- Open your Riverside recording, and download the timeline audio.
- Launch Adobe Audition.
- Click on "File" > "Import" > "File" and select your downloaded timeline audio from Riverside.
- Your audio file will now be available for editing within Adobe Audition.
You can find the full instructions here.
Importing Recording Timeline to Final Cut Pro on Riverside
- Access your Riverside recording and download the timeline.
- Open Final Cut Pro.
- Go to "File" > "Import" > "Media."
- Select your Riverside timeline file for import, and it will appear in your Final Cut Pro project library.
You can find the full instructions here.
Importing Recording Timeline to DaVinci Resolve on Riverside
- Download your timeline from Riverside.
- Launch DaVinci Resolve.
- Click "File" > "Import Timeline" > "Import AAF/EDL/XML."
- Select your Riverside timeline, and it will be imported for editing.
You can find the full instructions here.


