Table of contents:
What is opacity?
Opacity controls the transparency of a video or graphic layer, allowing editors to overlay images, text, or effects while still showing parts of the underlying layers. A video with 100% opacity is fully visible, while a lower percentage makes it increasingly see-through.
What is the purpose of opacity?
The purpose of opacity is to control the visibility of a video, allowing for effects like fading or blending with other layers.
How to edit video opacity
You can edit video opacity by selecting the video layer in your editing software, adjusting the opacity slider, or entering a specific percentage.
Is opacity the same as transparency?
Yes, opacity and transparency are related — higher opacity means less transparency.
Is opacity the same as tint?
No, opacity affects visibility, while tint adds a specific color to the video.
How to change the opacity of an image overlay in Riverside
- Log in to your Riverside account.
- Open a recording in the editor or upload an external file to start editing.
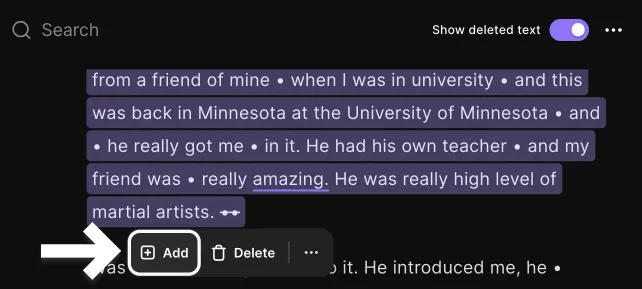
- Click and select the part of transcript for when you want the image overlay to appear.
- On the context menu, click "+" and choose Image.
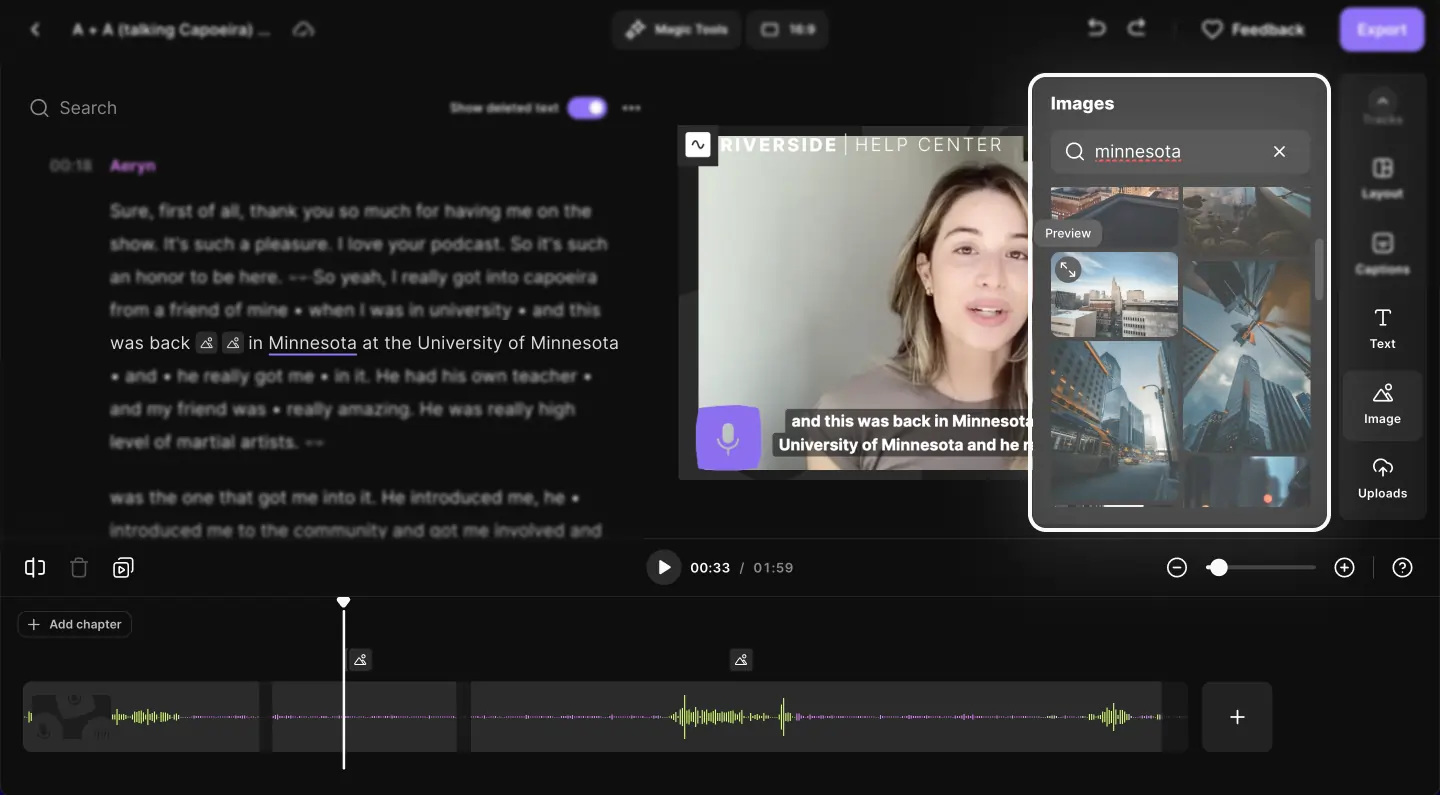
- In the Images panel, search the image library by keyword or click the Upload button and choose a JPG or PNG file on your computer.

- To view the image larger and see more details, hover over it and click Preview.
- Click an image to add it to your video.

- Click the image on your video to edit it.
- Change its opacity, expand it to fill the frame, change it's shape, and more


