If you want to record HD videos from the comfort of your home, then make-shift setups won’t always do the trick. You need proper equipment in a dedicated home video studio setup.
This article offers the ultimate guide to setting up your home filming studio. We’ll walk you through all the equipment and software you’ll need and the steps you’ll need to go through to get set up professionally.
What do I need for a home video studio?
The first thing to note is that your home studio can look however you want it to. And this applies to your equipment, too. You can go as full-on or as pared back as your budget (and preferences) allow. Generally speaking, though, there are a few non-negotiables when it comes to a home video studio. This includes:
- Computer (or laptop)
- Camera
- Mic,
- Headphones.
Ideally, you’ll have a room that has naturally good lighting. Otherwise, you will need to invest in some artificial lighting to compensate.
Home Video Studio Equipment
Here’s a guide to the equipment you should consider for your home video studio setup (with a few recommendations, too).
PC or Laptop
You can either use your existing computer or laptop or invest in a new one.
Either way, you want your machine to be robust enough to handle video recording and editing. Both of which can be quite resource-intensive processes.
You should always consider compatibility when you’re purchasing a computer. If you’re a die-hard Final Cut Pro fan, for example, then you’ve got to stick with Apple products.
Things to consider when you’re looking at buying a new laptop include:
- CPU (Central Processing Unit). This is the heart of your computer. Generally speaking, the more cores your computer has, the more powerful it is.
- GPU (Graphics Processing Unit). The GPU is all about processing graphics and images. When it comes to a home studio, you want a computer with a powerful graphics card that is capable of editing at least 4K video.
- Battery life. Your battery indicates how long your laptop can last on a single charge. Since you’ll be in your home-studio most of the time, this isn’t the biggest concern. But if you want some flexibility then you should at least consider battery size.
- Screen size. Since you’ll be recording, editing and working on this laptop, you don’t want a screen that’s too small. Think about your budget and the size of your space.
- Portability. Though this laptop will be at the heart of your home-studio, this doesn’t mean it’ll stay there. You should be able to easily transport your laptop and travel with it for a mobile recording setup.
You can’t go too far wrong with an Apple MacBook Pro. If you’re looking for a Windows computer, try the Razer Blade 16.
Cameras
Since you’re setting up a professional video studio, you’ll definitely need a good camera. This doesn’t have to be a heavy-duty video camera or DSLR. In actual fact, if you’re on a tight budget, an external webcam or your mobile can actually do wonders for your video quality.
Key factors are:
- Resolution. This tells you the quality of video that your camera is able to capture. Ideally, you want at least 4K, but those on a tighter budget can settle with 1080p or full HD.
- Frame rate tells you the number of frames or images that are captured per second. We’d recommend at least a 30fps frame rate.
- Other features such as autofocus. Look for any features that will make your life easier and enhance your content creation process.
If you’re on the market for a webcam, then try the Insta 360 Link. The Panasonic Lumix S5 II is a great choice if you’re looking for a mirrorless camera.
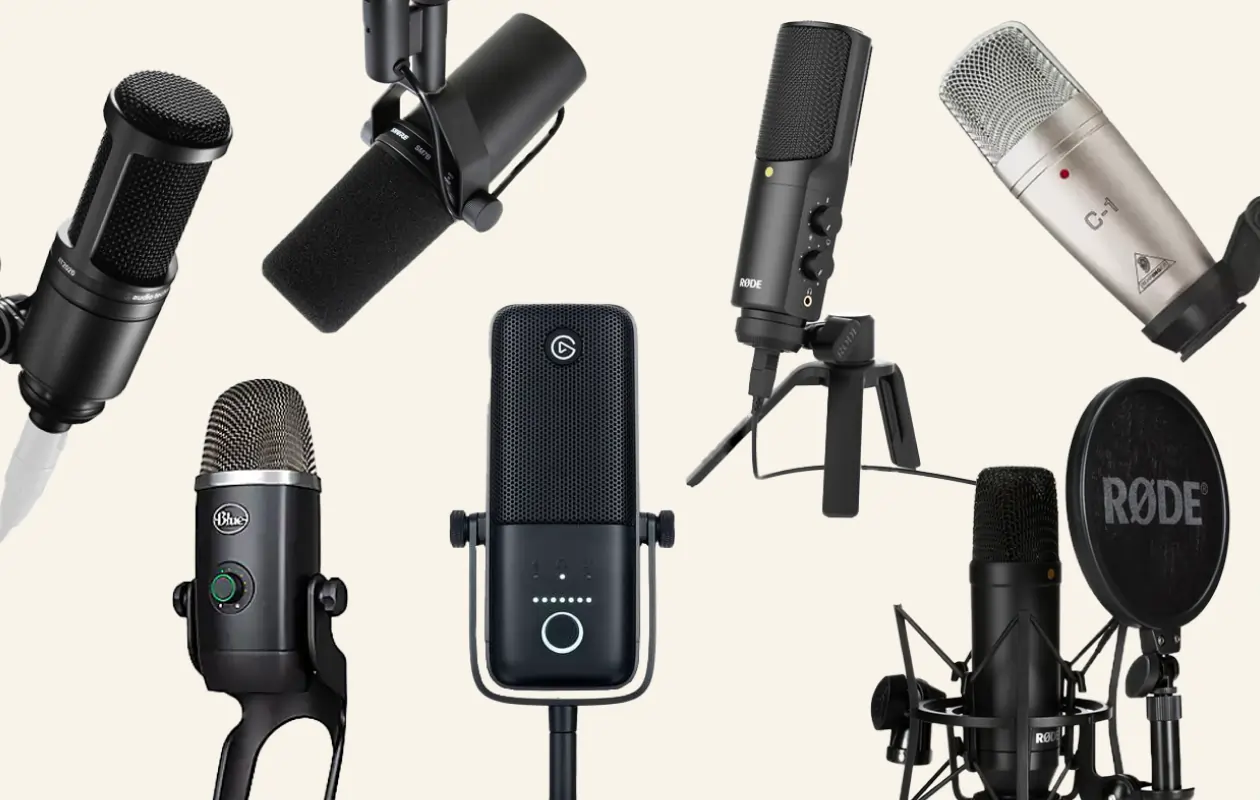
Mics
Don’t overlook the importance of a solid mic for your video shooting setup. A mic can make or break your video's audio quality and impact the overall viewing experience.
Choosing the right mic comes down to personal preference. There are a few technical factors to consider too, including:
Connectivity (XLR vs USB)
- How your mic connects to the rest of your setup is an important consideration. USB mics are definitely a lot easier and adaptable. To work with an XLR mic, you’ll need to get your hands on an audio interface.
Polar pattern
Your mic’s polar pattern indicates which direction it picks up audio from the best. For example:
- Cardiod microphones pick up noise from the front and are best for capturing vocals of one person.
- Bi-directional mics pick up noise from the front and back, making them ideal for a 2-person interview.
- Omni-directional mics pick up noise from all around, making them more suitable for capturing a group of speakers (ideally in a quiet environment).
- Shotgun microphones are like cardiod microphones but more refined in the area they pick noise from.
Condenser vs Dynamic Mic
Dynamic mics tend to be more affordable and durable but less sensitive to audio. Condenser mics are usually a little less budget friendly, more fragile, but offer highly accurate audio. At the end of the day it comes down to your budget and which mic suits your setup the best.
Read more: Choosing a Podcast Microphone
You might also want to take a look at whether your chosen mic comes with a built-in pop-filter and stand. Otherwise, you may have to purchase these separately.
.webp)
Here are a few mic recommendations to check out:
- The Shure SM7B is a great choice for any creator.
- The Rode VideoMic Pro is super convenient because it sits on top of your video camera.
- The Rode Wireless Mic Go is a great option if you’re going to be filming both in your studio and on the move.
- For budget-conscious creators, take a look at the Audio-Technica AT2020USB-X
Headphones
Headphones help you to achieve high-quality audio for your video. They’re also essential during post-production to ensure you can optimize your audio properly.
Most of all, you want to make sure that your headphones are comfortable. Think about whether you want wired or wireless headphones, as well as over-ear or in-ear.
Wired headphones offer low latency (delay or lag), but do limit your range of motion with the wire. Wireless headphones give you the freedom to walk around, but do sometimes suffer from elevated latency.
The Audio Technica Headphones ATH -M40 are always a reliable choice. These Beyerdynamic headphones will also work well in most setups.

Lighting
Lighting is an absolutely essential part of any home video studio.
As we mentioned earlier, you might be lucky and have a studio space with ample natural light. Even so, it’s important to have a proper artificial lighting setup to be able to achieve consistent lighting in all your videos.
When you’re lighting your setup, you need to make sure you achieve the right balance between hard and soft lighting.
One of the best ways to light your recording space is using a 3-point lighting setup. This involves a key light, fill light and backlights. You can usually find well-priced lighting kits like this one.
Sound Treatment
You’ll definitely want to sound treat your home video studio. Though this can take some time, this is a key step in setting up a professional home studio.
Sound treatment helps to ensure that any recordings in your home studio sound as good as they should. You can easily achieve solid sound treatment through a bit of DIY and using items that you’ll already have. Try soft materials like comforters and pillows that help block sound from outside and absorb sound echos and reflections.
Sound or acoustic treatment is usually achieved through bass traps, acoustic panels, and diffusers.
Tripod, Mic Stand & Pop Filter
Tripod
There’s no point investing in high-quality equipment if you’re not going to make sure you can use them properly.
A tripod is your video camera’s best friend. It keeps your camera stable and means that its position is easily adjustable depending on your needs.
The Vanguard Alta Pro 2+ is a good choice for a camera tripod.
Mic accessories
In the same way, a mic stand or boom arm and pop filter are key accessories for your microphone. Just like a tripod, a mic stand protects your mic from shakes and vibrations and also means you can adjust its position. The pop-filter eliminates popping in your audio.
For your mic, you can opt for a tripod that sits on your desk or on the floor, or an overhead boom. Check out the Audio-Technica AT8700J for a desk-attached boom, the Rode DS1 for a desktop stand and the Auray MS-65HD Boom arm for an overhead option. The Nady MPF-6 is a solid pop-filter that won’t break the mind.
Desk & Chair
At the center of your home video studio will be your desk. This is where your computer will sit, where you’ll do your post-production editing, and even film with remote guests.
You’ll need to make sure that you have enough desk space for all your kit. Any desk will do the job, but you might want to look into specifically designed editing desks that include custom-made features such as multi-levels for all your equipment.
You’ll also need a comfortable and supportive chair. Most office or gaming chairs will do the trick.
Background
Don’t forget to design your backdrop. Since you’ll be shooting in your video studio, you should at least try and keep your background plain. Although it’s always nice to prop it with some items that feature your branding, for example, or simply add some interest to your videos.
Software
Finally, you need your video recording and editing software. Again, you may already have a software that you’re happy with. But once you’ve gone through all the effort of setting up a professional standard video studio, you want to make sure that your video recording software helps you achieve the best results possible.

Riverside is the obvious choice for creators looking for seamless workflows and flexibility.
You can record with up to 7 remote guests and do your editing easily within the same platform. With up to 4K video and 48kHz audio recording and an Ai-powered editor, it’s a no-brainer. We’ll look at Riverside’s main features in more depth later.

How to Setup A Home Video Studio: Step-by-step
Setting up a home studio can be a quick process, but there are a couple of stages that you shouldn’t skip to ensure that you create the best possible recording space.
Choose the right room
The first step is choosing the right room. Of course, you may have little choice if only one room is available in your home. If you are weighing up a few options, though, go for the room that has the most natural light, and that is most protected from background noises and disturbances.
Sound treatment
Next, you’ll want to spend some time acoustically treating the space. This ensures that when you start recording, your audio will be echo-free. As we mentioned earlier, you can either purchase pre-made acoustic panels and bass traps or you can repurpose household items such as pillows, blankets, and comforters.
Choose & prop your backdrop
Once you’ve sound-treated your video studio, you need to choose which wall will act as your video backdrops. You should try to keep this area as uncluttered as possible. Mess or distracting visual elements will detract from the focus of your videos.
You should then design and create your backdrop. This might involve painting the wall, putting up a backdrop, or gathering props.
If you’re creating branded videos, then it’s a good idea to include some merch or at least your logo in your background. You might also want to include some other features such as a plant or bookshelf. This helps to add some depth to your videos.
Buy your equipment
The next step is to buy all your equipment and set it all up. You’ll need to work out how to optimize your use of your space: how to angle your desk, your lighting placement, how to manage your cables. And it’s likely there’ll be a few iterations before you get it just right.
Test recordings
Part of the video studio setup process is test recording. This helps to identify any problems with your setup or necessary adjustments. Through these test recordings, you’ll probably find that your acoustics and mic settings need a bit of optimization. This will also give you a chance to adjust your lighting to achieve the right look.
Get recording!
Once you’ve set up your home video studio, it’s time to put it to good use. Start recording your videos, and don’t be afraid to make changes or additions to your studio setup as you go.
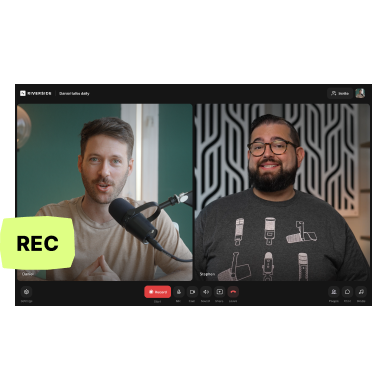
Recording anywhere with Riverside
Riverside is the ideal addition to your home video studio. It’s a browser-based, high-quality recording and editing platform that lets you create stellar audio and video wherever you are. Our mobile app makes it easy to transition from filming in your home studio to on the go, and you can include up to 7 remote guests in your videos. Plus, with a whole suite of easy-to-use editing features, you won’t need any other software to start producing professional quality videos.

Let’s take a look at Riverside’s key features:
- High-quality video and audio recording: Capture up to 4K video and 48KhZ audio, so that you always look and sound your best.
- Local recording: Riverside records each participant locally (meaning on their own device). Your internet connection won’t affect recording quality.
- Separate audio and video tracks: Each participant records on separate tracks to ensure maximum editing control.
- Remote recording with up to 7 guests: Guests don’t need to sign up or download any software. They can simply join your recording session from their browser.
- Browser-based and mobile app: Record everywhere and anywhere. This gives you flexibility to record at home or on the go.
- Mobile as second camera angle: Leverage the Riverside app to set your phone up as a second camera angle.
- Video editor: Edit your video by editing your recording transcript, or use the color-coded editing timeline for easy splitting and splicing.
- Teleprompter: Upload a script or written prompts so that you never miss a beat during your recording session.
- Audio enhancement: Background noise remover and audio normalization for crisp-sounding audio.
- Livestreaming: Stream to major platforms such as Twitch and YouTube
- Ultra-accurate AI-powered transcription: Download SRT or TXT transcripts for easy subtitles and easily repurposing your video into blogs.
- Add captions: You can quickly and easily add captions in the in-built editor with full customizability of their placement, color, font and size.
- AI social media Clips: Magic clips turns your recordings’ highlights into short-form promotional videos, all at the click of a button.
FAQs on Home Video Studio
How to create a video studio at home?
Creating a video studio at home is super easy. You can create a professional home studio with even the tightest budget using just a computer, camera, mic, desk and chair. If you want to go all out, you can follow our advice above for a step-by-step walkthrough of creating the ideal professional video filming space.
How much does home video studio cost?
A home video studio can cost as much or as little as you want. It’s obviously possible to spend exponential amounts on the best and most expensive setup. But this won’t necessarily result in the best recording space for you.
As with everything, weigh up your budget, and choose to spend on equipment that you think will make the difference for you. We’d estimate that you can spend anywhere between $500 to $4000.
How can I record professional videos at home?
Creating professional videos at home is easy if you’ve got a quiet space, good lighting, and reliable software like Riverside. Other small considerations that make a big difference are framing, your background, and knowing your tools back to front. If you'd like to learn more we have a whole list of tips for filming at home.
Can I record video in my own home?
Absolutely. Riverside makes it super easy to film wherever you are since you can record high-quality video from your browser or mobile app. You don’t even necessarily need a dedicated camera. iPhone cameras can often produce super high-quality results.


.webp)